This recipe was inspired by Chipotle’s tofu option called “sofritas.” Have you tried it? I often order it on my burrito bowl for some additional plant-based protein. It’s hearty, saucy and spicy, and makes the extra three-dollar charge for guacamole worthwhile.
I based this recipe directly on Chipotle’s ingredient list. Then, I played around with the amounts and the method until it tasted just right. Honestly, I like this version even better! It tastes fresh, flavorful and nicely spiced. Sometimes Chipotle’s sofritas are so spicy that they overwhelm the other flavors in my bowl.
Friends, it’s snickerdoodle season. If you didn’t know that snickerdoodles had a season, let me paint a picture for you: you’re coming inside on a blustery and colder-than-you’d-expected October day so you hadn’t dressed for it and you can’t wait to announce what my kids always laugh at me for saying when I walk through the door: “Well, that’s enough doing things for me today!” and forswear things like “being outside” and “hard pants” for the rest of the evening but what is this! What is this god-like aroma of buttery baked cinnamon sugar warmth that has permeated your senses? Is it a scented candle, i.e. the idea, but not the substance of a thing you love? No, it’s snickerdoodles. And you’re about to eat a warm one, which feels like climbing inside It’s The Great Pumpkin, Charlie Brown while also, simultaneously, getting to be this dog. I’m not saying you cannot experience this sensory transcendency on a day in January or June, but it hits on a different, worldview-shifting, level when cold air is still a novel thing.
A trip to the Rose Bowl Flea Market in Pasadena feels a bit like rolling dice at an antique casino. You never know if you’ll come home empty-handed or juggling treasures. Held every second Sunday of the month, this legendary market is an event in itself with more than 200 vendors selling everything from vintage furniture and old cookbooks to potted plants, ceramics, clothes, and art. It is a dream for anyone with an eye for stories told through objects, whether collectors, stylists, designers, or just curious wanderers like me.
Our first visit years ago was a total bust. I had gone looking for a mirror like the one my parents have back home, an oval brass frame covered in delicate floral engravings. I found plenty of gold-painted wooden mirrors, ornate and beautiful, but not what my heart wanted. I left empty-handed and a little deflated.
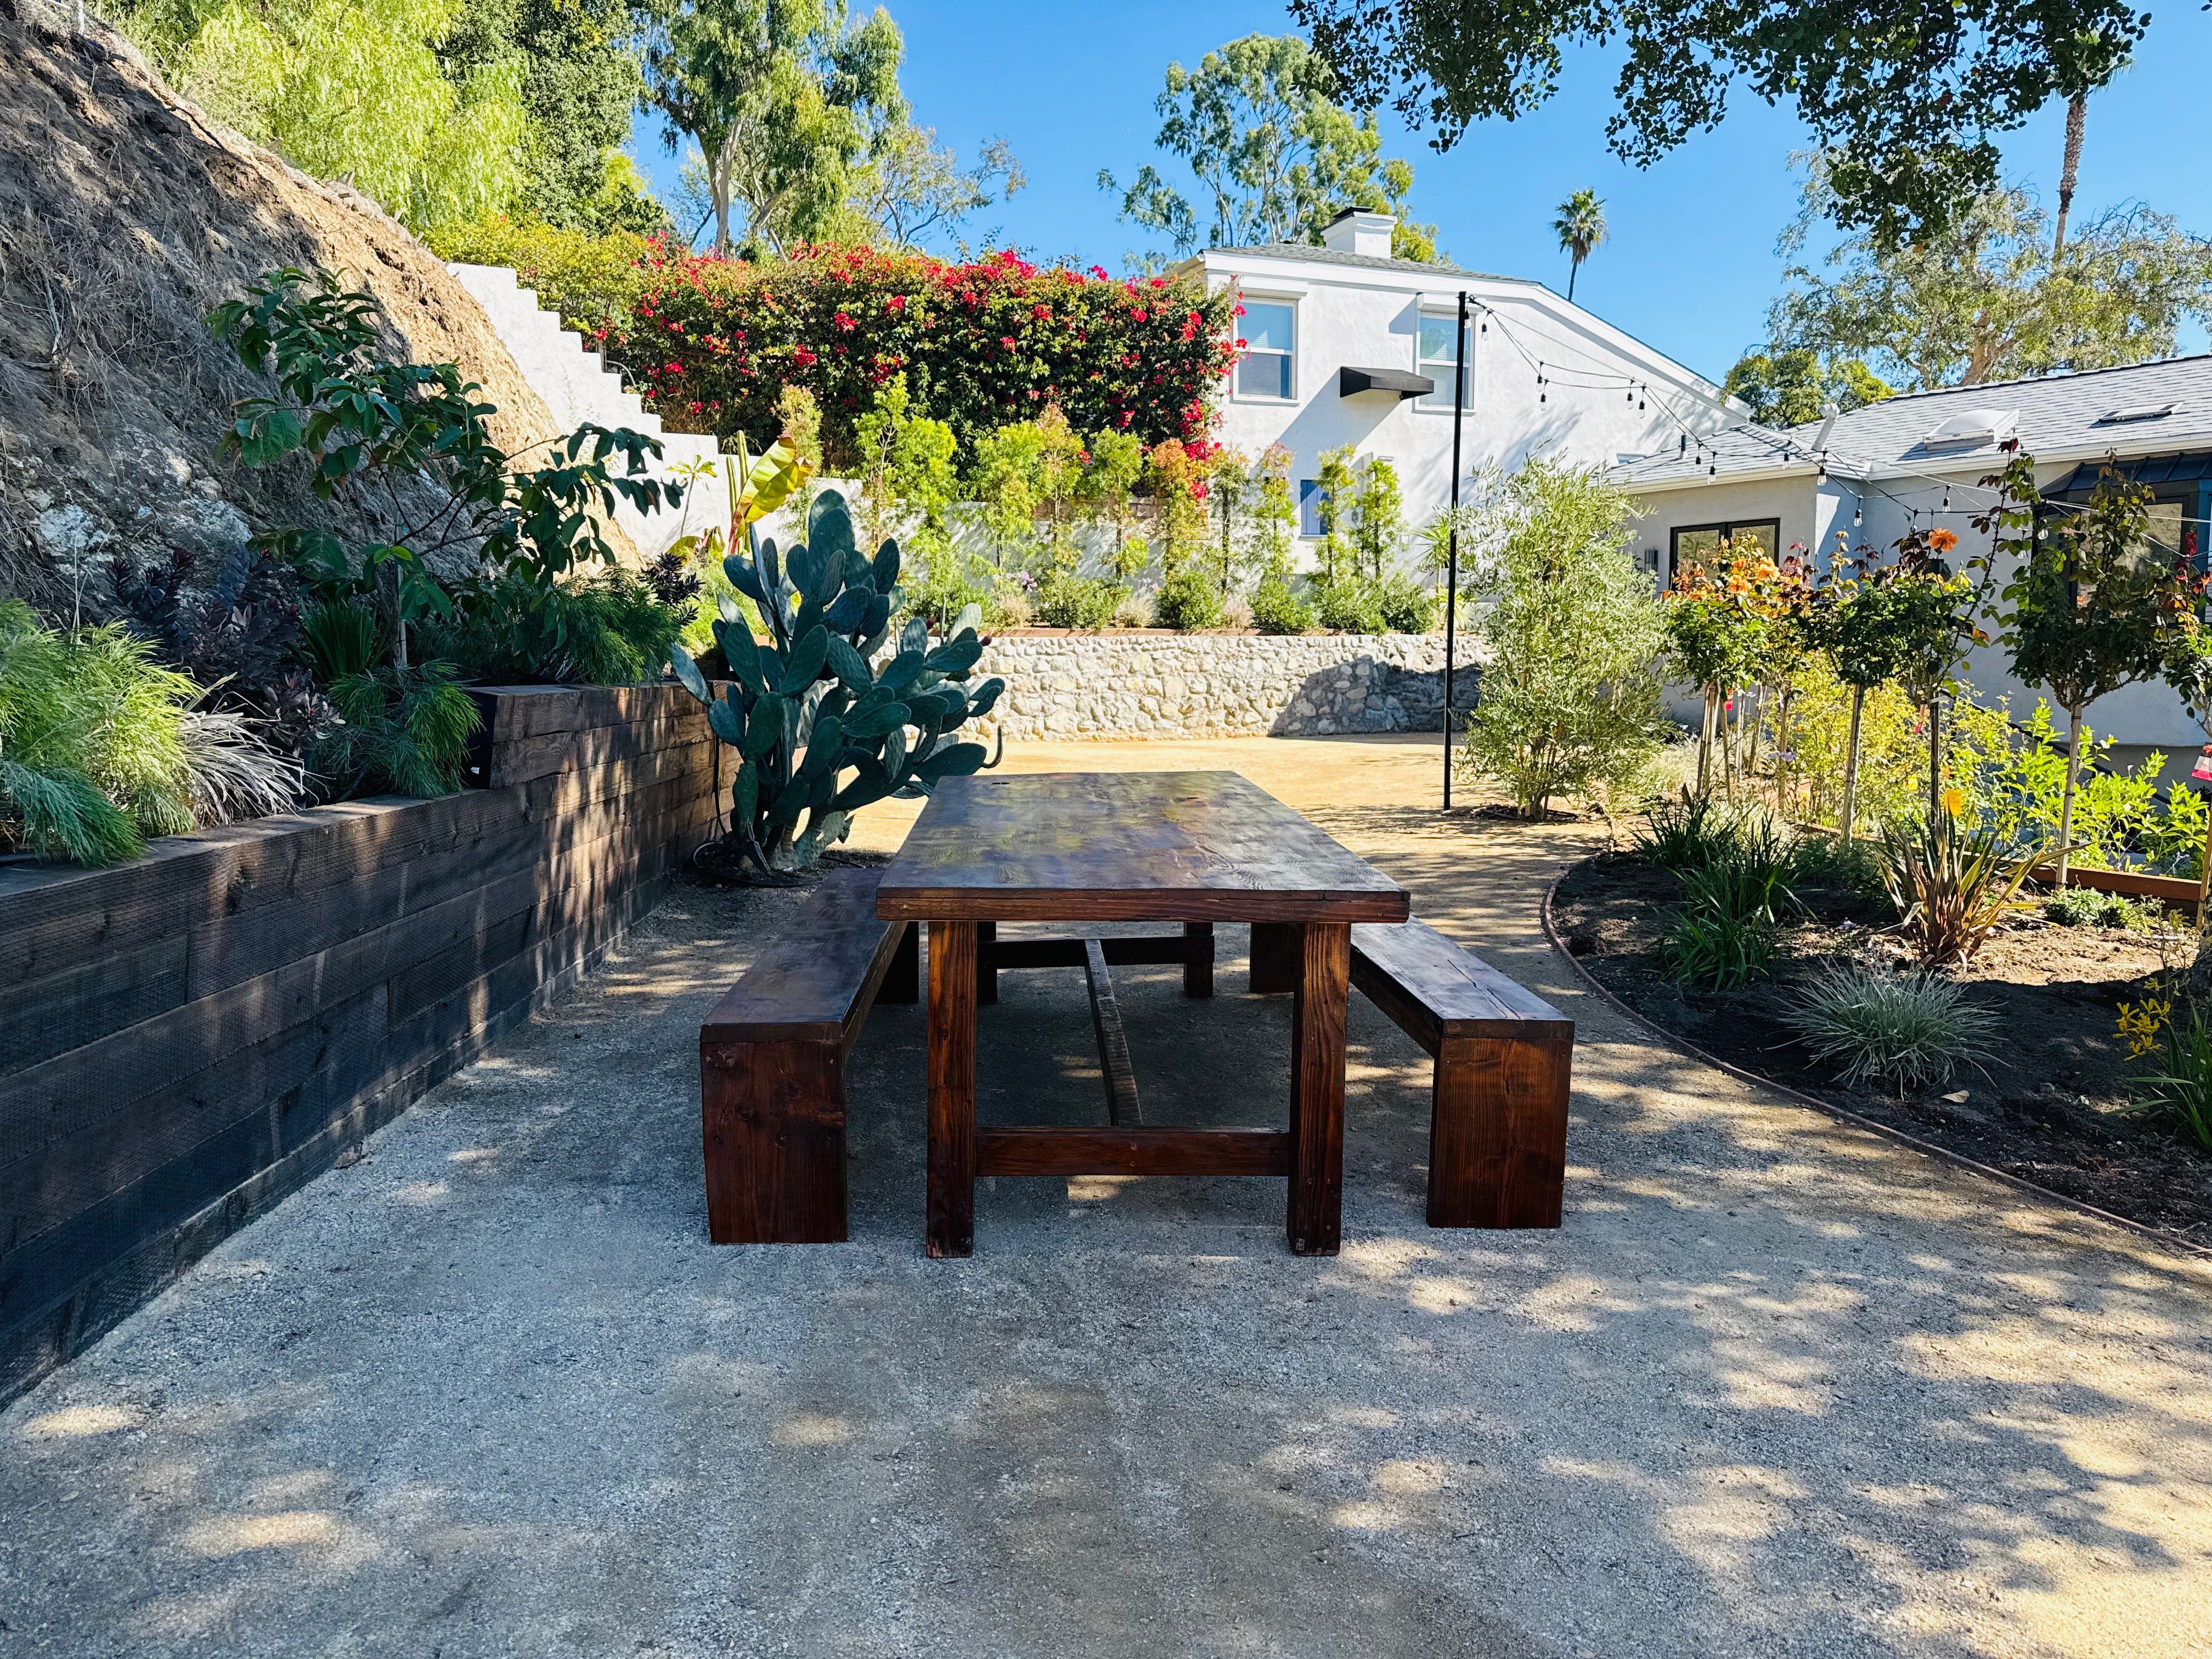
Fast forward to this year. We had just finished remodeling our backyard, and I was on the hunt for a dining table, something big and full of character, and a smaller one just for us when we weren’t entertaining. On a whim, we decided to tempt fate again and head to the Rose Bowl. And wouldn’t you know it, luck was waiting. Not only did we find outdoor furniture (made by Zation Wood Works), but we also found the mirror I had been searching for all these years. Heavy brass, beautifully aged, etched with intricate patterns that catch the light just right.
The outdoor tables and benches came with their own story, too. They are made from reclaimed wood floors salvaged from old Los Angeles homes. I love that. When I look at them, I imagine they have lived many lives before ours, seen things, heard whispers, maybe even held secrets. Perhaps those floorboards once felt the boots of a pirate or covered treasure tucked below.
Now they sit in our backyard, watching the sun move across the day. And I like to think that in their long journey through time, they somehow found their way home.
Lemon Couscous Chicken with a Burst of Freshness
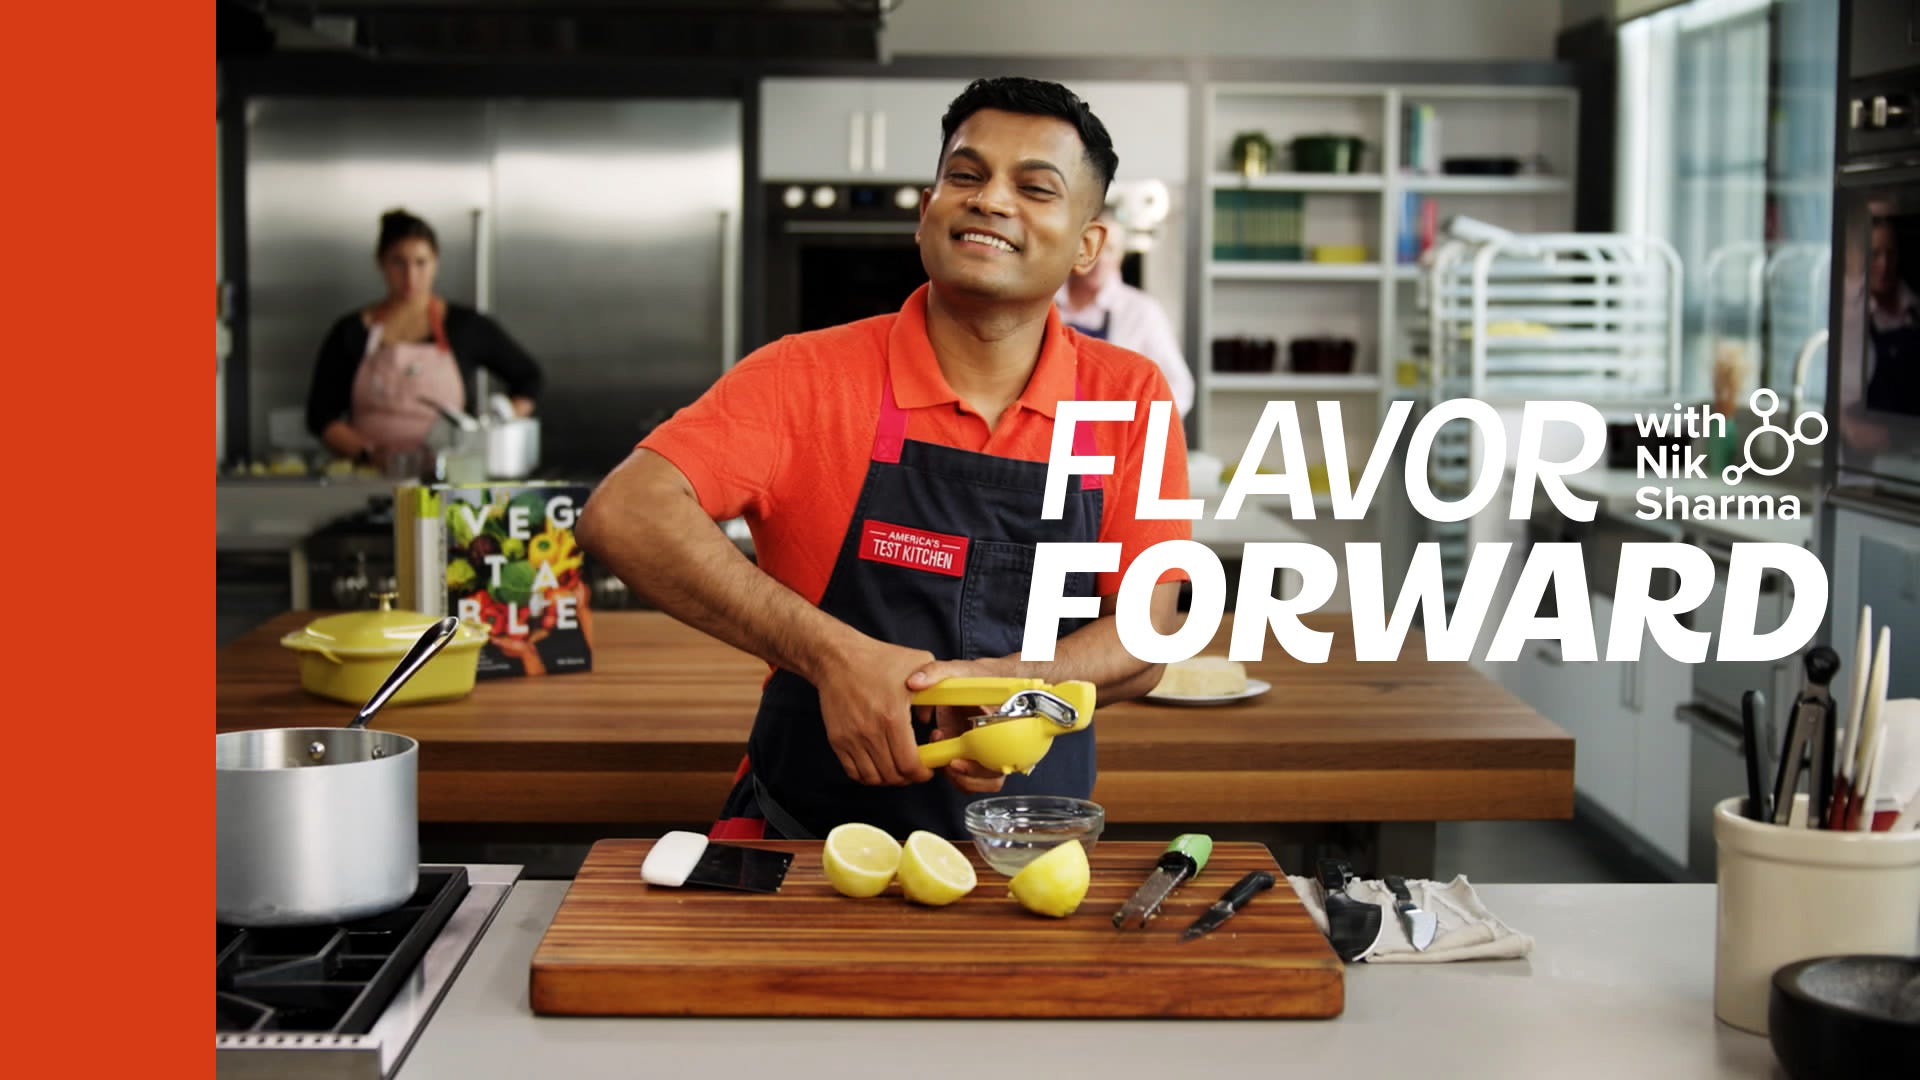
If you’re craving something cozy but full of brightness, this week’s recipe is it. Inspired by my love for citrus and easy one-pan meals, Lemony Chicken with Chickpeas, Artichokes, and Pearl Couscous brings sunshine straight to the dinner table. The chicken thighs soak in a lemon-spiked marinade with smoked paprika, turmeric, and oregano before crisping up and finishing atop toasted couscous, tender artichokes, and creamy chickpeas. A drizzle of lemon dressing and a handful of arugula pull it all together into something that tastes like you spent all day cooking, even though it comes together surprisingly fast. Learn how to make it on the latest episode of Flavor Forward.
Missed an episode? Watch all episodes of Flavor Forward!
Best Fall Cookbooks of 2025: New Must-Read Releases for Every Kitchen
Every fall brings a wave of new cookbooks, and this year’s lineup feels especially thoughtful. From Helen Goh’s tender reflections on baking to Hetty McKinnon’s gatherings built around food and music, these books celebrate the ways cooking connects us. I’ve rounded up my favorite fall cookbooks of 2025, each one full of stories, flavor, and heart.
There’s a lot going on when you write a cookbook. You begin with an idea, then spend a year or two testing and developing recipes. Once the first draft is done, it goes through a developmental edit where the editor gives feedback on what you’ve done so far and offers up changes, ideas, or things to reconsider.
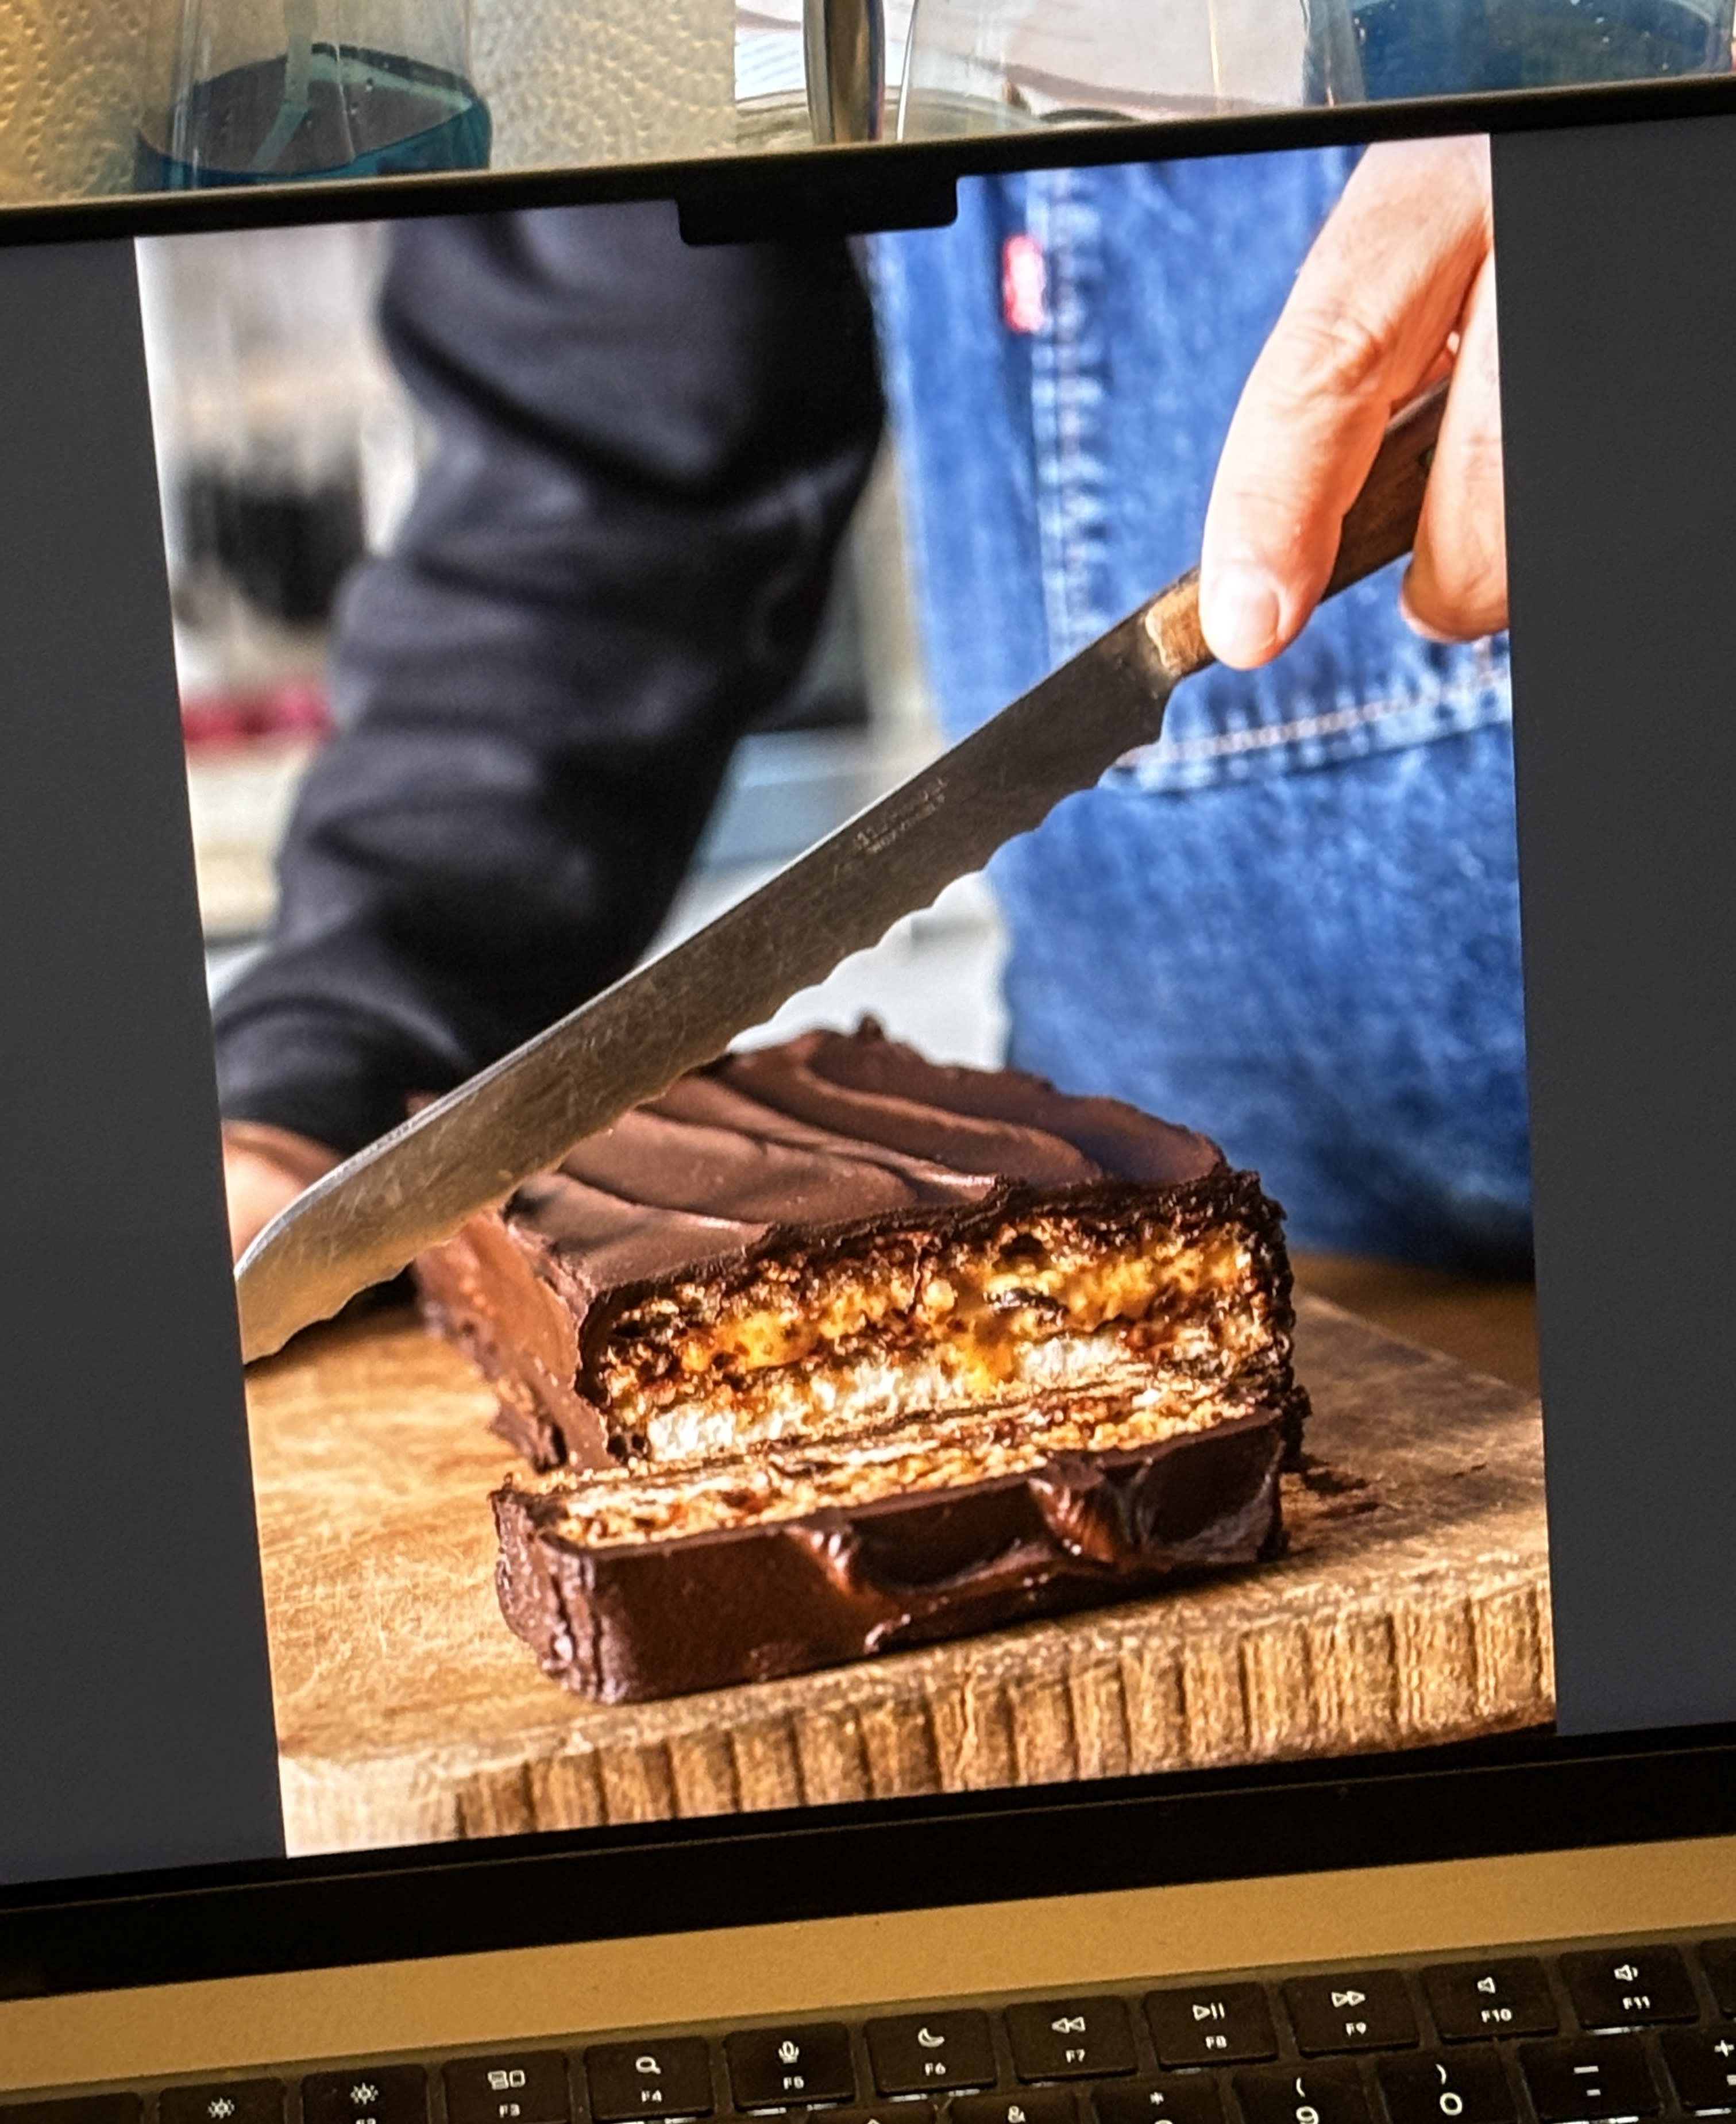
One of my favorite pictures from Ready for Dessert: Slicing the Marjolaine, which is also one of my favorite recipes in the book. (Photo by Ed Anderson)
After you’ve implemented those (or not), it then goes to a copy editor who checks grammar and spelling, as well as scans the recipes for omissions or gaffes, such as forgetting to say when to add an ingredient, and checks your metric conversions. I’ve seen more and more books lately that also credit an “Americanizer,” who presumably takes on that last task, since conversions are a big lift. I kid you not. I’m pretty sure I could write two cookbooks a year if we all used the same system of measurement.
The book then goes to a production editor, who makes sure everything is in the right place, then to a proofreader. (Not all publishers do all these steps. Mine does.) During the process, cookbook authors often send recipes to testers to give the recipes a go and get feedback. Some authors have people develop recipes but I give a tester the finished recipe and get feedback on that.
Shooting some of the desserts in our backyard.
If the book is going to be photographed, food stylists generally make the recipes for the photos, although in some cases, the author does. (Which I’ve done.) But it’s a very big job organizing and planning the shoot, then gathering all the ingredients and making everything, which is especially challenging if you plan to shoot five different photos a day. Then there’s the cleanup afterward.
I was fortunate to have George Dolese and Elisabet der Nederlanden working as a team on my book since there were a lot of photos to shoot in 2 1/2 weeks. That’s a very long shoot, but my publisher wanted a lot of photos so we, along with photographer Ed Anderson, delivered.
George arrived with a 7-inch (18cm) thick notebook, and I was startled to see how organized he was. We’d corresponded a lot before he came to Paris, and he asked me what he should bring from the U.S. I said parchment paper circles, natural cocoa powder, Lazzaroni amaretti cookies (why can’t we get those here? Romain has been devouring the leftovers…), almond paste, and chocolate chips — among other things.
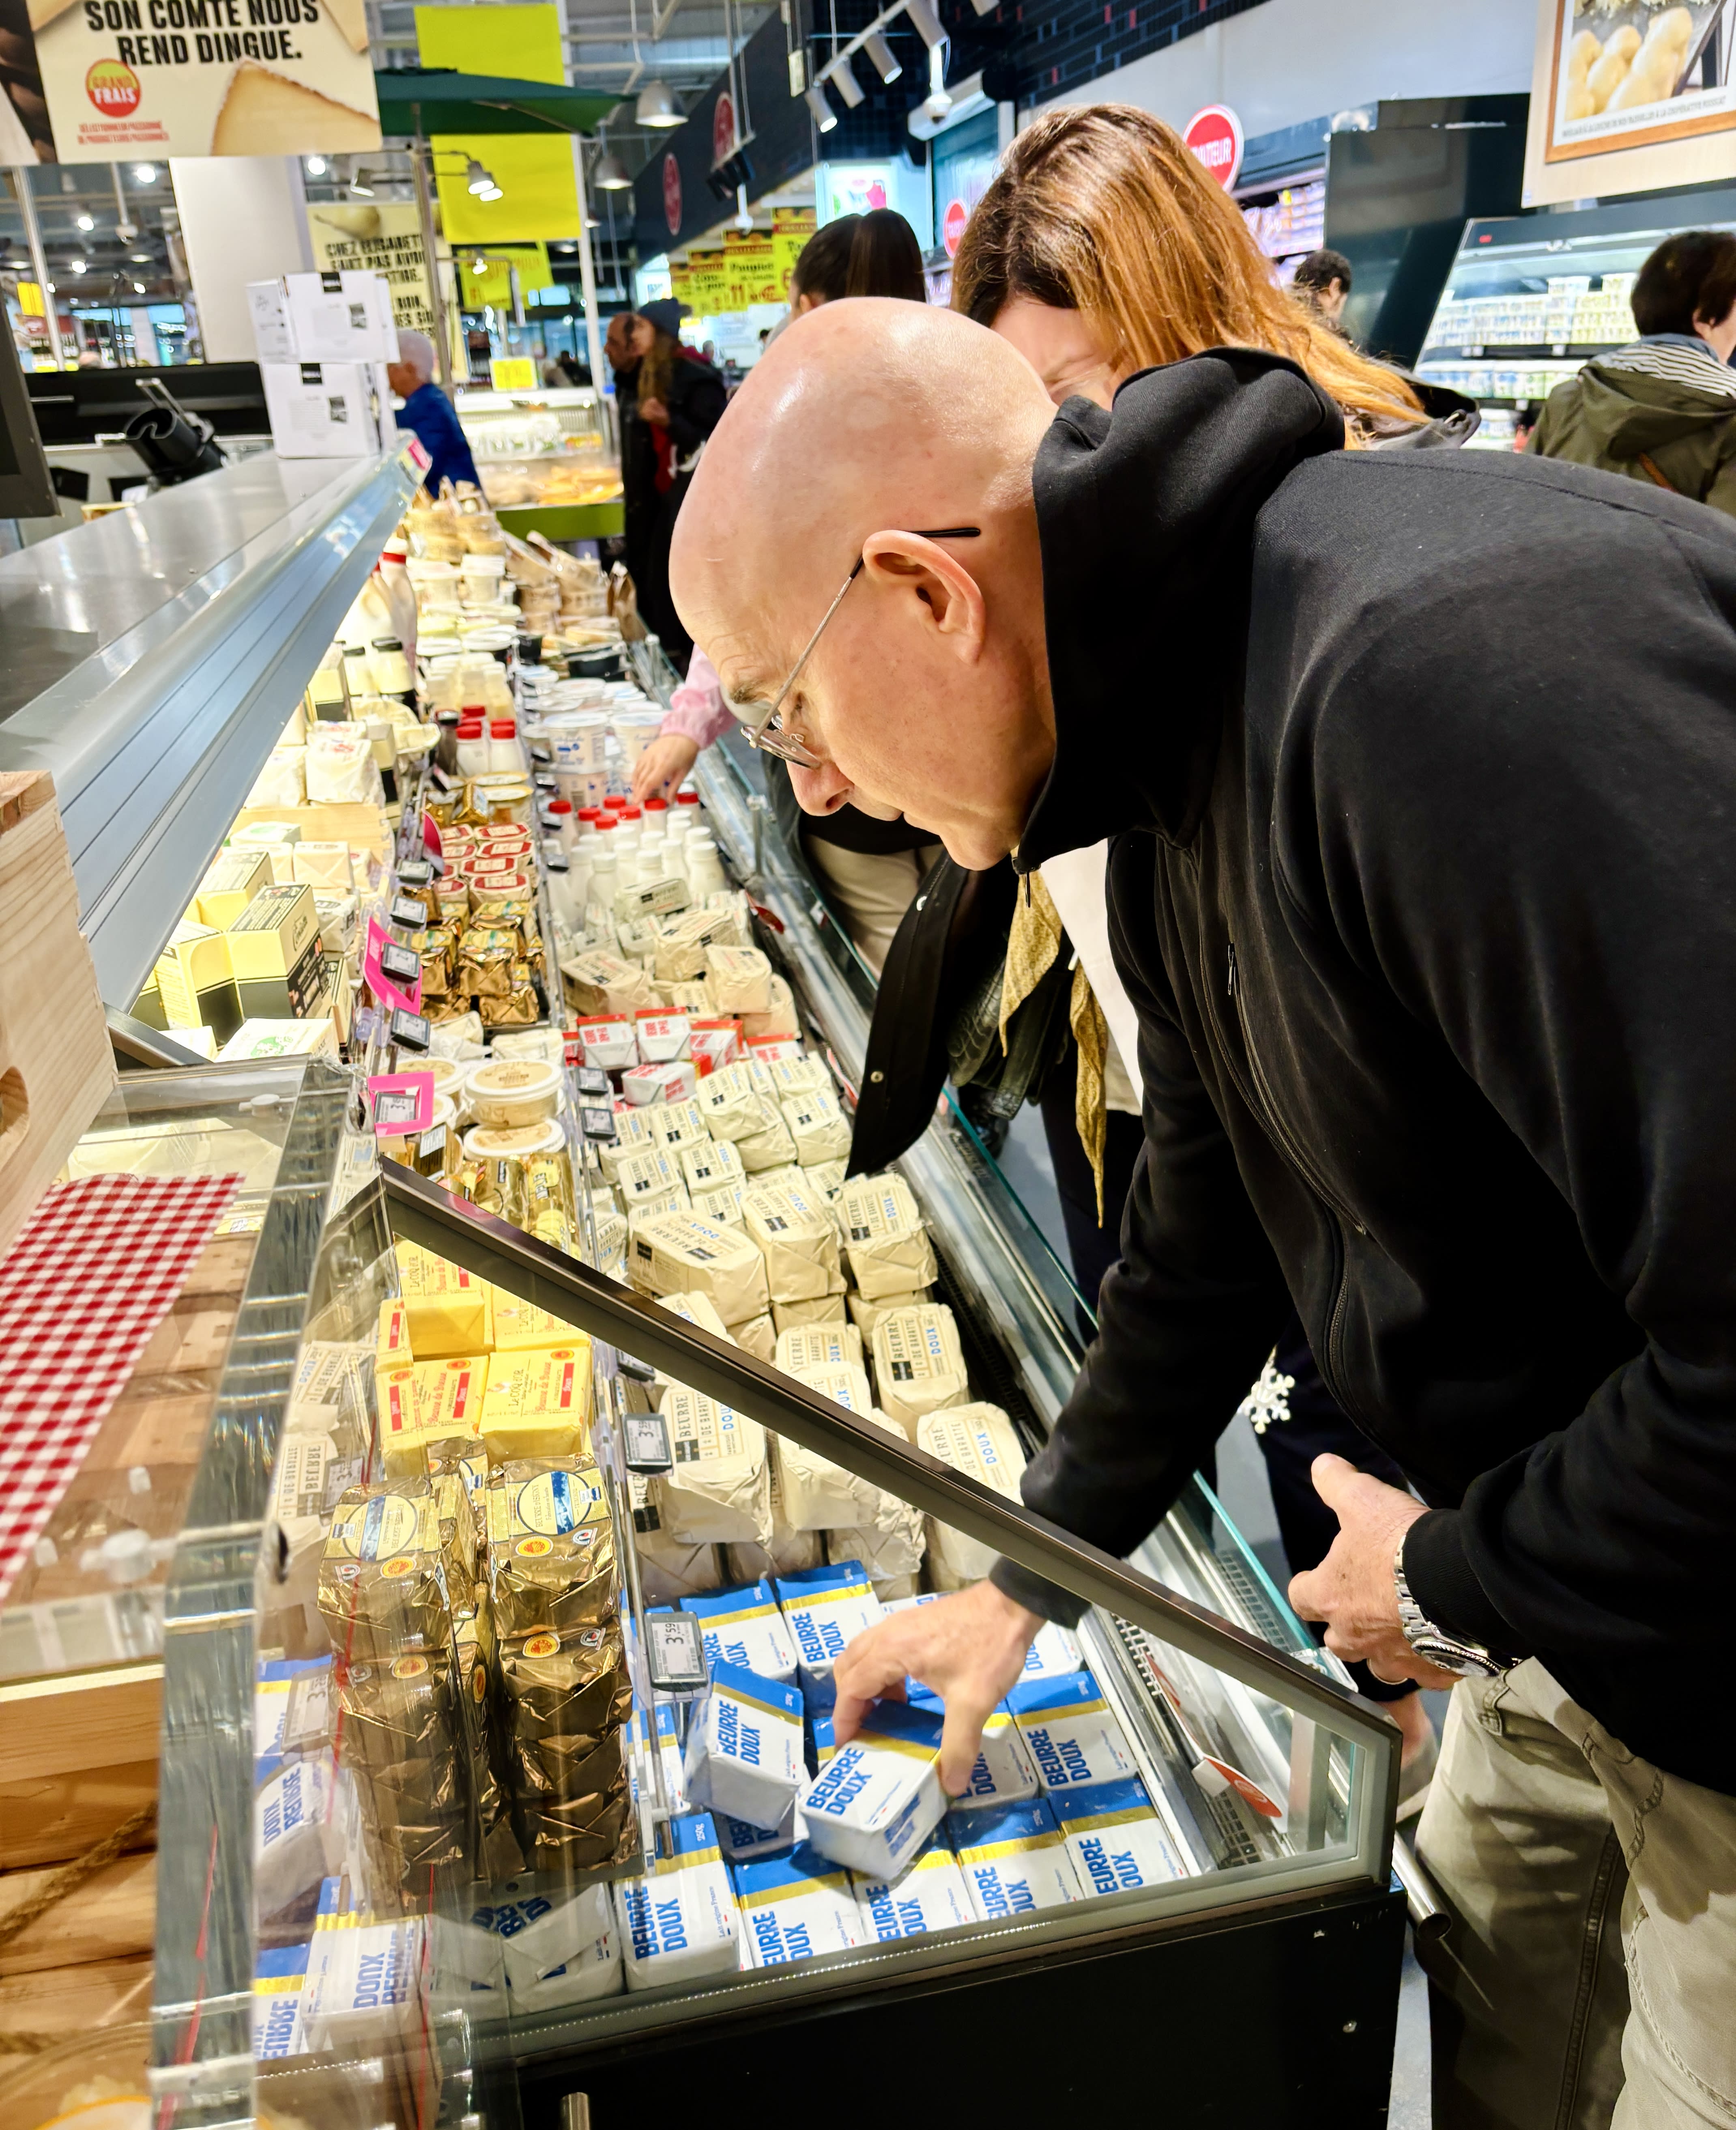
When George and Elisabet arrived, armed with massive shopping lists, I took them to a Grand Frais supermarket outside of Paris. For some reason there are no Grand Frais supermarkets in Paris, but they have a remarkable selection of everything, including aisles and aisles of every kind of fruit you can imagine, as well as a massive cheese aisle, a butcher, and shelves of nuts and baking ingredients.
Buying (lots of) butter at Grand Frais.
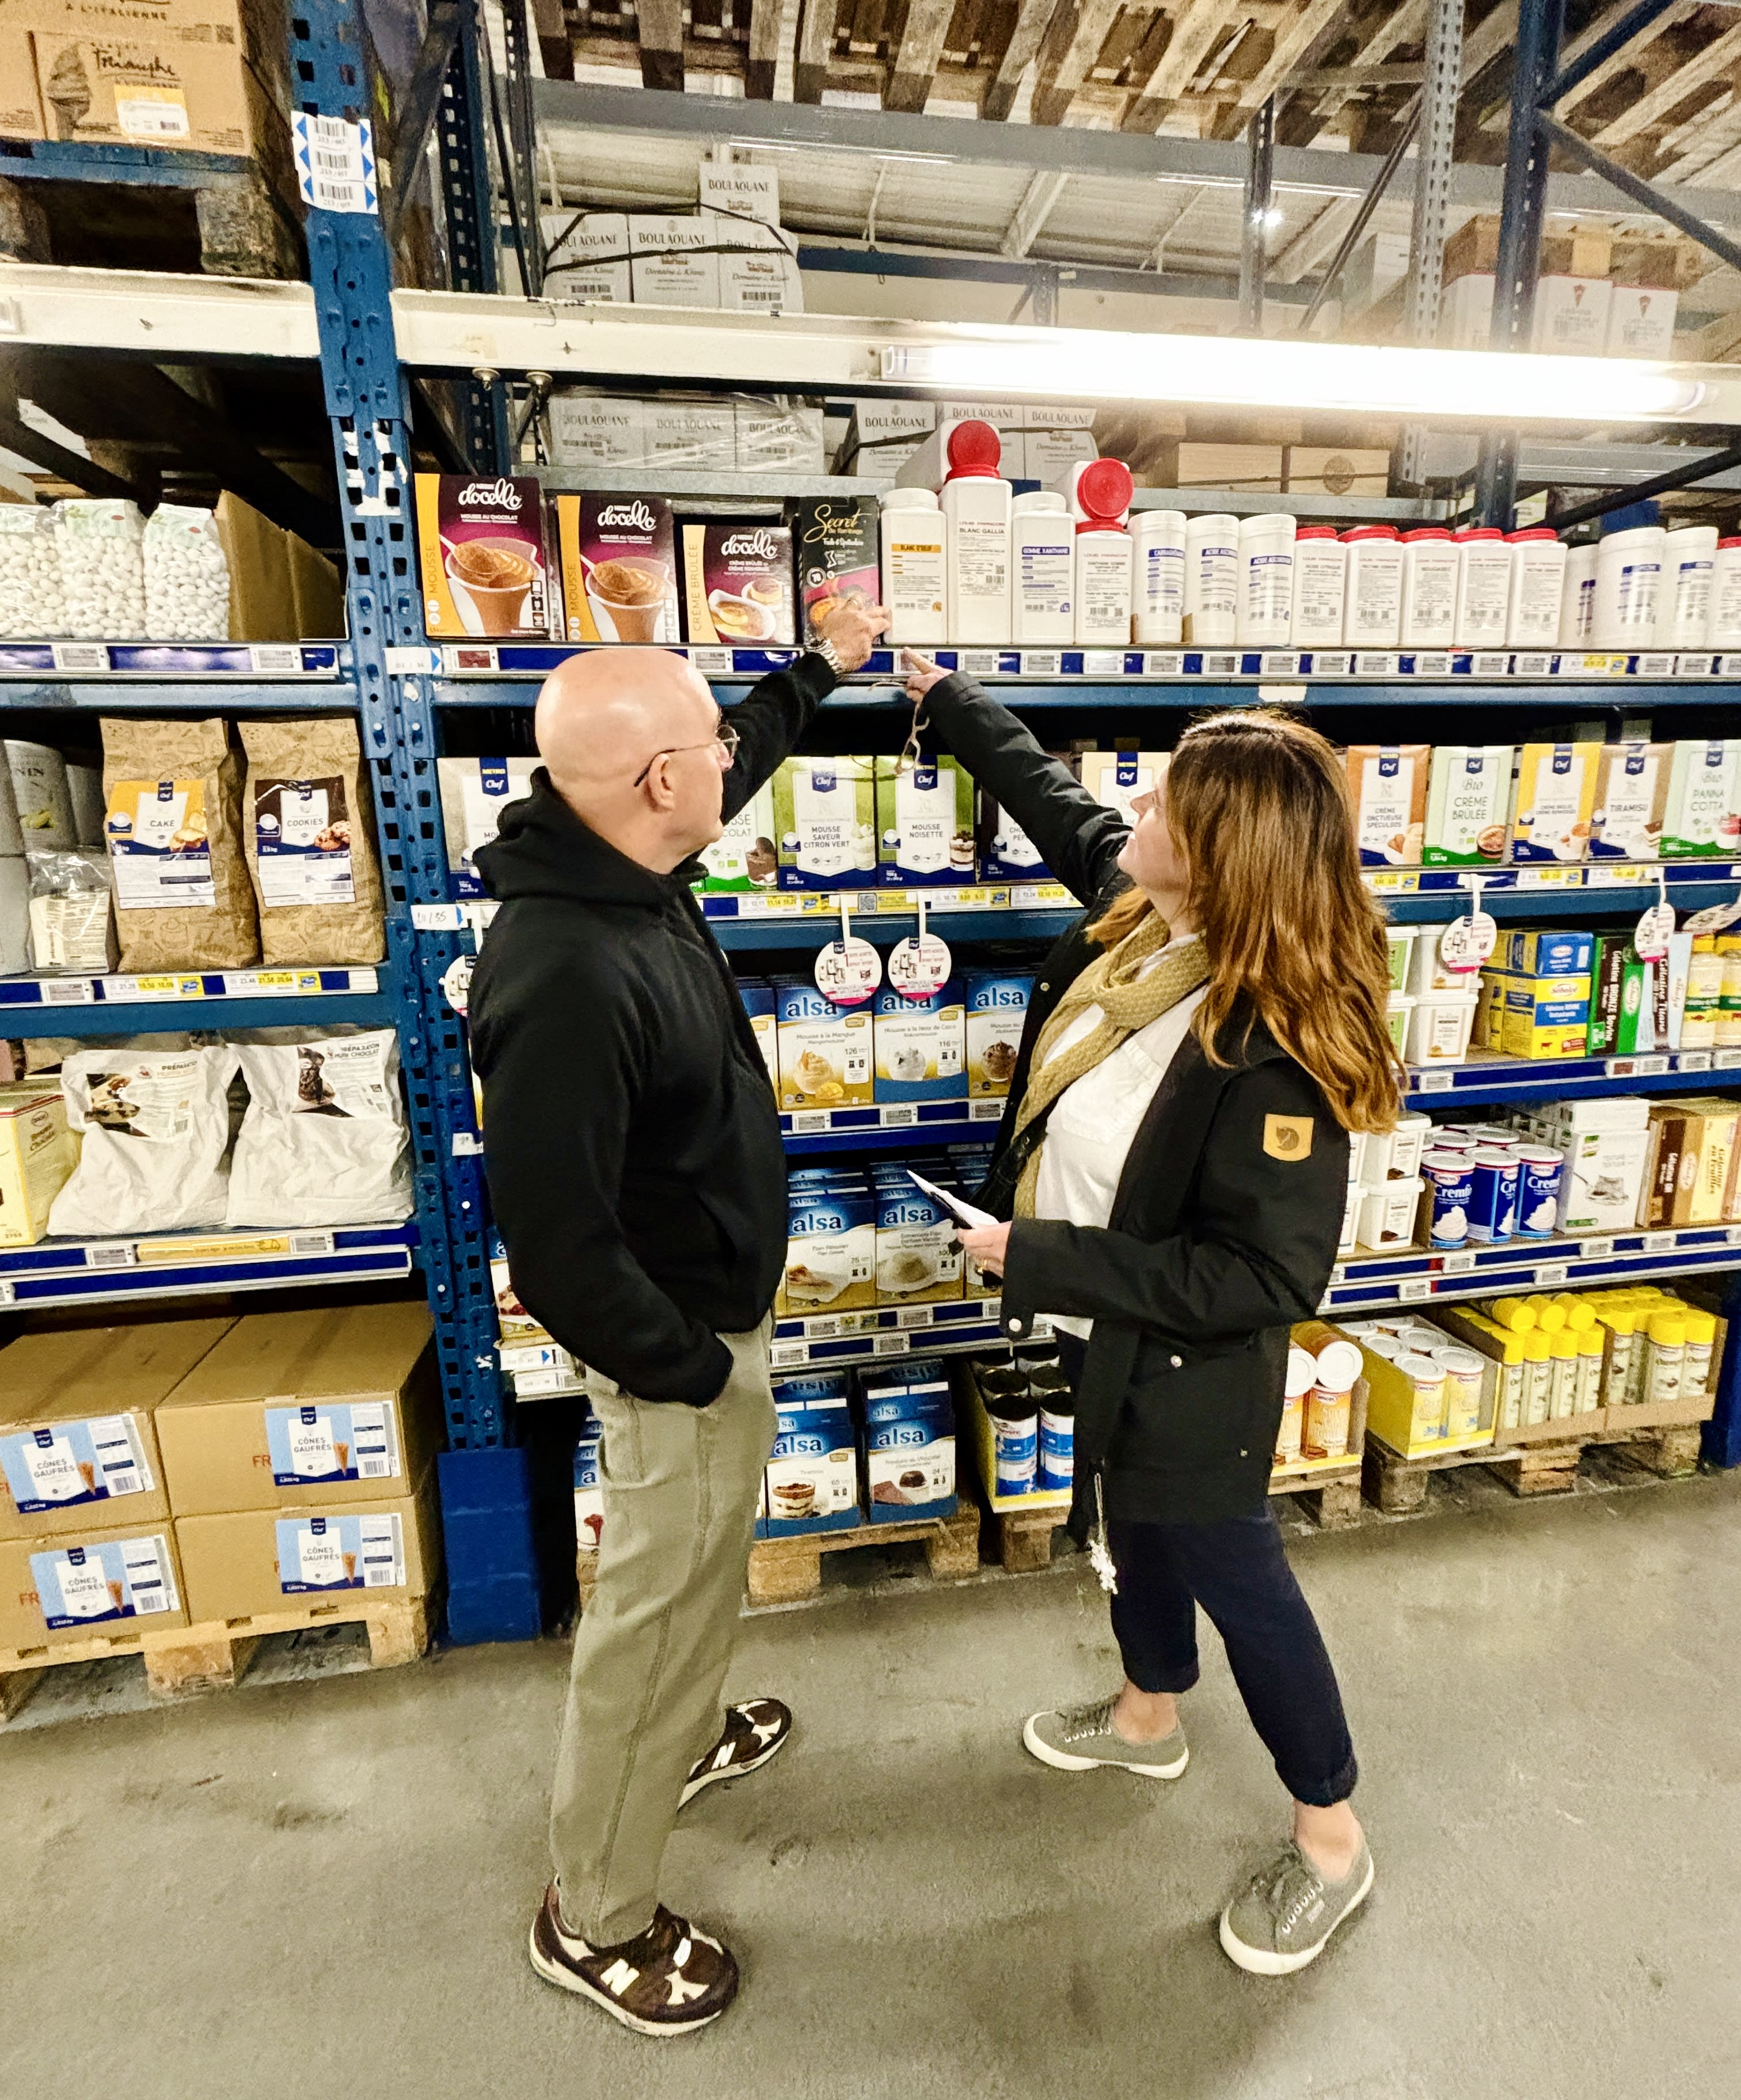
I also took them to Metro, a membership-only store that requires you to have a resale license. Elisabet is a particularly avid baker and went a little nuts in the baking aisles. She was especially wowed by all the various sugars available in France, from dark, moist cassonade (cane sugar) to crunchy pearl sugar.
Food stylists are invariably pros at cooking and often give valuable feedback if they run into any issues with the recipes. To be honest, food stylists do a better job than most of us can to make food look good for the camera. No one working on cookbooks uses fake food or anything like that, although when shooting pictures for the first edition of Room for Dessert (I was the food stylist on it), which became Ready for Dessert, I couldn’t find Concord grapes for the pie since it wasn’t grape season. A food stylist friend suggested that since it was only for a photo, I should use black olives. I used regular grapes instead and zhuzhed them up with some grape jelly for color.
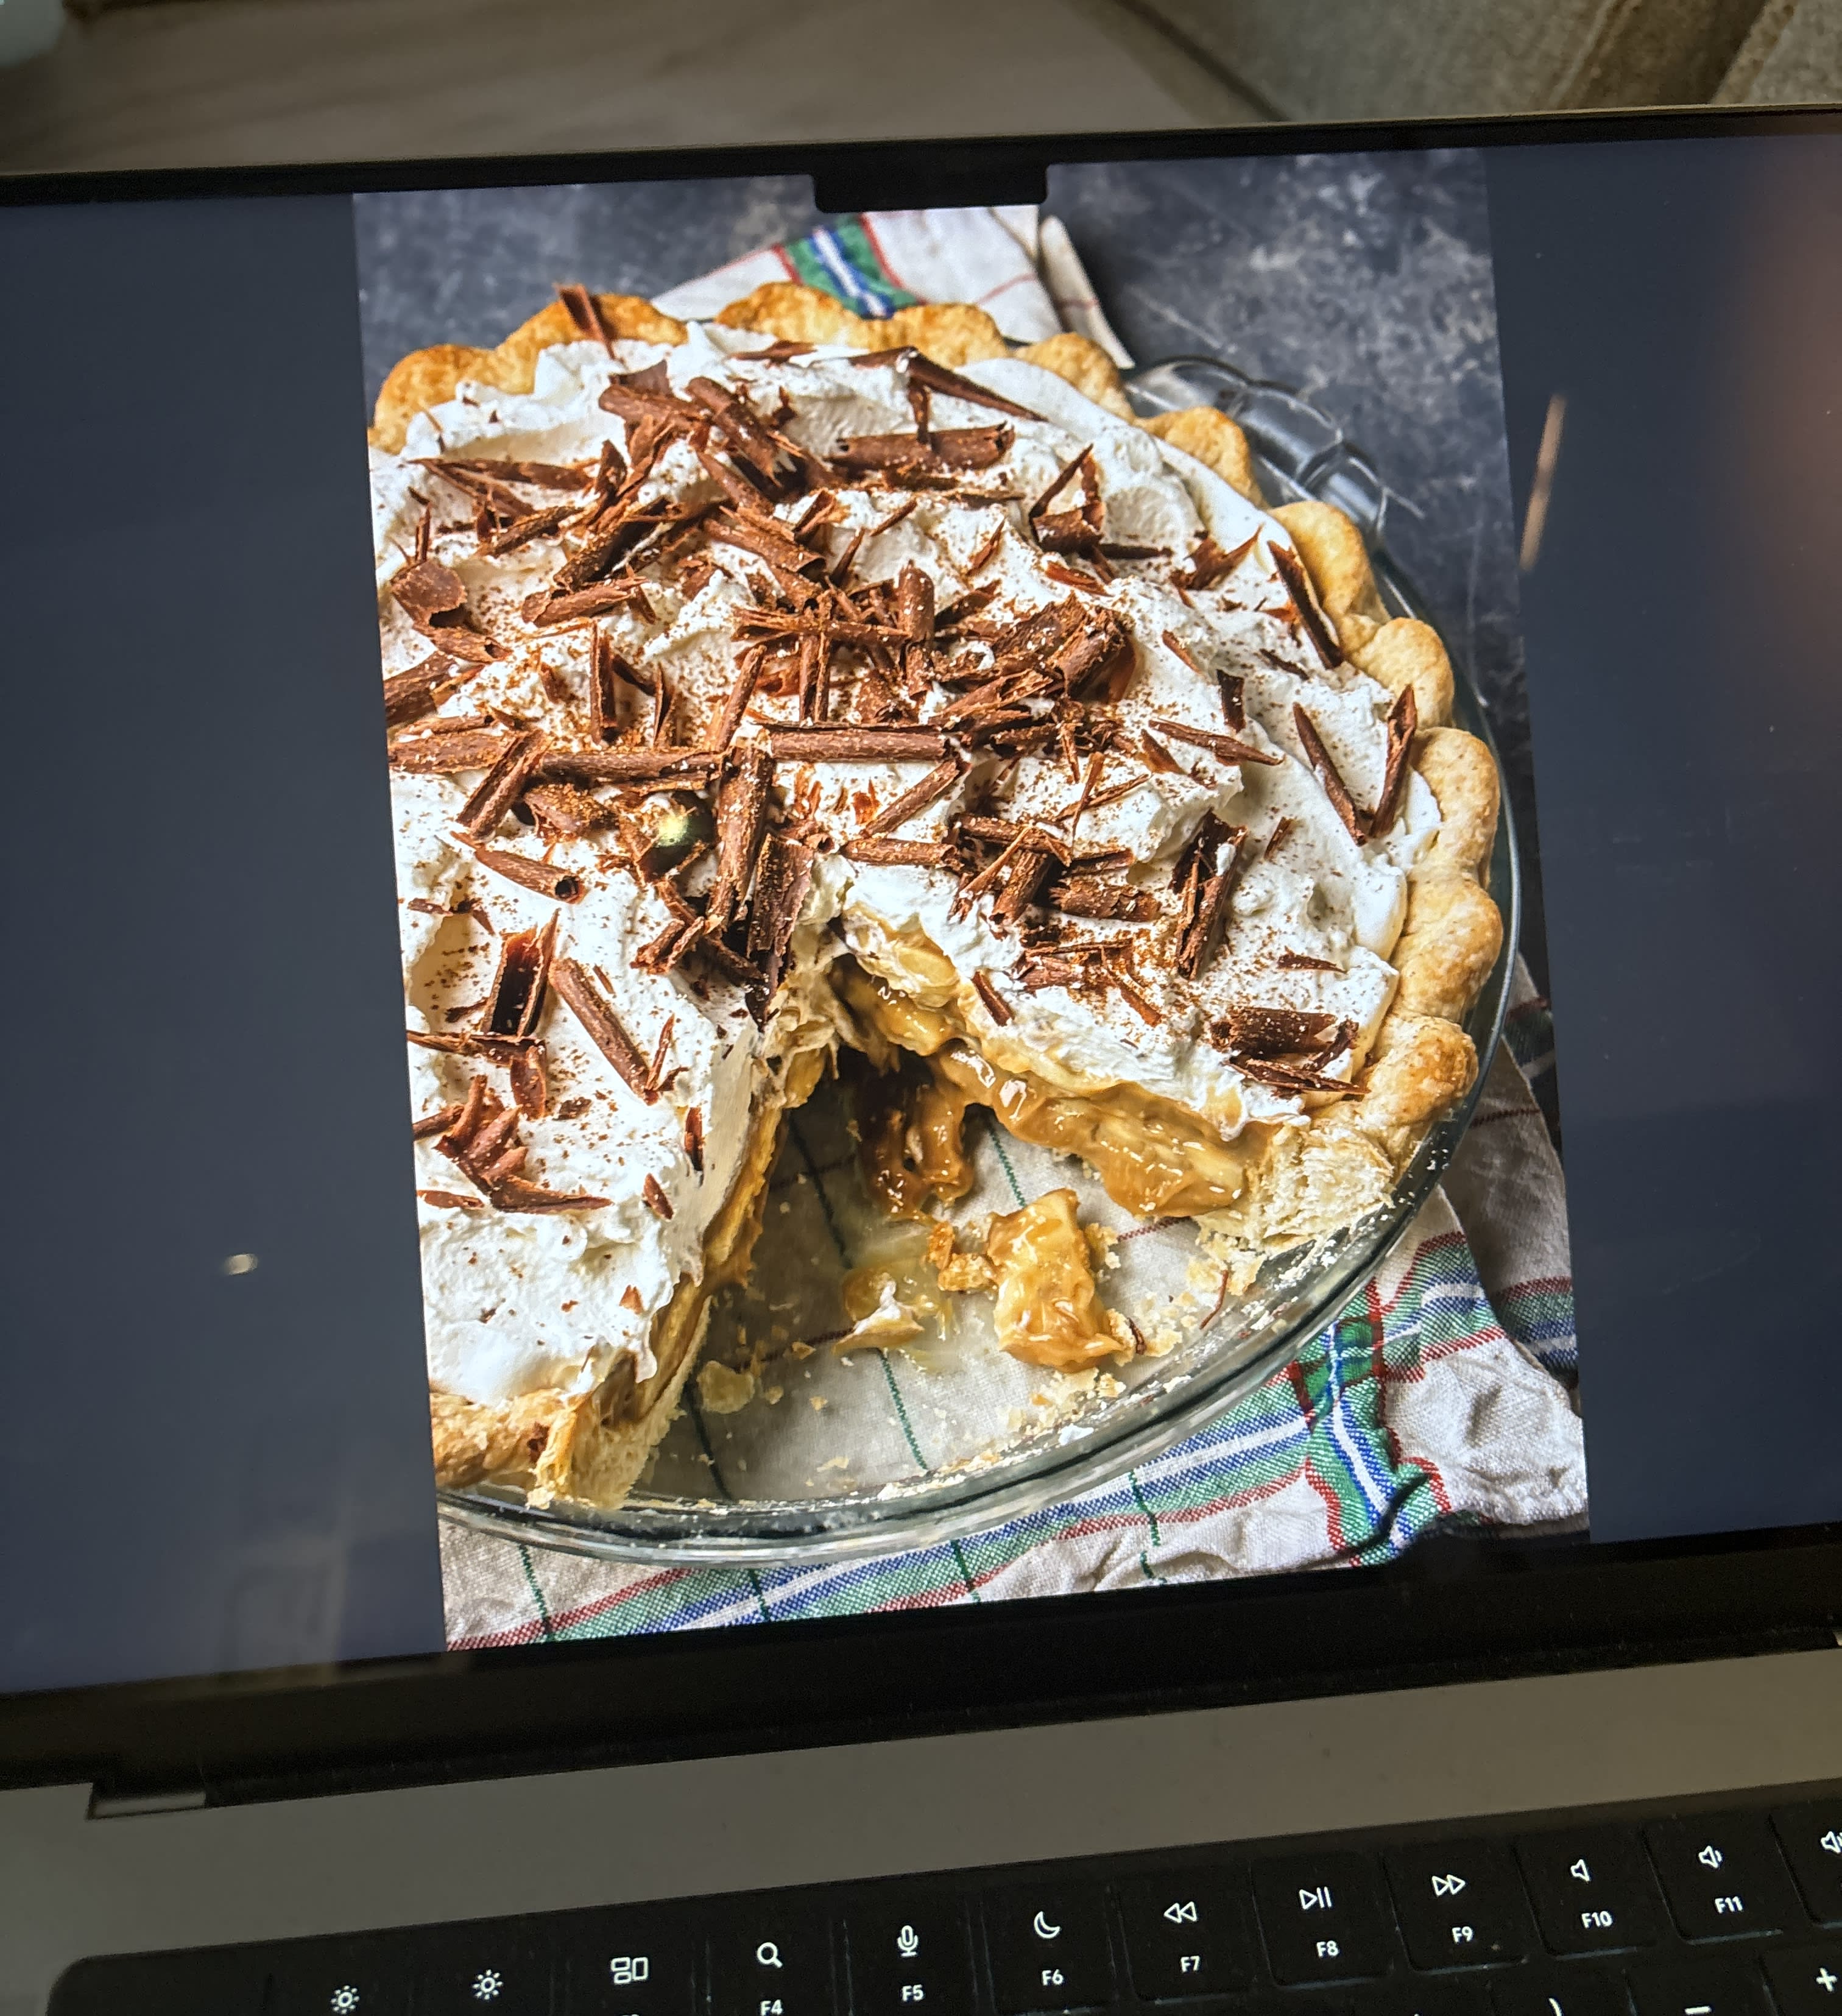
Banana butterscotch cream pie, page 100. (Photo by Ed Anderson)
Once the book is laid out and designed, with everything in place, the publisher sends a PDF of the book to the author to check and make sure everything’s A-OK. Then it’s off to the printer, and when you get the final book in your hands, you notice that tablespoon in one recipe is spelled “tablespooon.” (Which happened to me in another book.)
Photographer Ed Anderson and I took a coffee break when shooting out and about in Paris, here in the Place des Vosges. I had hot chocolate!
As the great Maida Heatter called them, “gremlins” get into cookbooks, no matter how hard you try to keep them out. Also, as someone who likes to tinker with recipes, I sometimes find different ways to make them. Books also have limited space, so it’s nice we have the internet to fill things in, as I’m doing here.
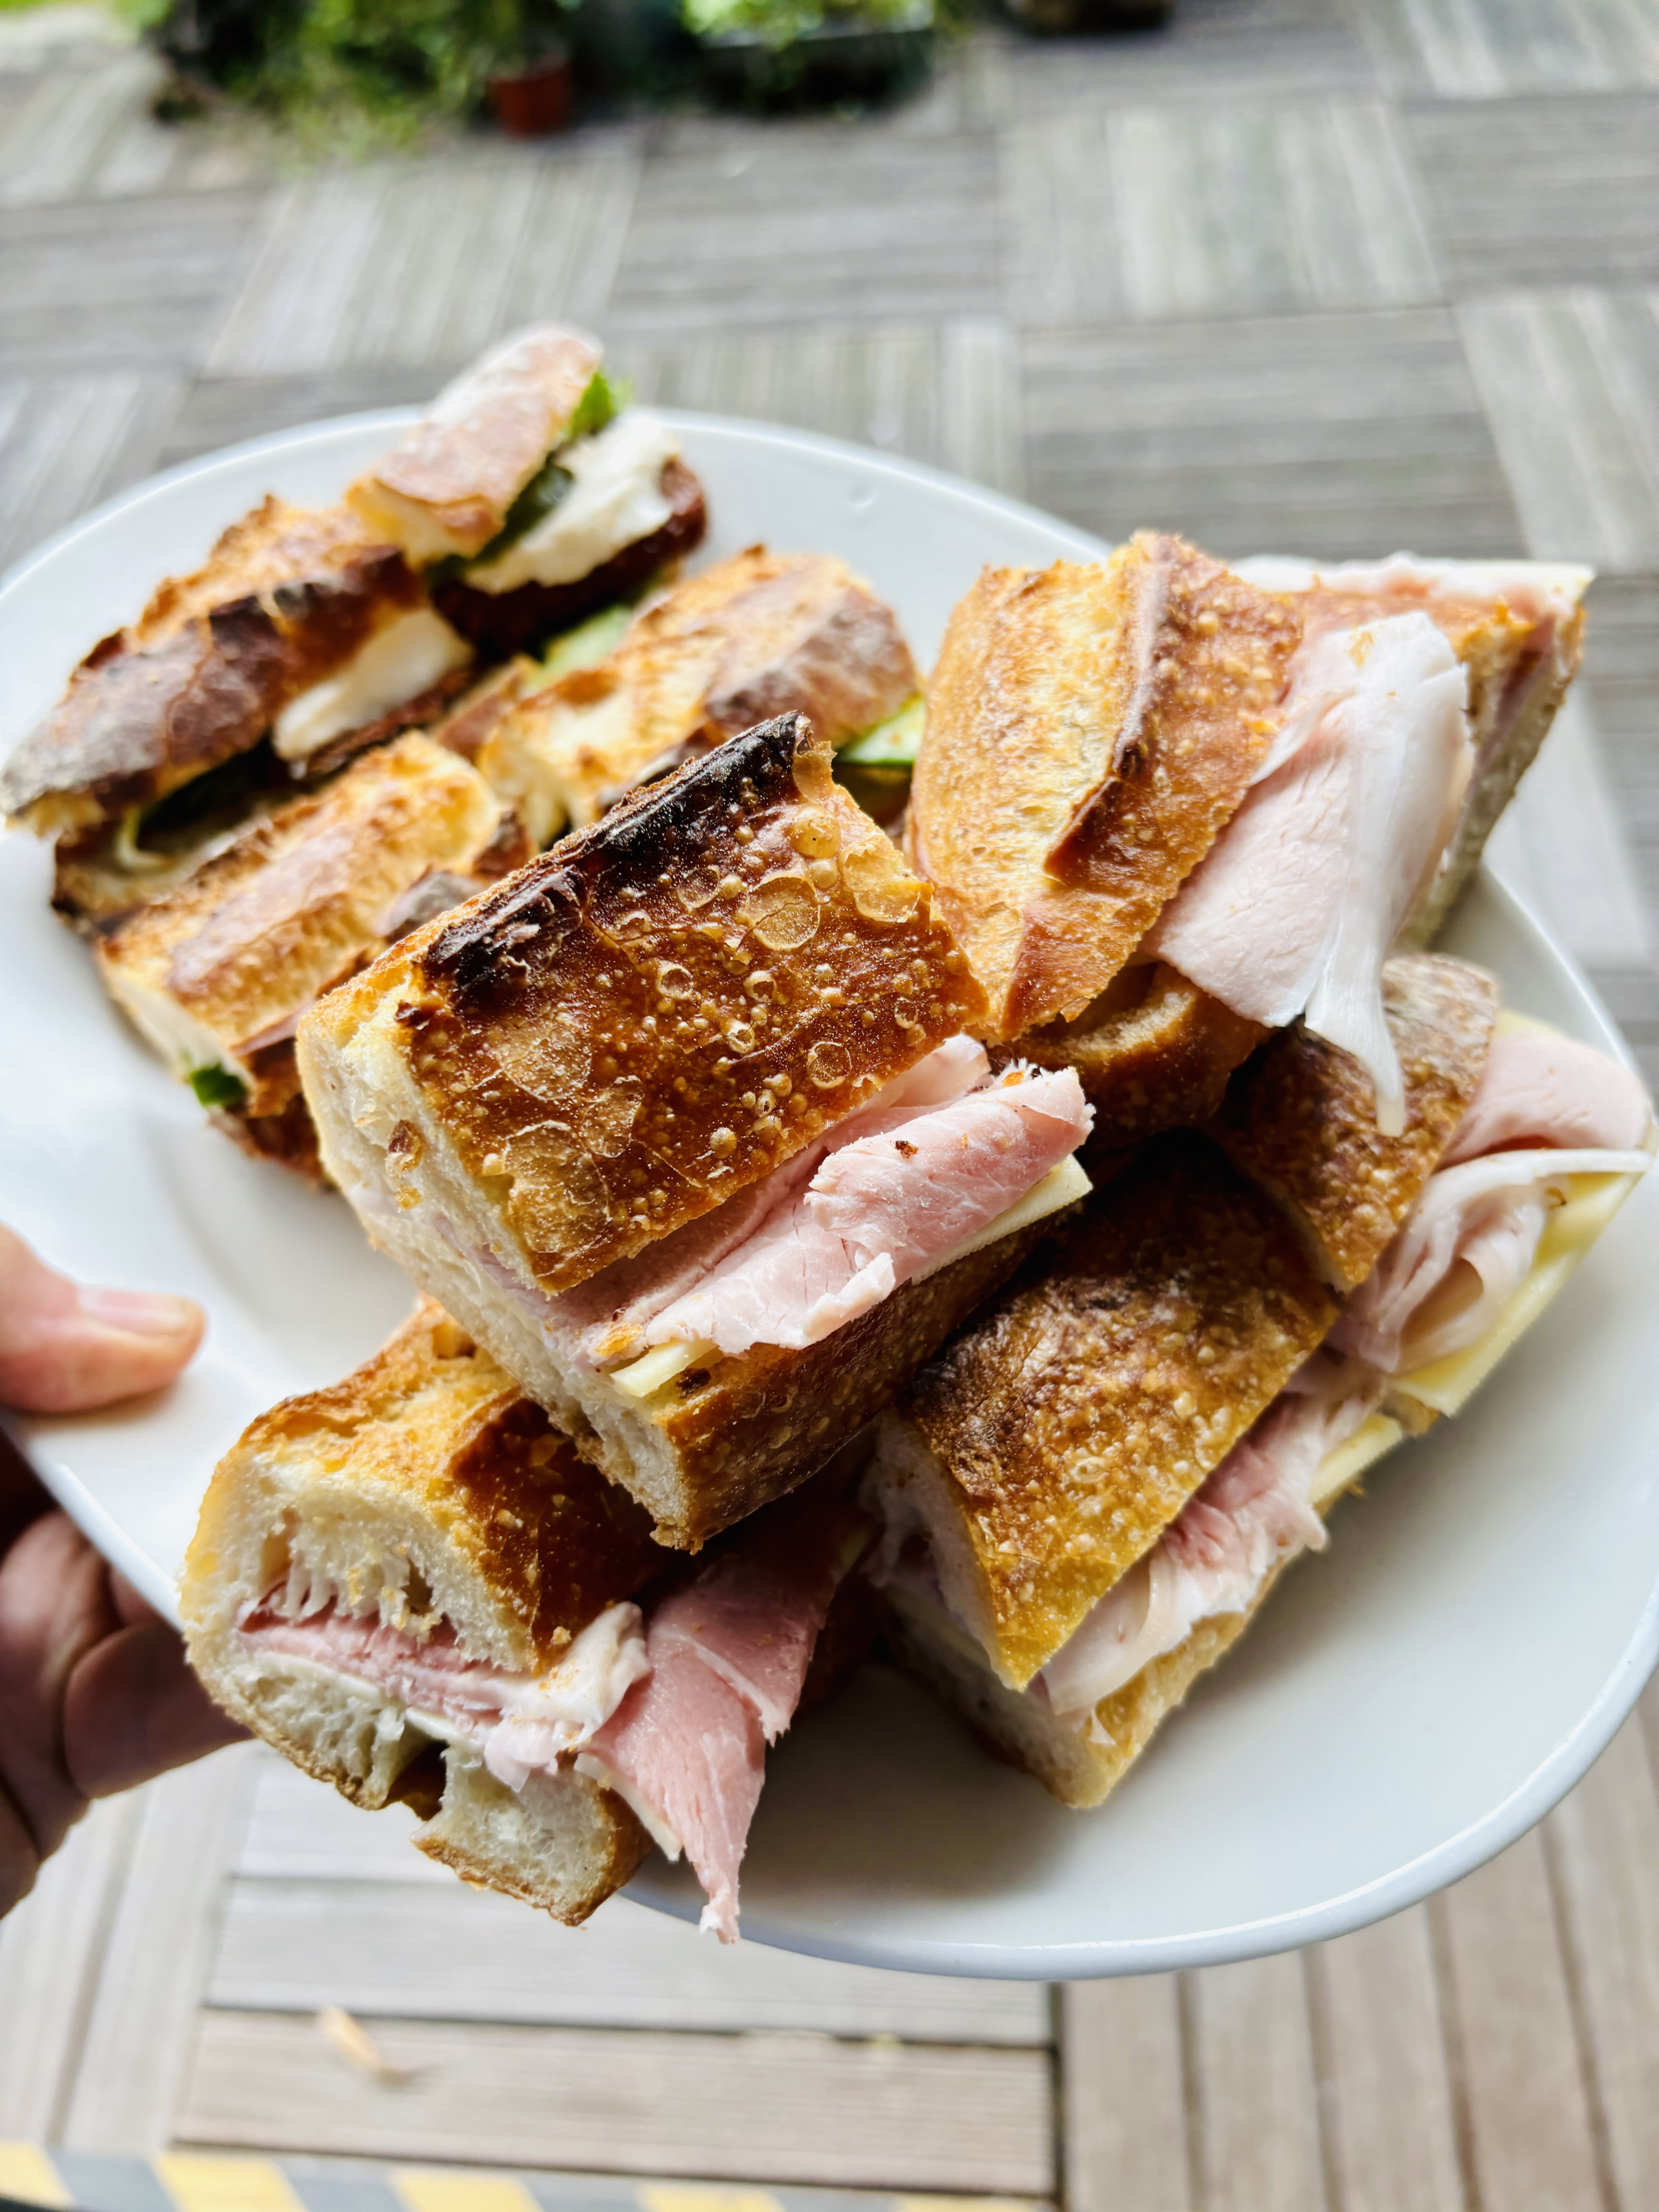
During the photo shoots, I was sometimes tasked with “staff meal.” I kept things pretty French for the crew, and jambon-beurre (ham and butter) sandwiches became the most requested meal…and I was happy to oblige.
Ready for Dessert Recipe Notes & Errata
Here are some additional notes about the recipes, including a few tips on baking times, a little errata the thickness of a cookie recipe, and an bonus recipe, that’s on the cover of the book.
– For the Easy jam tart (page 121), if the dough is a bit too sticky to press into the pan, put the pan with the pastry in it in the refrigerator or freezer for a few minutes to firm the pastry up.
– When making the Peanut butter and jelly linzertorte (page 103), if the ropes that you’re rolling by hand to place over the top break, it’s ok to place the pieces on top of the tart and simply pinch them together. They’ll bake up beautifully. While a lattice topping is traditional on linzertorte (which is really a tart), baker Jessie Sheehan suggested that the dough could be crumbled over the top of the tart, which I’m going to try the next time I make it.
– For the Panna cotta recipe (page 161) you can reduce the amount of sugar to 1/4 cup (50g), and you can omit the cinnamon and lemon zest if you want them with those flavorings in them.
– For the Croquants (page 251), yes, the batter is measured out in teaspoons, one per cookie, which is the measurement in the book. It makes cookies the size they are in France, the cookies in the photo on the left. (It doesn’t seem like a lot of batter when you are making the cookies, but the batter spreads as it bakes.) You are welcome to make them larger, like the cookies on the right. You may need to increase the baking time another minute or so, until they’re toasty brown across the top.
– For the Pâte à choux recipe (page 276), the yield will vary depending on the size you pipe the dough. You may get twenty puffs if you pipe them larger, which is fine!
I also like to play with the temperature of the oven, depending on how I feel that day. Life isn’t always cut-and-dry, and neither is pastry dough. And as I’ve said before, recipes aren’t set in stone. If they were, cookbooks would be very, very heavy.
While the baking temperature in the first printing of the book has you baking the puffs at 425ºF (220ºC), I’m wondering if that’s too high for people? I like my puffs very crispy so that’s fine with me. But if yours are getting too dark for your taste, you can take them out before the recommended baking time. Similarly, you don’t need to keep them in the turned-off oven for 5 minutes after baking.
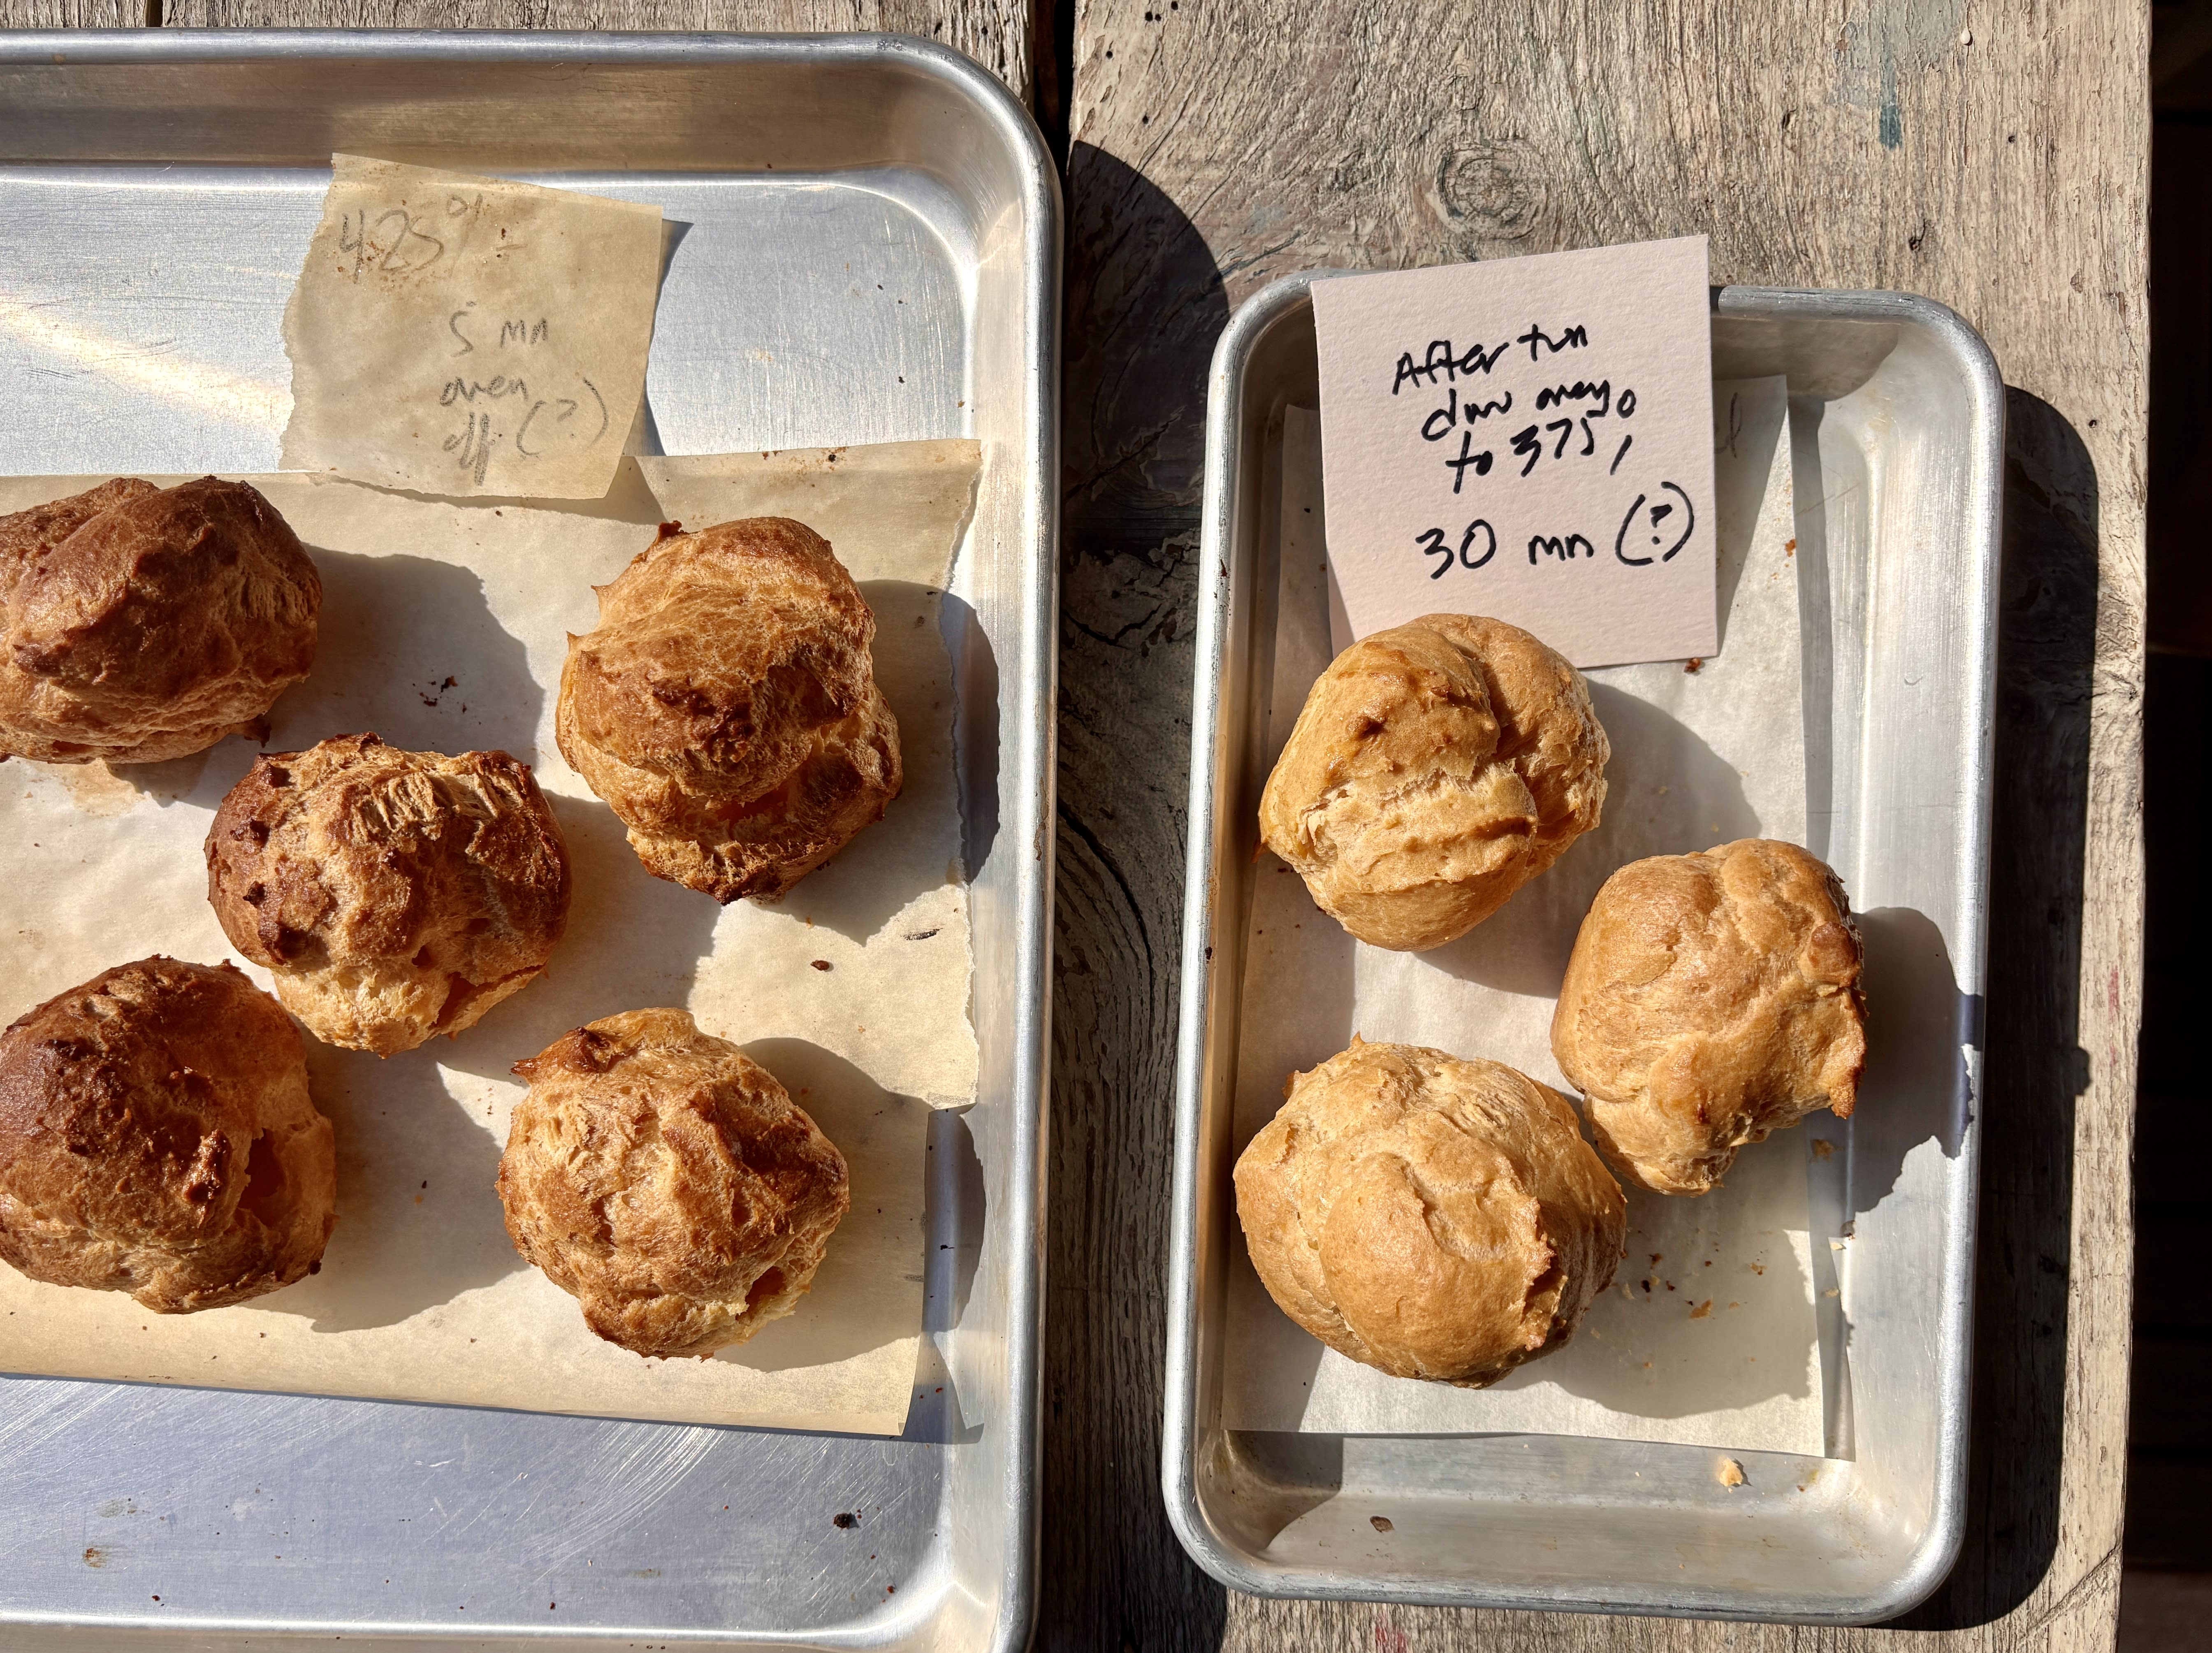
Another way I prepare pâte à choux puffs is to bake them in a 425ºF (220ºC) oven for 5 minutes, then turn the oven down to 375ºF (190ºC) and bake them until they’re golden brown. You can see the difference here:
On the left, baked at 425ºF/220ºC only (as the recipe appears in the book). On the right, puffs that were baked for 5 minutes in a 425ºF/220ºC oven, then turned down to 375ºF/190ºC.
When baking, always use visual clues to check for doneness, rather than strictly adhering to a baking time. When I baked professionally, we used a timer to remind us that something was in the oven. We never relied on it to tell us when something was done.
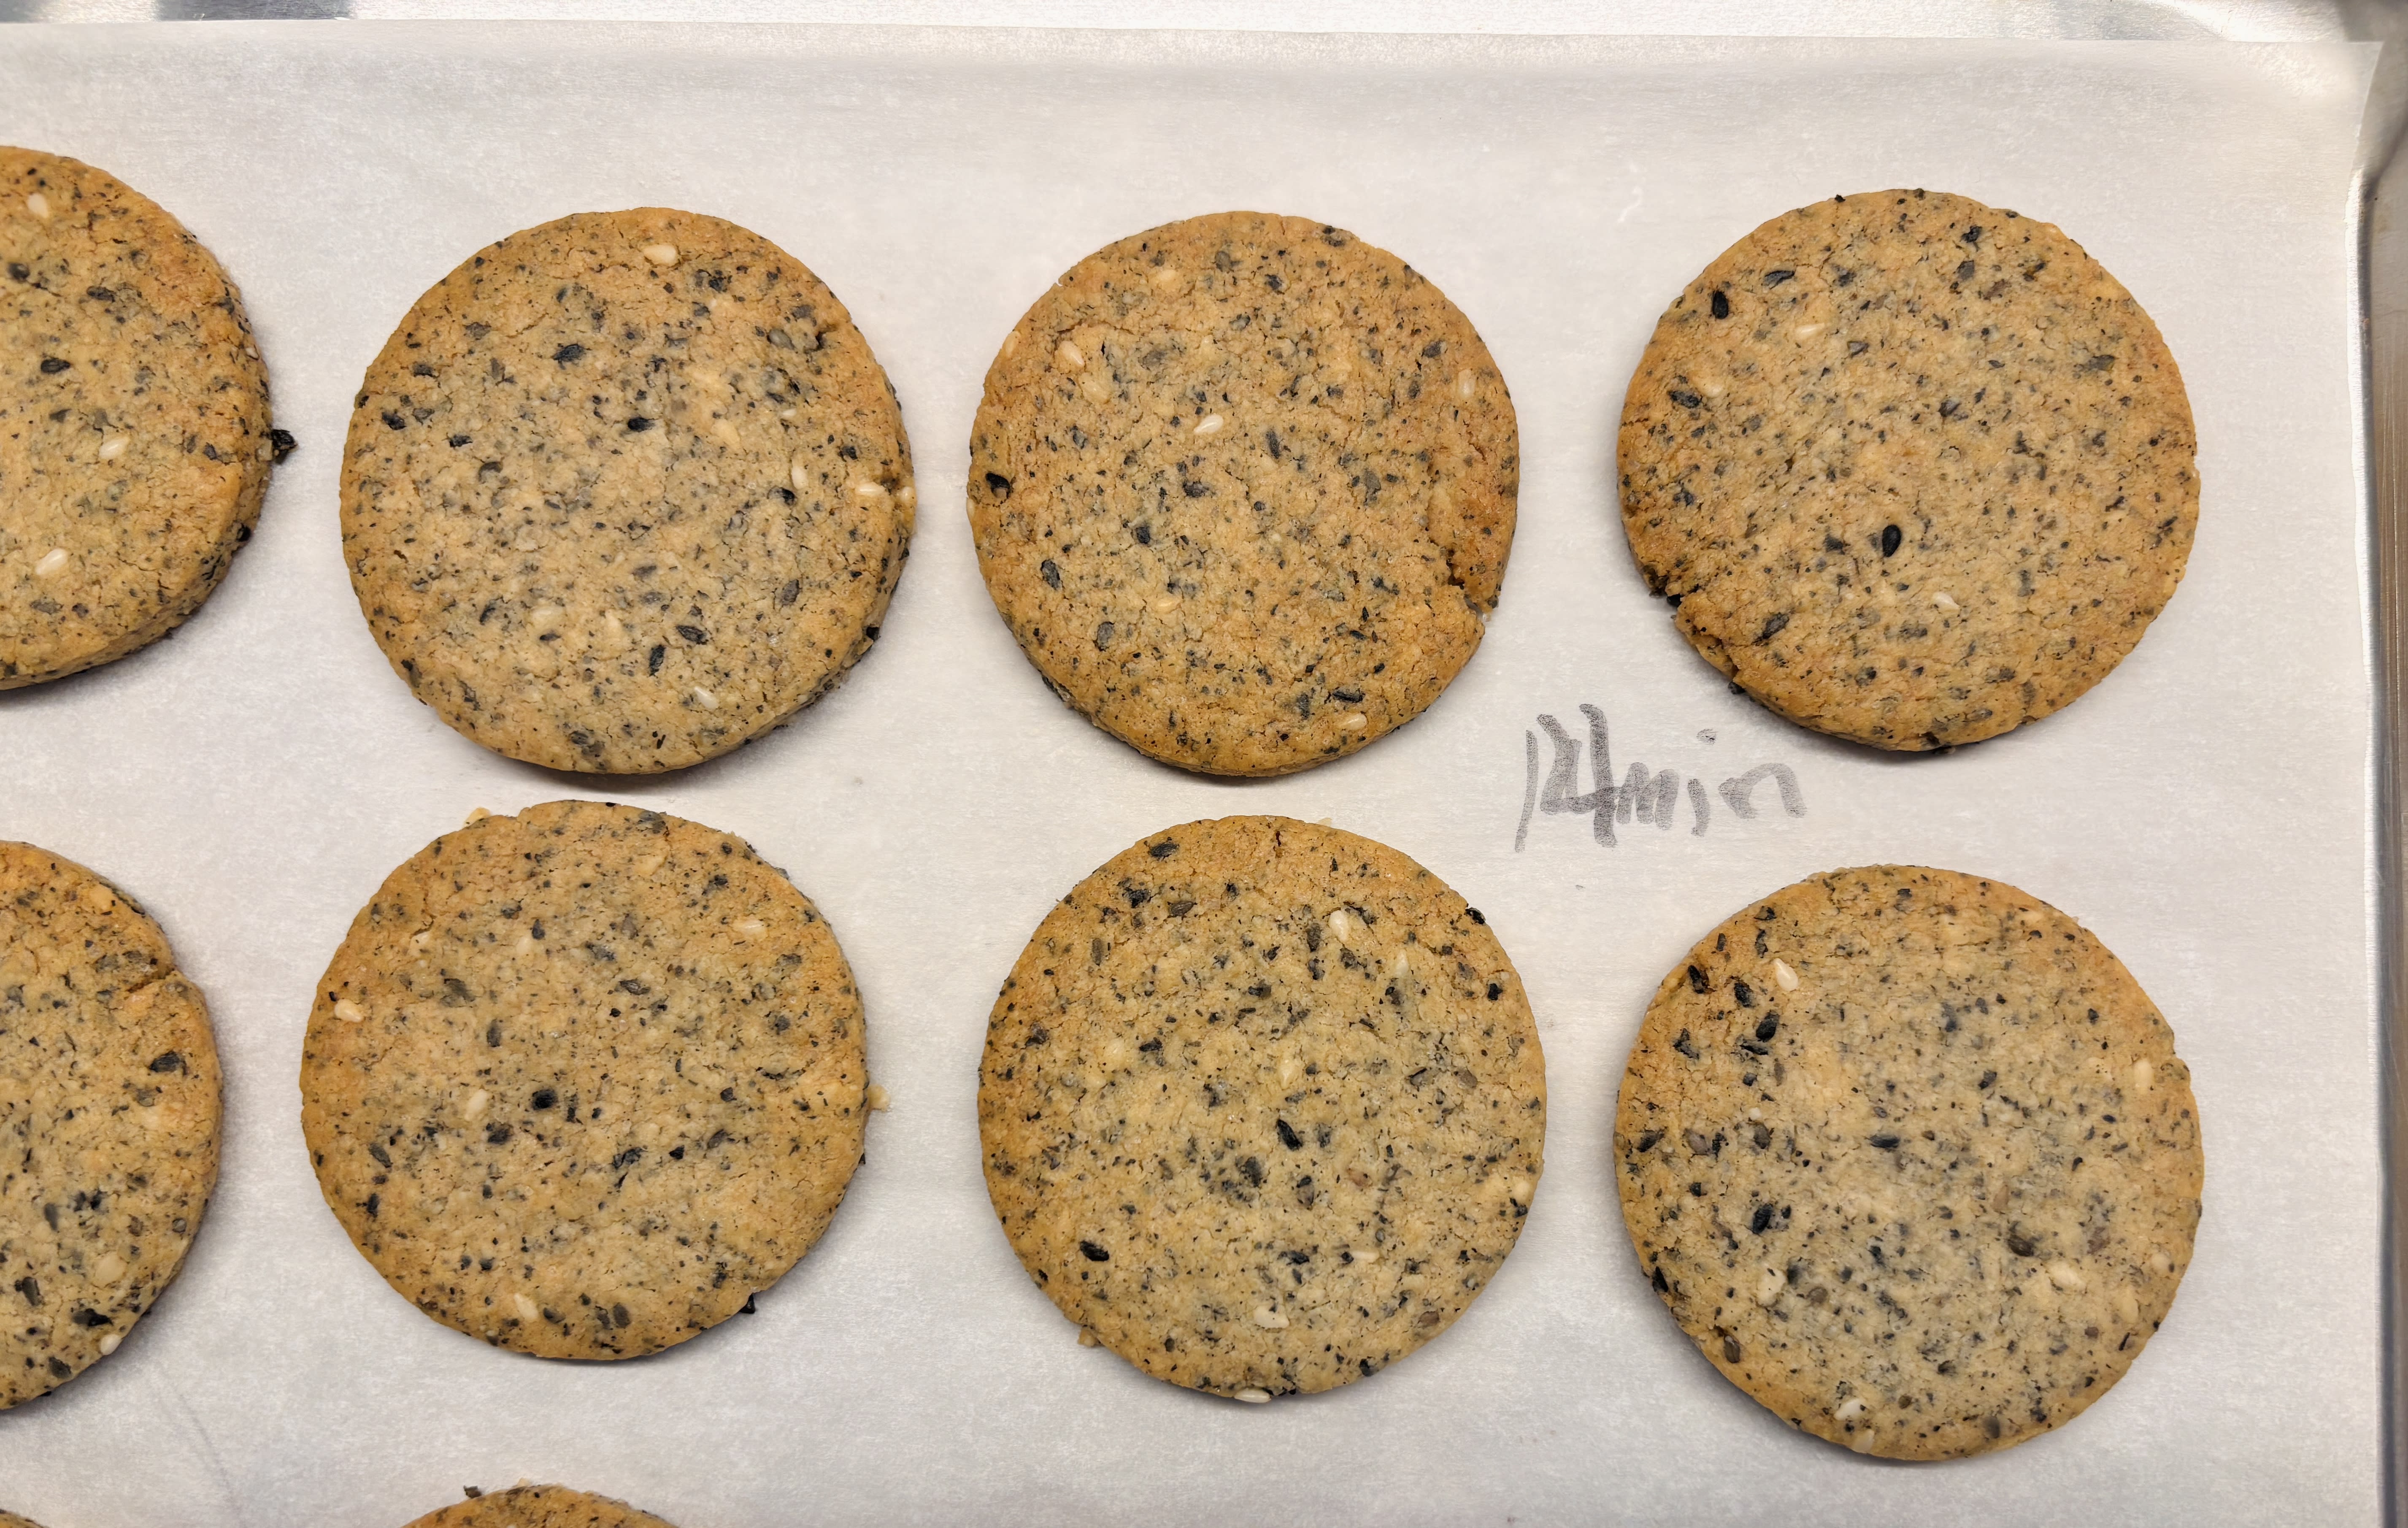
– When rolling out the dough for the Orange poppyseed sandwich cookies (page 246), the dough should be rolled 1/4 inch (6mm) thick, rather than the 1/2 inch in the book. I find the baking time of 12 minutes is just right for me, but if you like the cookies a little darker, I did a test at 14 minutes, shown below:
These were baked for 14 minutes; at 12 minutes, they’ll be lighter. The darker ones are crispier but the lighter ones meld more smoothly with the filling.
In the book, I gave a chocolate and chocolate-hazelnut options for filling the cookies, if you’d prefer to do that instead of using jam. But you can also fill them with Salted butter caramel sauce (page 283) that’s cooled until it’s thick and spreadable. And in place of poppyseeds, you can use very coarsely ground black or white sesame seeds instead. Or leave them whole! You’ve got options.
Poppyseed cookies filled with salted butter caramel.
-For the Palets Bretons (page 243), a magazine published the recipe with a baking time of “25-35 minutes.” After I developed the recipe, they were tested (again) here in my kitchen when the food stylists made them for the photo in the book. After the magazine published the recipe, one of the food stylists retested them in his kitchen in California and found the baking time in the book to be correct (see above.) But if your oven is different, just bake them until they’re golden brown across the top.
-The yield on the Seville Marmalade recipe (page 299) says it makes 8 cups but depending on various factors, you may get less. Also you don’t necessarily need to let the oranges rest overnight in the liquid. It does help the pectin work its magic, but it’s not obligatory.
– I’ve been playing with the Butternut squash pie (page 96), which is a great holiday treat. Some have said that it makes a bit too much filling for the dough. I recast the recipe so there’s no leftover filling, and you can get that here.
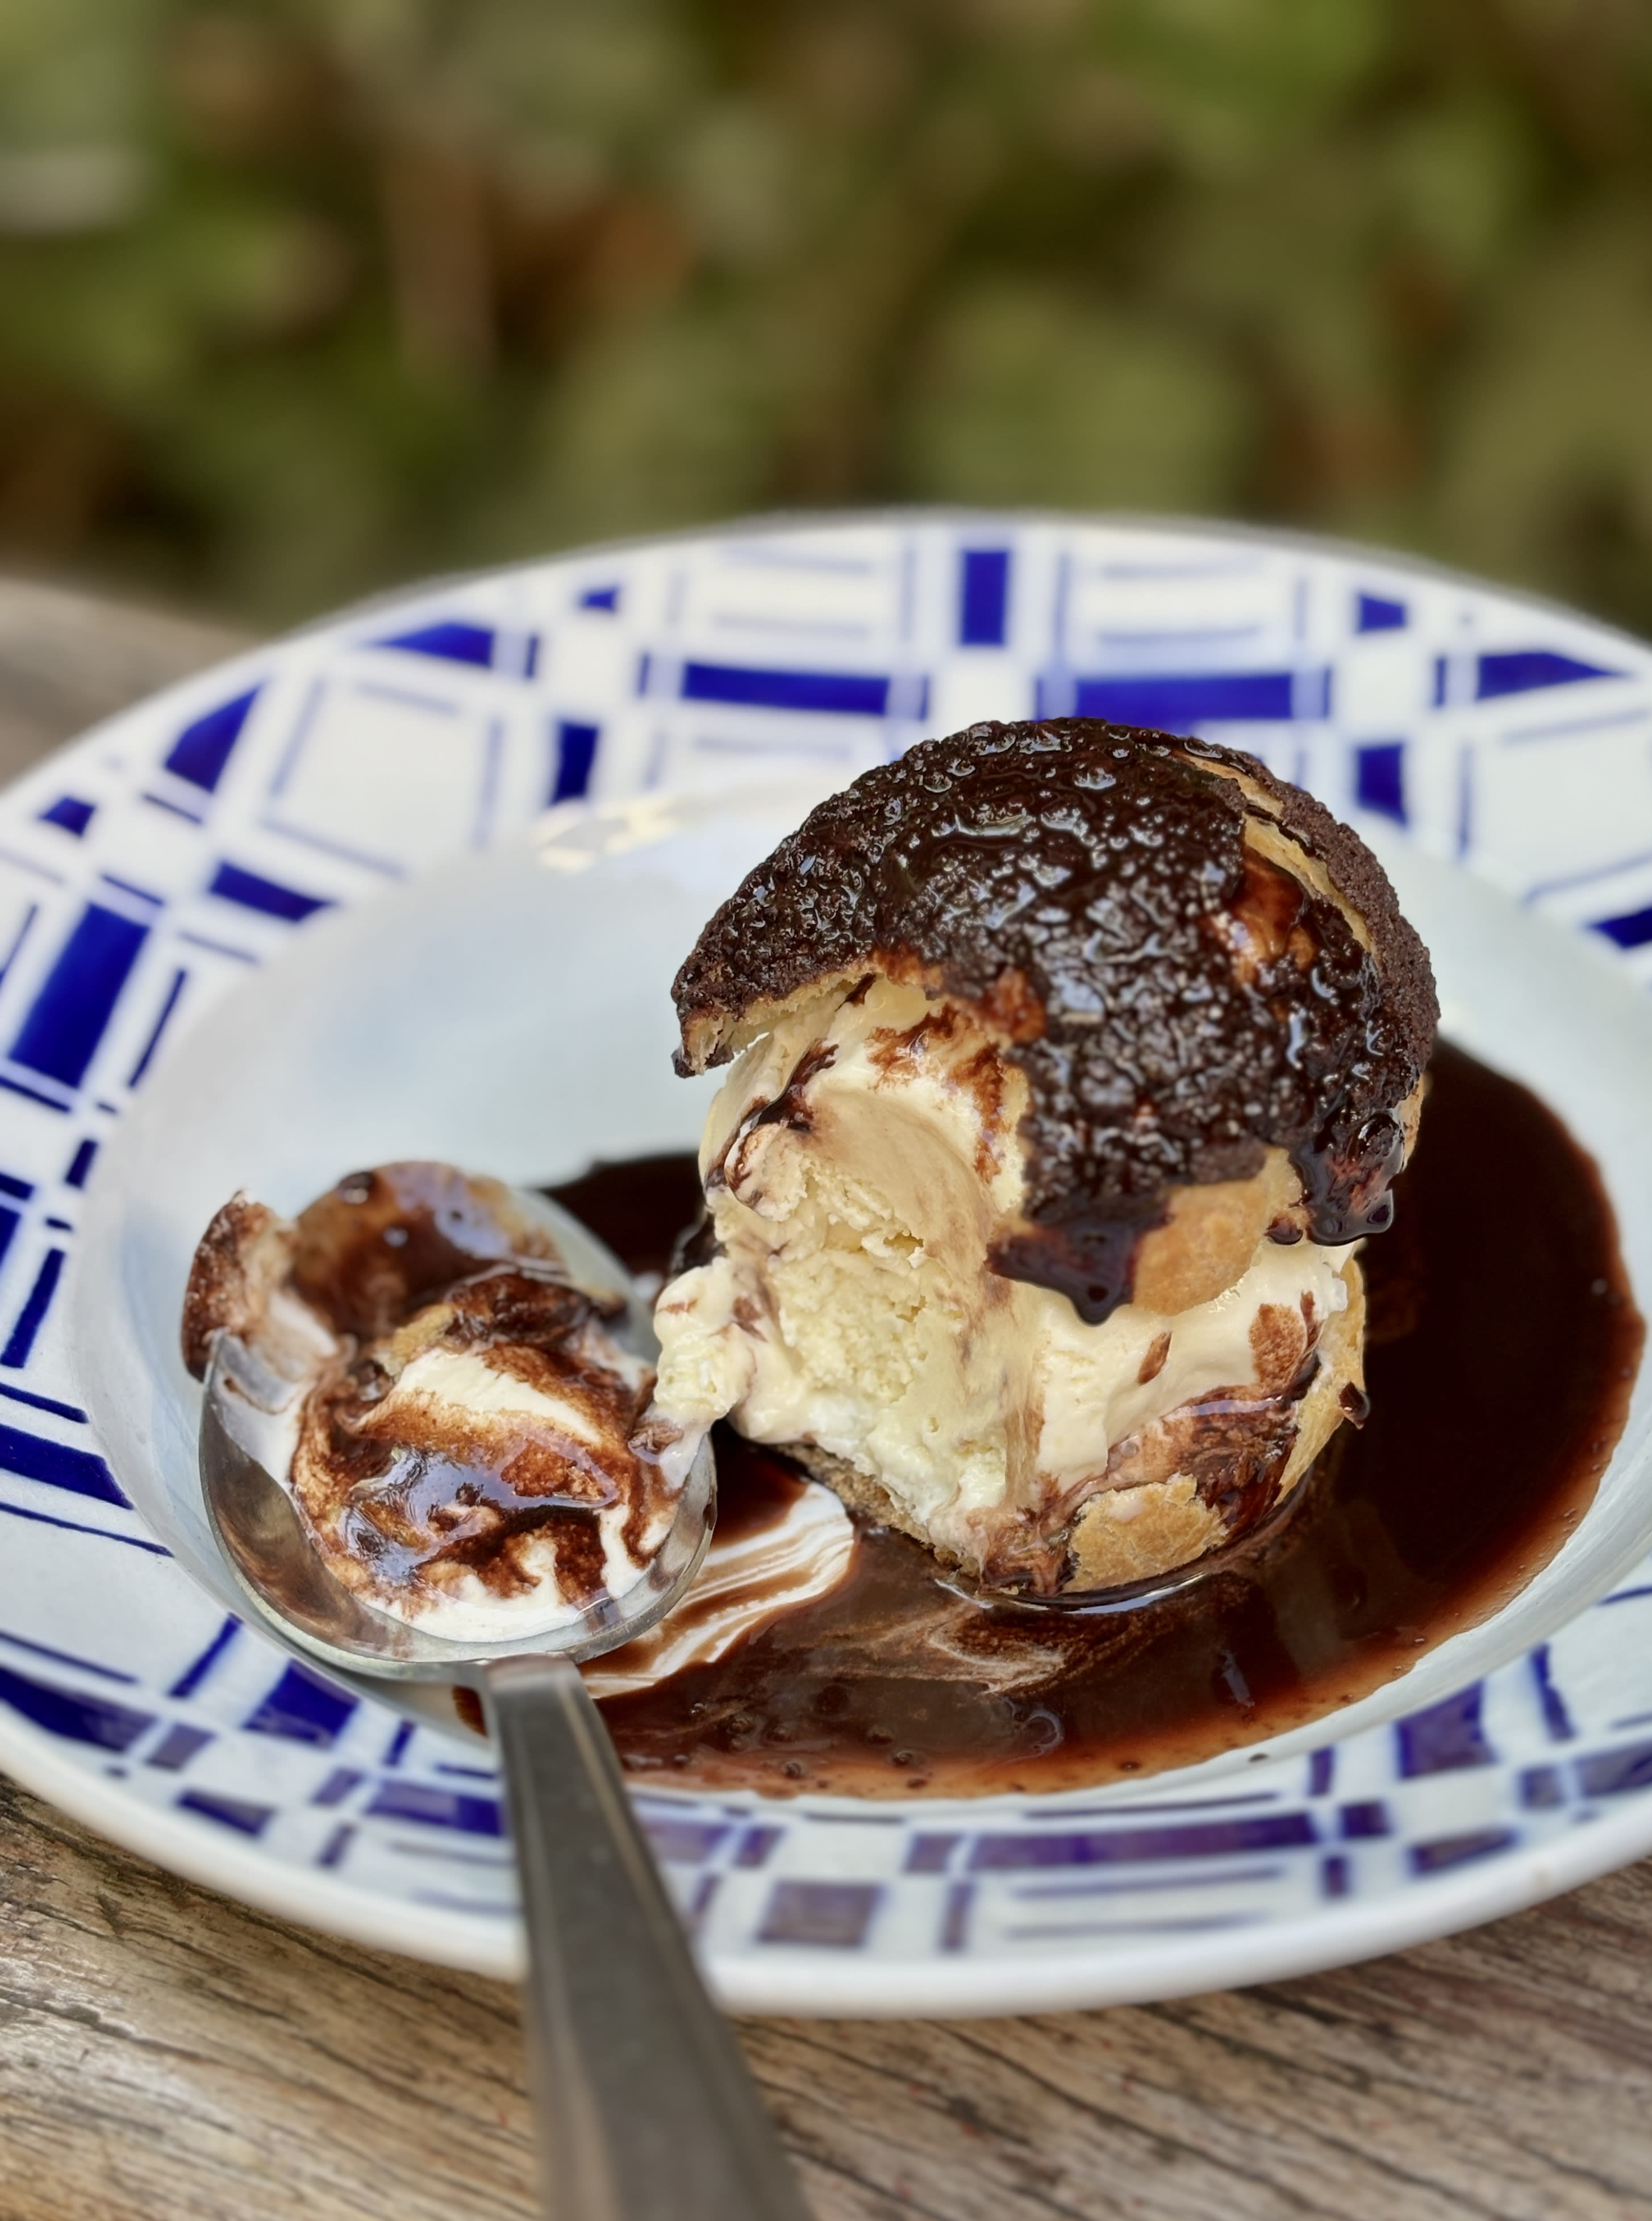
Sharp-eyed readers might notice the profiteroles on the cover of the book, from Grand Brasserie in Paris, have a layer of craquelin over the top. So I thought I’d share a recipe for chocolate craquelin.
I’ve never been a huge fan of sticky buns because I find many of them teeth-screamingly sweet. That said, these dial down the sweetness in favor of flavor, courtesy of two of my favorite things: pecans and maple syrup. And having the two swaddled in a butterscotch-like caramel seems to make each one taste even better than they do on their own.
I was intrigued by a new baking book, The New Sugar & Spice by Samantha Seneviratne, whose subtitle promises recipes for “bolder baking,” which immediately caught my interest. I don’t need to wow me with innovation – tweaking classics is often good enough. The wheel can only be reinvented so many times and no need to repair something that doesn’t need fixing.
It’s unfortunate that I am hooked on both, and like other expats, maple syrup and pecans are two things that we tend to hoard. Sirop d’érable (maple syrup) is available in Paris, the best bottles are sold at natural food stores, and pecans are around, although I often find them not quite at their freshest by the time they’ve hit the store shelves. So I lug those back with me. Fortunately, on occasion, I’m treated to bags by visiting friends and guests. Thank goodness I now have an American-sized freezer.
Well…to be honest, I used to hide them in the freezer, but since I’m a compulsive nibbler, I was getting tired of teething on frozen pecans. So I gave up and started keeping them in a drawer, which means easier access to these precious beauties.
Sticky buns are very easy to make. You start with a simple yeasted dough, softened with milk. Once it rises, you strew the rolled out dough with a mixture of brown sugar and cinnamon. Then comes the fun part: Rolling them up!
The doughy roll then gets sliced into spiraled wheels. Watching them rise in the pan – then rise even further in the oven, is one of the great joys in life. Eating them, of course, is the best part. But if you’ve got kids (or even a middle-aged man, like me), this is a really fun project for a weekend or during a holiday break.
While I was making these, I posted a live video on Snapchat, which is a fun way to share short videos that I’ve been playing around with. The downside is that I got so involved with shooting and sharing that I neglected to chop the pecans before using them, as you can see in the pictures. On Snapchat, posts and videos disappear after twenty-four hours – so when it’s gone, it’s gone! But you can follow me on Snapchat for other tips, future videos and a soupçon of occasional goofiness at davidlebovitz.
As much as I’m freaked out by new technologies, the old ones tend to vex people, too. Folks get freaked out by candy thermometers, but if you use one, you can get your caramel precisely to where it should be. I “went rogue” and didn’t use one, and my sticky buns got a touch too dark, which I liked for the “on the edge” flavor, but resulted in a sticky bun glaze that was less-runny that what some might be used to. So if you have one, you should put that candy thermometer to use when making these sticky buns.
The result of my morning of baking was a tray full of sticky buns that were great for a mid-morning snack but not bad for bringing to a meeting later that evening, which I did. The next day, people raved about them. I’ve got a few other “bold” recipes bookmarked from Samantha’s gorgeous book. And I’m going to make sure my stock of pecans doesn’t run too low, because I’ll be making these again in the near future.
Adapted from The New Sugar & Spice by Samantha SeneviratneThe original recipe calls for baking eight spirals in a 9-inch (23cm) round pan, but I wanted to get nine smaller ones, so used an 8-inch (20cm) square pan and cut the rolled up dough into nine disks. You can do either. Note: Do not use a springform pan for this recipe. Because of the maple caramel, the pan may leak. Even if you wrap it well with foil, caramel may seep out and you don’t want the lovely maple-accented glaze on foil. You want it on your sticky buns.The original recipe also called for a mix of walnuts and pecans, and I opted for all pecans since they’re one of life’s great luxuries to me. But you can swap out any nuts as you wish. There was also 1/2 cup (80g) of raisins added to the caramel along with the pecans, which I omitted as well, although you’re welcome to add them, or another dried fruit, like cranberries or sour cherries.You’ll also note the recipe calls for bread flour. Its higher protein content means that you’ll have better gluten formation and sturdier bread, or buns, as in this case. Most well-stocked supermarkets carry it or you can buy it . You can replicate it by replacing 1 1/2 teaspoons of all-purpose flour with 1 1/2 teaspoons of vital wheat gluten, per cup, or 140g, of all-purpose flour. (In France, I use T65 organic flour and add vital wheat gluten, which is available in natural food stores.)
Course Snack
Ingredients
For the dough
6tablespoonsunsalted buttercubed
2/3cups (160ml)whole or lowfat milk
3tablespoonsgranulated sugar
1 3/4teaspoonactive dry yeast
1large egg
2 1/2cups (320g)bread flour
1/2teaspoonkosher or sea salt
For the topping
6tablespoons (3 ounces, 85g)unsalted butter
1/4cup (45g)dark brown sugar
1/4cup (60ml)maple syrup(dark amber)
1/2teaspoonkosher or sea salt
1cup (140g)pecanslightly toasted and coarsely chopped
For the filling
1/4cup (45g)dark brown sugar
2tablespoonsground cinnamon
1/2teaspoonkosher or sea salt
3tablespoons (1 1/2 ounces, 42g)buttersalted or unsalted, at room temperature
Instructions
To make the dough, warm the butter, milk and sugar in a small saucepan. Pour into the bowl of a stand mixer and let stand until slightly tepid. (You can make this without a stand mixer. If so, pour the milk mixture into a medium bowl.) Sprinkle the yeast over the milk, stir gently, and let sit in a warm place until it starts to bubble, about 10 to 15 minutes.
Mix in the egg, flour, and salt, and knead with the paddle or dough hook at low-to-medium speed until smooth and elastic, about 5 minutes. (If kneading by hand, it may take a bit longer.) Knead the dough a few times with your hand until it’s a smooth ball, place it back in the bowl and cover the bowl with a kitchen towel. Let rise in a warm place until doubled, about 1 to 1 ½ hours. Time can vary, and it may take longer, or less time.
While the dough is rising, make the topping. Lightly butter a 9-inch (23cm) round or 8-inch (20cm) square cake pan. Heat the butter, brown sugar, maple syrup and salt in a small saucepan fitted with a candy thermometer and cook over medium heat until the mixture comes to a boil. When it gets foamy, after a minute or so, when a few of the bubbles start to get larger, remove from heat. (Samantha notes in her book that if using a thermometer, the temperature should read 212ºF (100ºC).
Pour the maple caramel into the prepared cake pan and strew the pecans over the caramel. Set aside.
To make the filling, mix the brown sugar, cinnamon and salt in a small bowl. Set aside.
When the dough has risen, knead the dough a couple of times on a lightly floured countertop and roll it into a 10-inch (25cm) square. Spread the softened butter over the dough and sprinkle evenly with the filling mixture. Roll up the dough as tightly as possible and using a serrated knife, cut the dough into 8 or 9 slices. If using a square pan, cut into 9. If using a round pan, cut into 8. Place them in the pan with the cut side up. Cover loosely with plastic wrap or a clean, lint-free kitchen towel, and let rise until almost doubled, about 1 hour.
Ten minutes before you’re ready to bake the sticky buns, preheat the oven to 375ºF (190ºC). Place the pan of sticky buns on a baking sheet lined with foil (to catch any overflow drips or spill) and bake until the center roll is lightly browned on top and it doesn’t feel soft when you press it with your finger, 25 to 30 minutes.
Remove the rolls from the oven. Let cool for 5 minutes then run a knife around the outside (if possible, as the buns may have overtaken the rims), then tip the sticky buns out onto a cooling rack or serving platter.
Notes
Serving and storage: Sticky buns are always best served warm, and the day they are made but are fine the next day. If you wish, you can keep them well-wrapped for a few days, rewarming them in a low oven, wrapped in foil until heated through. They can be frozen for up to two months.
Although spinach gnudi — soft, pillowy cheese dumplings fried in browned butter and sage — are traditionally more of a spring or summer food, I’m here to make the argument we should eat them right now, in prime soup-and-sweater weather. Because did you hear the part about warm cheese? the puddle of brown butter? the earthy sage? It’s a symphony of delicious fall things and if you tell me you don’t want to curl up on the plate and take a nap in it, fine, I’ll believe you but I do think you’re in denial.
I’m honestly overwhelmed with gratitude. The response to Flavor Forwardhas been beyond anything I imagined. What excites me most is hearing how you’ve used these episodes to cook something new, to see ingredients differently, or to rediscover why you love being in the kitchen. Thank you for tuning in, for cheering me on, and for sharing this journey with such kindness and curiosity.
This week’s episode is one of my favorites yet, featuring a simple weeknight pasta that combines Italian passata and Korean gochujang. It’s comfort food with a twist: silky, bold, and quietly surprising, much like this adventure has been for me. The sauce reminds me why I love cooking in the first place: how two seemingly different ingredients can come together to create something entirely new.
This week, I’m taking paid subscribers behind the scenes into my kitchen to explore how a recipe takes shape. My Guide to Recipe Creation shares the framework and principles I rely on when developing new dishes, using my Pineapple Five-Spice Rice Krispies Treats from America’s Test Kitchen’s Rice Krispies Treat Challenge as a running example. I hope it inspires you to experiment, adapt, and create your own.
Thank you, truly, for watching, for writing, and for reminding me that food connects us in more ways than I could ever put into words.
From Idea to Plate: My Guide to Recipe Creation
How to Build Recipes That Tell a Flavor Story
Cooking gets more exciting when you stop following recipes and start understanding them. This guide is meant to help you think like a recipe developer to see how flavors connect, textures form, and small choices shape big results. Once you grasp the “why” behind a recipe, you can start experimenting with confidence and make every dish your own.
Welcome to the cake that has terrified me the most. You see, I have two favorite cakes. The first is my Strawberry Summer Stack Cake, the layered strawberry, cream, and butter cake version of the Strawberry Summer Cake in Smitten Kitchen Keepers. The second is the Opera Cake (Gâteau Opéra), a stacked and striped dessert with thin almond cake layers soaked in espresso syrup, chocolate ganache, and a rich espresso buttercream. The difference between the first cake and the second is that the second recipe was never going to happen.
Thank you so much for tuning in to the very first episode of my new show, Flavor Forward! It has been such a joy to share it with you, and the response has been incredible, all thanks to you. I am truly grateful.
In the newest episode of Flavor Forward, I take a humble can of white beans and riff on romesco, using one of my favorite pantry staples: jarred crushed Calabrian chiles. I first discovered these fiery little gems at a pizzeria years ago, and they have quickly become a permanent fixture in my kitchen. I keep two jars in constant rotation. They bring just the right amount of heat, around 25,000 to 40,000 Scoville units, along with a smoky and fruity depth. I have spooned them over eggs, tucked them into grilled cheese sandwiches, and, as in this week’s episode, used them to build dinner-worthy flavors in a romesco bean stew.
Calabrian chiles are often referred to as the “red gold” of Southern Italy. They are so beloved that there is an annual peperoncino festival in Diamante and even a museum dedicated entirely to them. Brought to Europe from the Americas in the 16th century, they quickly became an integral part of Calabria’s identity and cuisine. Their heat is considered medium, but what sets them apart is the complexity of flavor. Warm, fruity, and smoky, they lend depth without overwhelming the dish.
A spoonful of Calabrian chile paste can transform pasta, pizza, seafood, sauces, and more. Locals often say that food is not truly Calabrian without peperoncini, and many even carry them in their pockets to ensure they never face a bland meal. More than an ingredient, they are a symbol of joy and identity. You see them painted on walls, hanging from balconies, and sold in markets as charms of good luck.
Back at home, I am preparing for a family visit from Auckland. My cousin and I can be a bit of a whirlwind together, and I am sure we will keep everyone on their toes in the best possible way.
ICYMI
WHAT TO COOK IN OCTOBER: COZY RECIPES FOR FALL
October always feels like the month when the kitchen asks us back in, not with urgency but with comfort (and a little spooky Halloween fun). I find myself craving the scents that fill the house and linger long after the pans are washed: cardamom and cinnamon wrapped into a Masala Chai Pumpkin Cake, the sweet scorch of caramel over a Caramelized Nut Semolina Kefir Cake, and the vinegar tang that cuts through a Goan Coconut Curry. There are dishes that warm—like Chickpeas Stewed with Spinach, or Butter Chicken rich with spice and cream, and those that brighten, such as a Preserved Lemon Pasta that tastes of sunlight even on the grayest day. And because we can never have too many sweets, there are Cookies for Halloween, a Date and Tamarind Loaf, and a Lemon Poppy Seed Ice Cream that surprises me each time with its brightness in the middle of fall. These are the flavors I am cooking and eating this October, and I hope you will bring them to your table too.
Lentil lovers, these lentil burgers are for you! These hearty meatless burgers are made with familiar and wholesome ingredients, unlike many store-bought options these days. My Favorite Veggie Burgers are still my go-to, but these lentil burgers come in second.
These burgers are flavored with grated carrot, fresh cilantro or parsley, onion and garlic, and spices, including chili powder, cumin, salt and pepper. Two eggs are optional (omit them for vegan burgers), but they provide extra moisture and a lighter texture.
The recipe comes together beautifully in the food processor. Like my veggie burgers, these lentil burgers turn out best when baked in the oven, which is a more efficient and less fussy method than cooking them in a skillet. They turn out nicely golden and firm enough to hold their shape in between a bun.
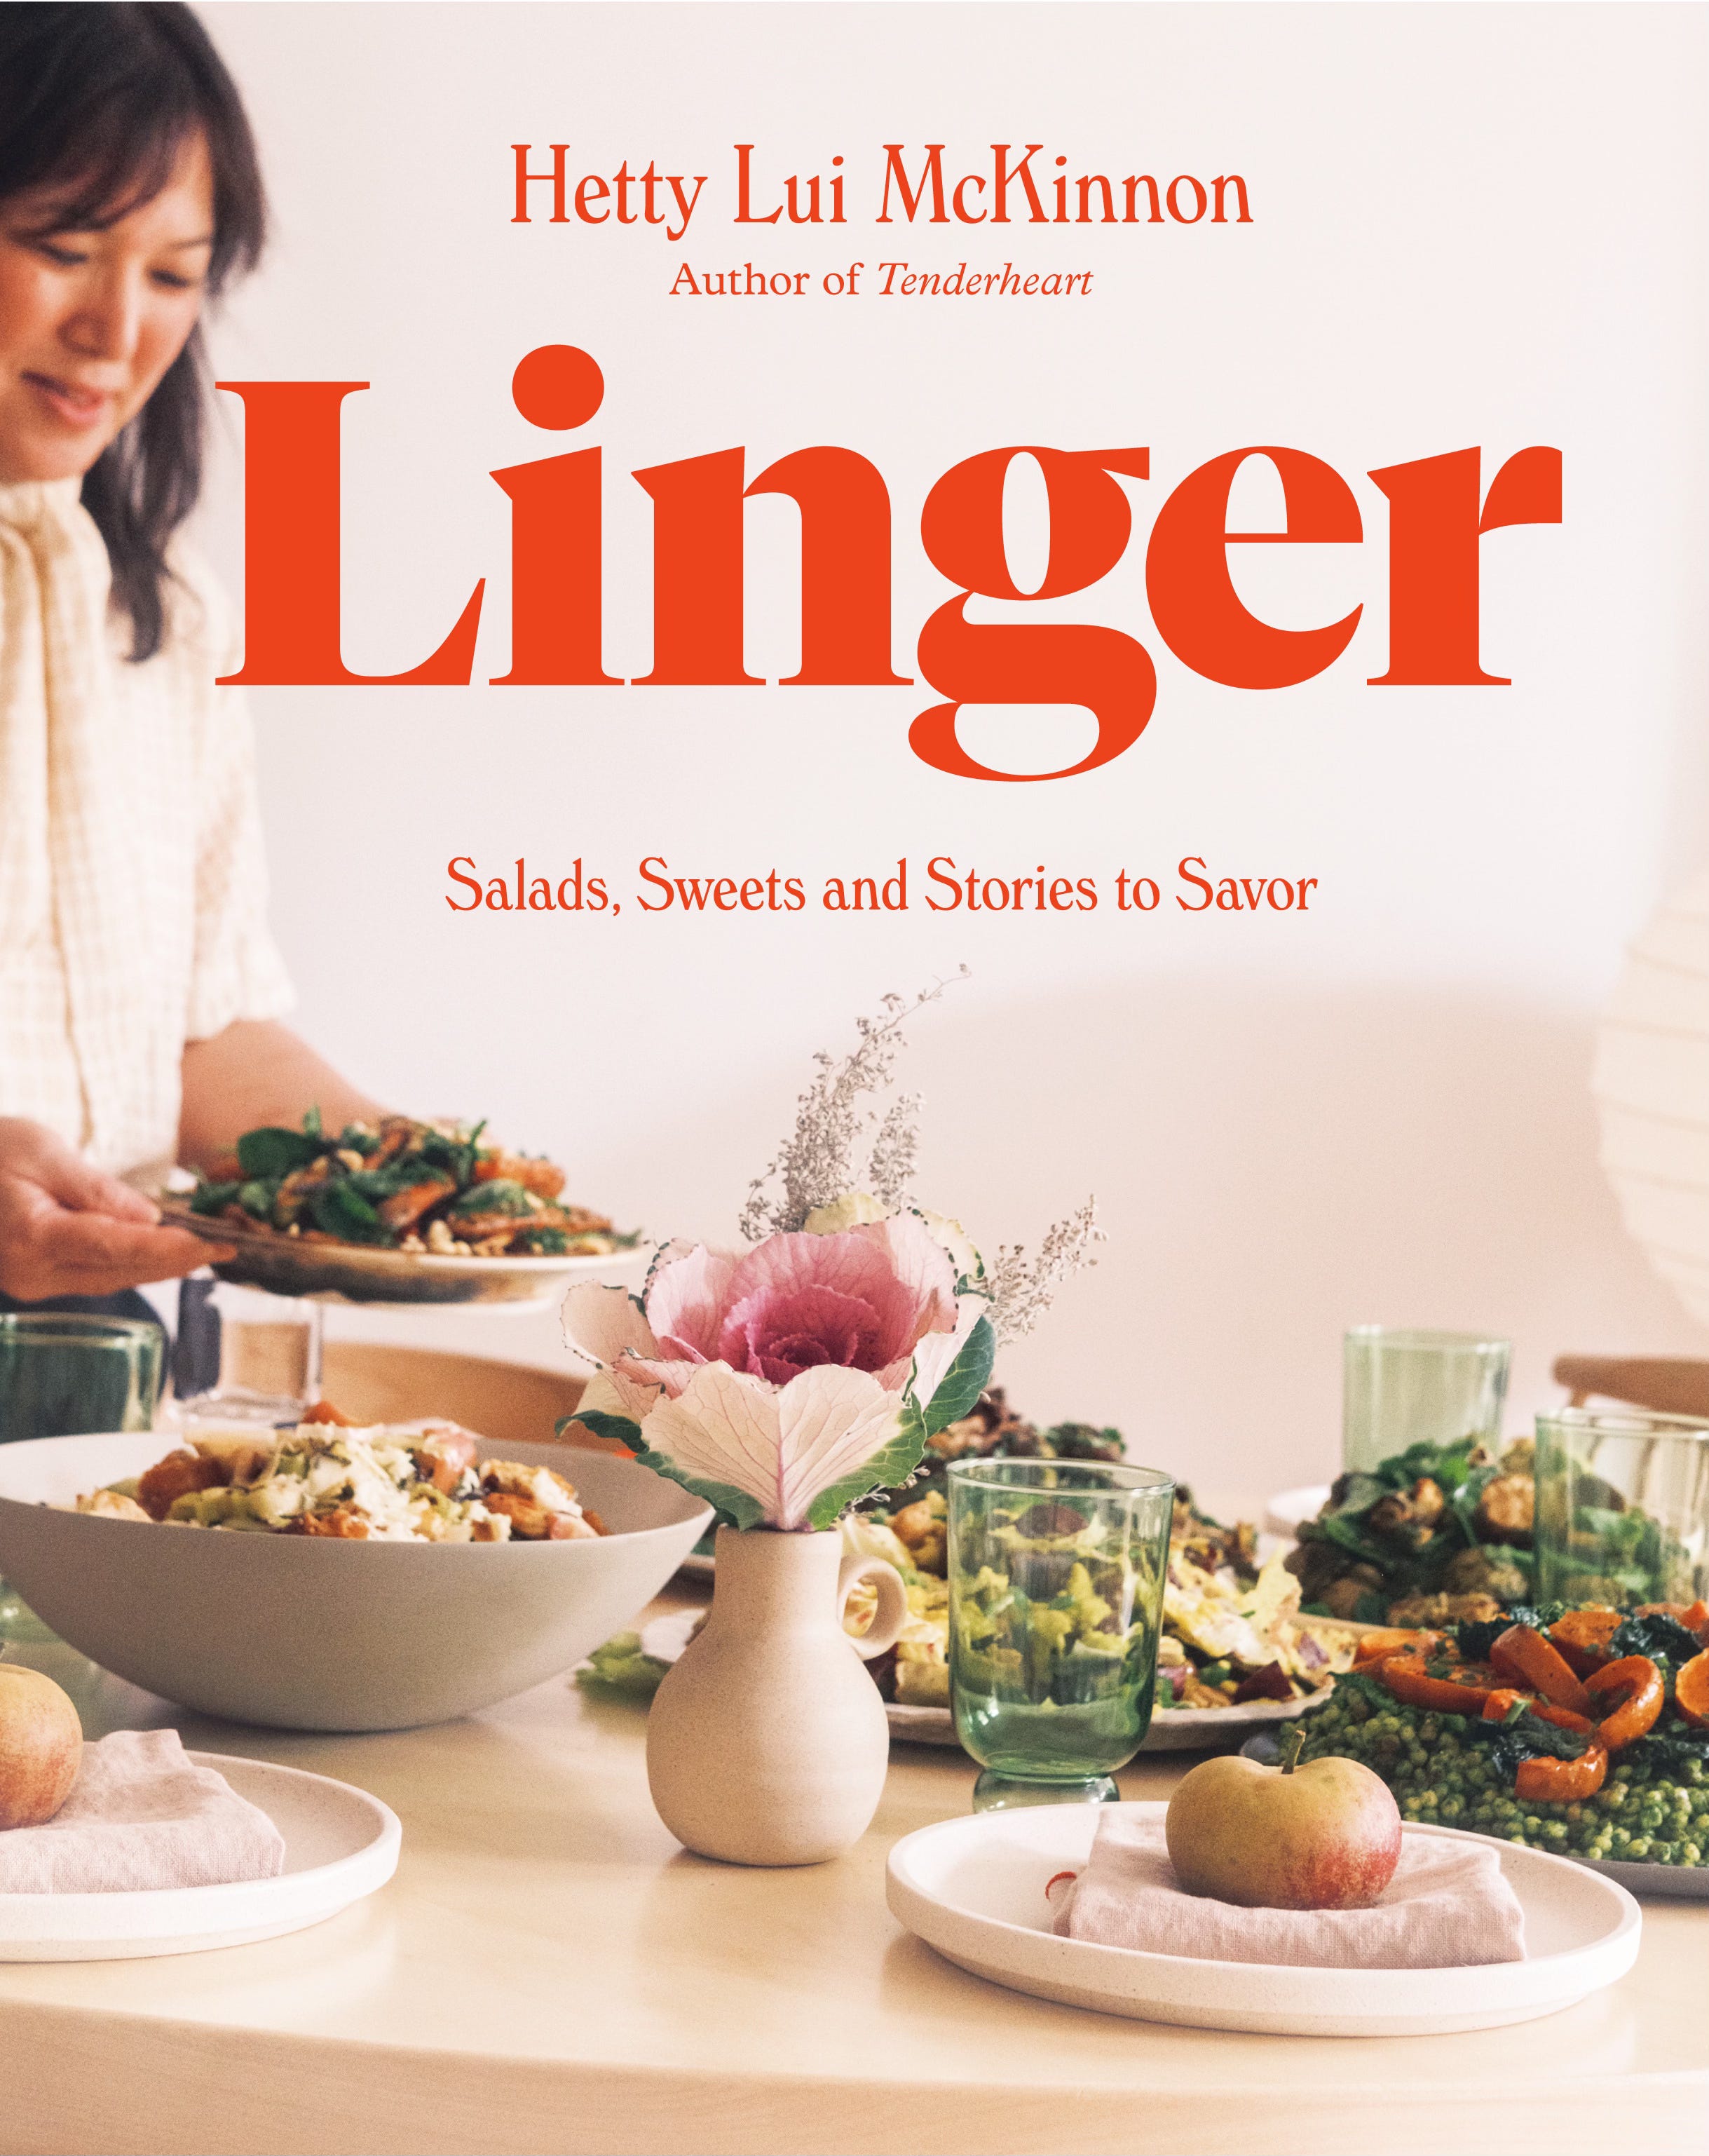
Last Sunday I was on Substack Live with Hetty Lui McKinnon to discuss her new book, Linger. If you missed us, check out the recording.
What’s taken most of my time, though, and what I’m most excited to share with you all is my new show with America’s Test Kitchen, Flavor Forward! Instead of my typical content, I wanted to share a bit more about the show, what it means to me, and what I’ll bring to you!
From Dreaming in a Lab to Cooking on Camera
There was a time, back when I was still spending long days in a molecular biology lab, when silence felt endless. I’d wait for experiments to tick away on their own clocks and sometimes, to breathe, I’d sneak home for a break. That’s when I stumbled across America’s Test Kitchen (ATK) on PBS.
It felt like fate. Here were people who looked at cooking the way I looked at science: curious, nerdy, precise, a little obsessive about the “why.” They didn’t just make dinner, they asked questions, tested ideas, explained failures, and celebrated the wins. I was hooked. They were chasing truth through food, and I saw myself in that.
I never dared imagine that one day I’d walk through those same doors, not as a fan, but as part of the story.
After I left the lab for the apron, I wrote recipes, columns, and books for years, but television? That always slipped just out of reach. A few near-misses dangled in front of me, then disappeared, first the pandemic, then media mergers. One network even told me I looked too young to cook on TV (A compliment? Apparently not). After a while, I convinced myself that maybe it wasn’t meant to happen. Some dreams, I thought, are better left alone.
And then, out of nowhere, came ATK.
Earlier this year, as an editor-in-residence, I walked into the legendary test kitchen for the first time. The smell of roasting, the hum of conversation, the sound of pots clattering; it was like stepping into a universe I’d only watched from afar. The team welcomed me in, generous with their knowledge and wild with curiosity. Together, we geeked out over the myth of lemon pith bitterness, how instant mashed potatoes act like water sponges when added to meat, and how to fix problems in the kitchen. For me, someone who lives and breathes the science of flavor, it felt like holding the keys to the kingdom.
Every trip to Boston lit me up with possibility.
Then one day, I came home, opened my inbox, and nearly dropped my laptop. An email from Dan Souza: Would I be interested in hosting a show with America’s Test Kitchen? I’d just finished recording an episode of the In The Test Kitchen podcast, and the editors loved how it turned out.
You’d think after years of waiting, I would have screamed, but instead, I held my breath. So many false starts had made me cautious. But this time, it was real. Dan and the team weren’t offering a maybe—they were offering a chance to build something together. A show where I could finally share the things that matter most to me: flavor, science, and the thrill of discovering why.
For months, we wrote scripts (harder than any essay I’ve ever written), tested recipes, filmed long days in the studio, and shaped an idea into something I can only describe as a dream come true. And none of it would exist without Dan, Lan Lam, Matt Watson, Simon Savelyev, and the entire ATK team, who poured their creativity and humor into every single episode.
It’s bold, it’s nerdy, it’s fun. And it’s the show I once thought I’d never get to make.
Flavor Forward is my love letter to flavor and to the global pantry that enriches our kitchens. It’s about honoring traditions, celebrating science, and giving you the tools to feel fearless in the kitchen.
I can’t wait for you to see it. Thank you for being here, for rooting for me, and for letting me share this dream with you.
I was recently reunited with something I miss very much – a loaded apple tree! Friends of mine who had a house in the French countryside had a tree that, come fall, had so many apples, the limbs threatened to break off. Not wanting to be an accomplice in apple-cide, I decided to do my part to save the tree, and the apples, and make Apple Jelly.
Ten years later, my friends sold their house, which ended my bounty of apples (and medlars.) So how happy was I when some other friends bought a house in Brittany, which had not one, not two…but four apple trees. Score!
The varieties were Reine de Reinette, Canada, and Boskop, which I found out when a concerned neighbor saw someone (me) swiping apples off the trees, and the ground, loading up sacks of them. I think he figured I was pilfering the pommes, but was reassured when I told him I was friends with the owner of the mini-orchard.
After talking with him a few minutes, I realized he was an expert on the apples and not only knew about the varieties of apples, but also what to do with them and nodded in approval when I told him I was going to make Apple Jelly. He was happy to help me fill some bags, which included green varieties, which are high in pectin and help the jelly set, and are more acidic than other apples, which make the jelly well-balanced and delicious. (Calvados, the famed apple brandy from Normany, use very acidic apples since the flavor is more pronounced once cooked.)
To make Apple Jelly, it’s probably a good idea to either a friend with an apple tree (with an explanation ready in case a neighbor comes by…) or get apples from a source where they might sell you apples that are dented or dinged, which are called pommes à cuire (cooking apples) in France, and are quite popular. At the markets, those apples are usually the first to get sold as people use the bargain beauties to make compotes and tarts with. And French bakers like to use a variety of apples in dessert, like Apple Cake, as the flavor is more interesting than if using just one variety.
In the end, I came home with over 50 pounds (23kg) of apples in all shapes, colors, and conditions. And all went to a good cause. This recipe uses a good deal of apples but makes a half-dozen jars, which is good if you’re anything like me and need to reward your friends, and perhaps a local apple expert, with a jar of jelly.
While some sources say to National Center for Food Preservation cook the apple jelly to 220ºF (104ºC), every time I've made this, it jelled at around 230ºF (110ºC). So it’s best to use a thermometer but also to test your jelly by dropping a dab on a chilled plate, putting it in the freezer for a few minutes, then checking to see if the mixture has jelled by nudging it and seeing if it mounds and wrinkles, as shown in the post. If you don’t have a candy thermometer, you can use the "nudge" method to test your jelly.
One pound (450g) of apples cooked will yield about 1 cup (250ml) strained juice from the cooked apples. So if you have fewer apples, or you get a different yield (since all apples are different), you can use that as a guideline and add 3/4 cup (150g) sugar and 1 1/2 teaspoons of lemon juice per cup of strained apple juice. You can easily halve this recipe, too.
Note that in step #3 depending on the size of your strainer or colander, you may need to use two, as I do. One tip is when putting the apples in the strainers if you can't get them all in, after filling them up, let the mixture sit 5 to 10 minutes; it'll settle down and compress, and you should be able to add the rest after that.
Servings 6jars, 1 cup (250ml) each
Ingredients
8pounds (3.75kg)apples
10cups (2.25L)water
6cups (1,2kg)sugar
1/4cup (60ml)freshly squeezed lemon juice
2teaspoonsCalvadosbrandy, or Cognac
Instructions
Rinse the apples and cut them coarsely into chunks, then put them and the cores and seeds, into a very large stockpot.
Add the water, cover, and bring to a boil. When bubbling, reduce the heat a bit, leave the lid askew, and cook for 20 to 30 minutes, until the apples are tender and cooked through.
Line a mesh colander with a piece of muslin cloth or a few folds of cheesecloth (or use a jelly bag and stand) and set it over a deep bowl, then ladle the apples and the liquid into the colanders. (I use two lined colanders since it was quite a bit of apples.)
Let stand or at least 3 hours (but you'll get more juice if you let the apples drain around ~8 hours), and during that time, no matter how tempting it looks, do not press down at any time on the apples to extract more juice or the jelly will get cloudy.
The next day, measure out the juice. You should have about 8 cups (2L) but may get a little more. Pour the juice into a large, non-reactive pot fitted with a candy thermometer, add the sugar and lemon juice, and bring to a boil. During cooking, as any white foam forms on the surface while the jelly is cooking, gently skim it off with a ladle. (See Note at the end of the recipe for some idea about repurposing the apples and the foam.)
Cook until the temperature reaches 220ºF (104ºC). At that point, turn off the heat and begin testing the jelly on a chilled plate in the freezer, using the method mentioned in the headnote. When it wrinkles and holds its shape, it’s done. If not, continue to cook and re-test it at intervals. This batch set at 230ºF (110ºC).
Remove from heat, stir in the liquor, and ladle into clean jars, then cap tightly.
Notes
Storage: I don’t preserve my jelly or jams in heat-treated jars because I eat them quickly, but store mine in the refrigerator where they’ll keep for several months. If you wish to preserve them, you can find instructions for canning at the University of Georgia website.Notes: The cooked apples can be passed through a food mill and used as applesauce, or for Chewy Oatmeal Raisin Cookies, Nonfat Gingersnaps, or my favorite Granola recipe.Any foam scraped off the top of the jelly while cooking can be refrigerated or frozen, and added to your next batch of jam. It's especially great used in jams made with low-pectin fruit, such as strawberries, apricots, peaches, pineapple, or cherries.
Ketchup fans will love this recipe. It offers a thick, dippable texture, with classic yet grown-up ketchup flavor. It tastes nicely balanced, but leans a little more savory than sweet. The recipe calls for a whole container of tomato paste—choose the best you can find for deep, rich tomato flavor.
Beyond the tomato paste, you’ll need balsamic vinegar for some sweetness and tang, dried spices for complex flavor (garlic powder, mustard powder, cinnamon and black pepper), salt to enhance the rest, and water to thin it out. That’s it! No corn syrup or added sugar here.
I always assumed that making ketchup would be too tricky, but I was wrong. This recipe is so easy to make. You can whisk it together by hand in just a few minutes. It tastes best after an hour’s rest.
I’ll be at AXS design, one of my favorite shops in Paris, celebrating the release of Ready for Dessert on Sept 30th from 5:30 to 7pm.
AXS is filled with treasures, including French dinnerware, glasses and linens, and lots more. They were kind enough to lend me some of their beautiful items for the photos in book, so I’m thrilled they’re hosting the book launch and signing. Books will be available for purchase and I’ll be on hand to personalize them for you.
Thanks to Comté for providing samples of French cheese for the event.
Thank you, , , , , and many others for tuning into my live video with ! Join me for my next live video in the app.
Get your copy of Hetty’s new book, Linger,HERE(for a limited time, Hetty is also providing a preorder gift if her book is ordered through some Indie bookstores). Congrats to Benjamin Adler for winning today’s giveaway of Linger (you’ll re…
I am back home after a whirlwind week in Boston, where I spent my days cooking at America’s Test Kitchen, learning a few new tricks from the chefs, and reminding myself how much fun it is to be surrounded by people who love food as much as I do. My friend and fellow cookbook author Rick Martínez even dropped by the studio, which made the week feel extra special.
Boston is growing on me. The fall foliage has officially gone full drama, with trees in reds and golds that look like they belong on a movie set. Coming from Los Angeles, where autumn mostly means I do not need sunscreen in the morning (you should still apply it), it is both thrilling and slightly confusing to need an actual jacket.
Now that I am home, my big plan for the weekend is to get back into the garden. The contractor finally signed off on the irrigation system, which means I have the green light to plant. I have seedlings lined up like eager contestants waiting to enter the stage, and I am itching to get them in the beds before they riot.
September Highlights You’ll Want to Catch
All this talk of vegetables feels like the perfect moment to share a cookbook I have been looking forward to, Linger by Hetty McKinnon. Fall always kicks off cookbook season with energy. I have two events that I am especially excited about this week.
EVENT ALERT: I’ll be live with author Hetty McKinnon TODAY at 10 am PST / 1 pm EST here on Substack to talk about her new cookbook (there’s a recipe in this week’s newsletter from this lovely book). [Substack Live Here]
EVENT ALERT: I’ll be interviewing author and fellow ATK Editor-in-Residence, Aran Goyoaga, about her new The Art of Gluten-Free Baking, at Now Serving LA on September 25 [Tickets Here]
Finally, don’t forget to save September 28 on your calendars. [Hint below]
What I’m Reading
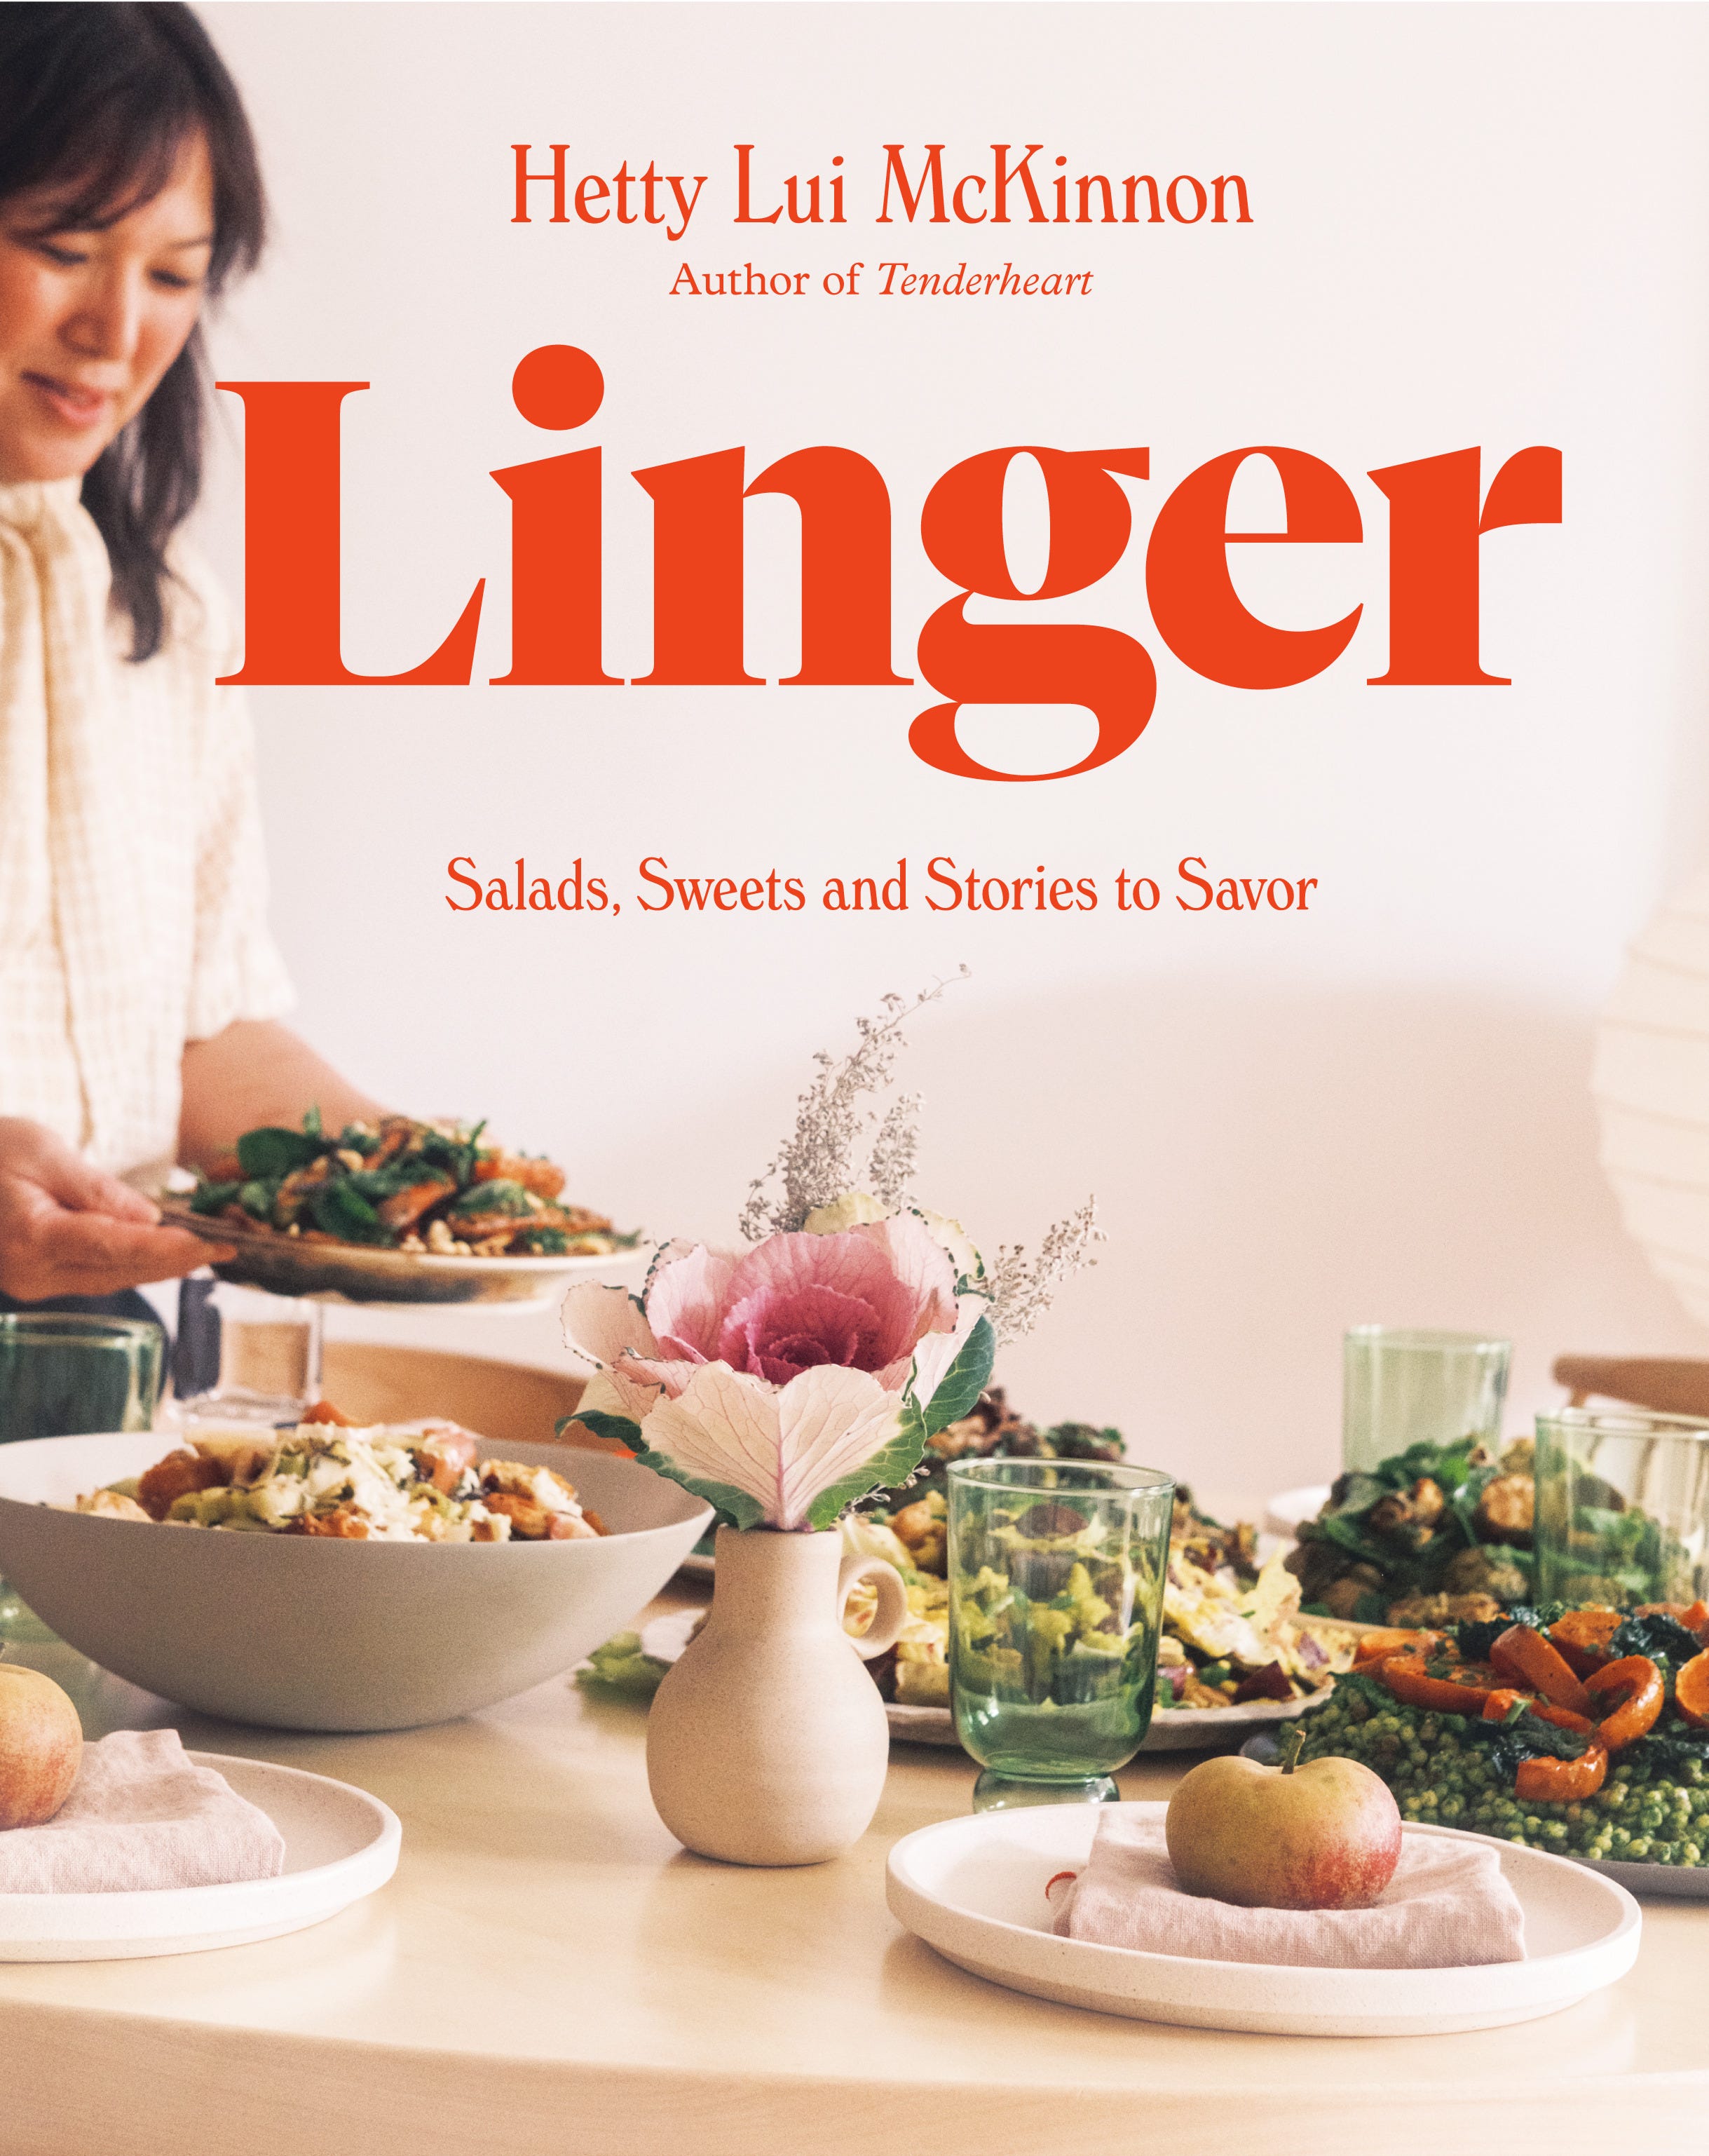
Linger by Hetty McKinnon: A Cookbook That Invites You to Stay a While
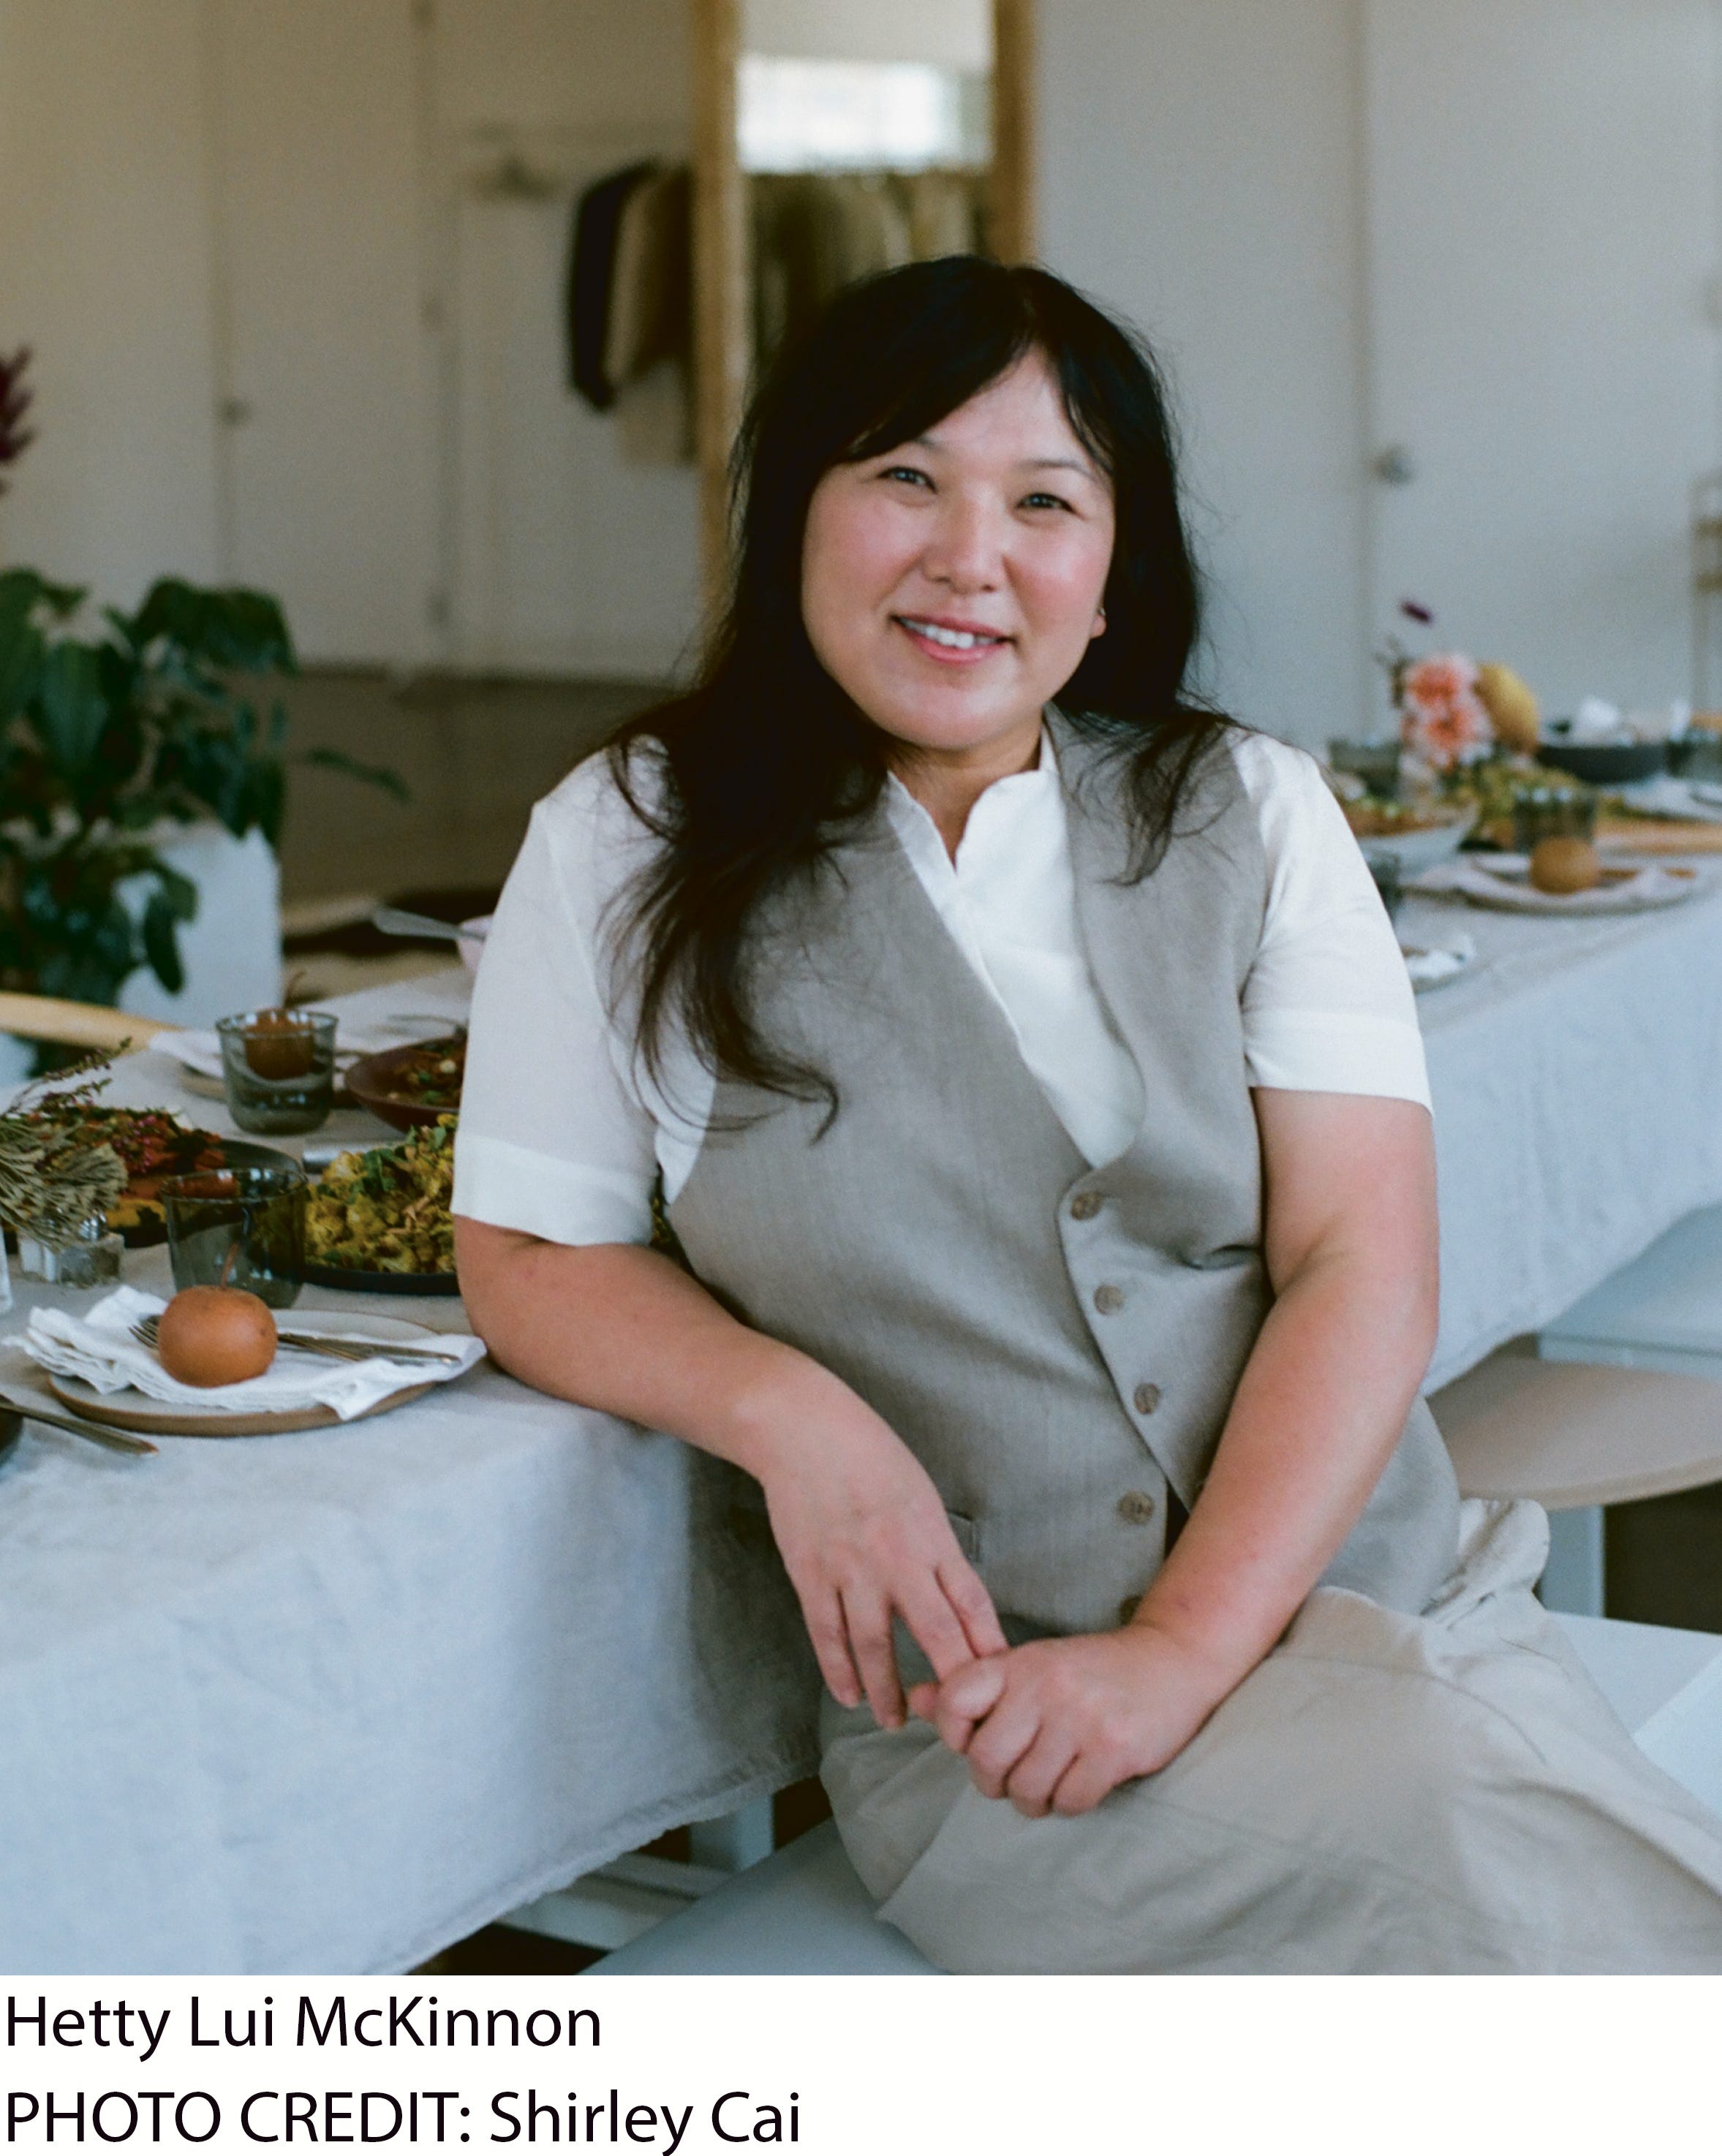
Every once in a while, a cookbook arrives that feels less like a manual and more like an invitation. ’s Linger: Salads, Sweets and Stories to Savor(Amazon/Bookshop) is precisely that kind of book. From the moment you open it, you can sense her generosity, her warmth, and her ability to take everyday ingredients and turn them into food that makes you want to gather, sit down, and stay at the table a little longer.
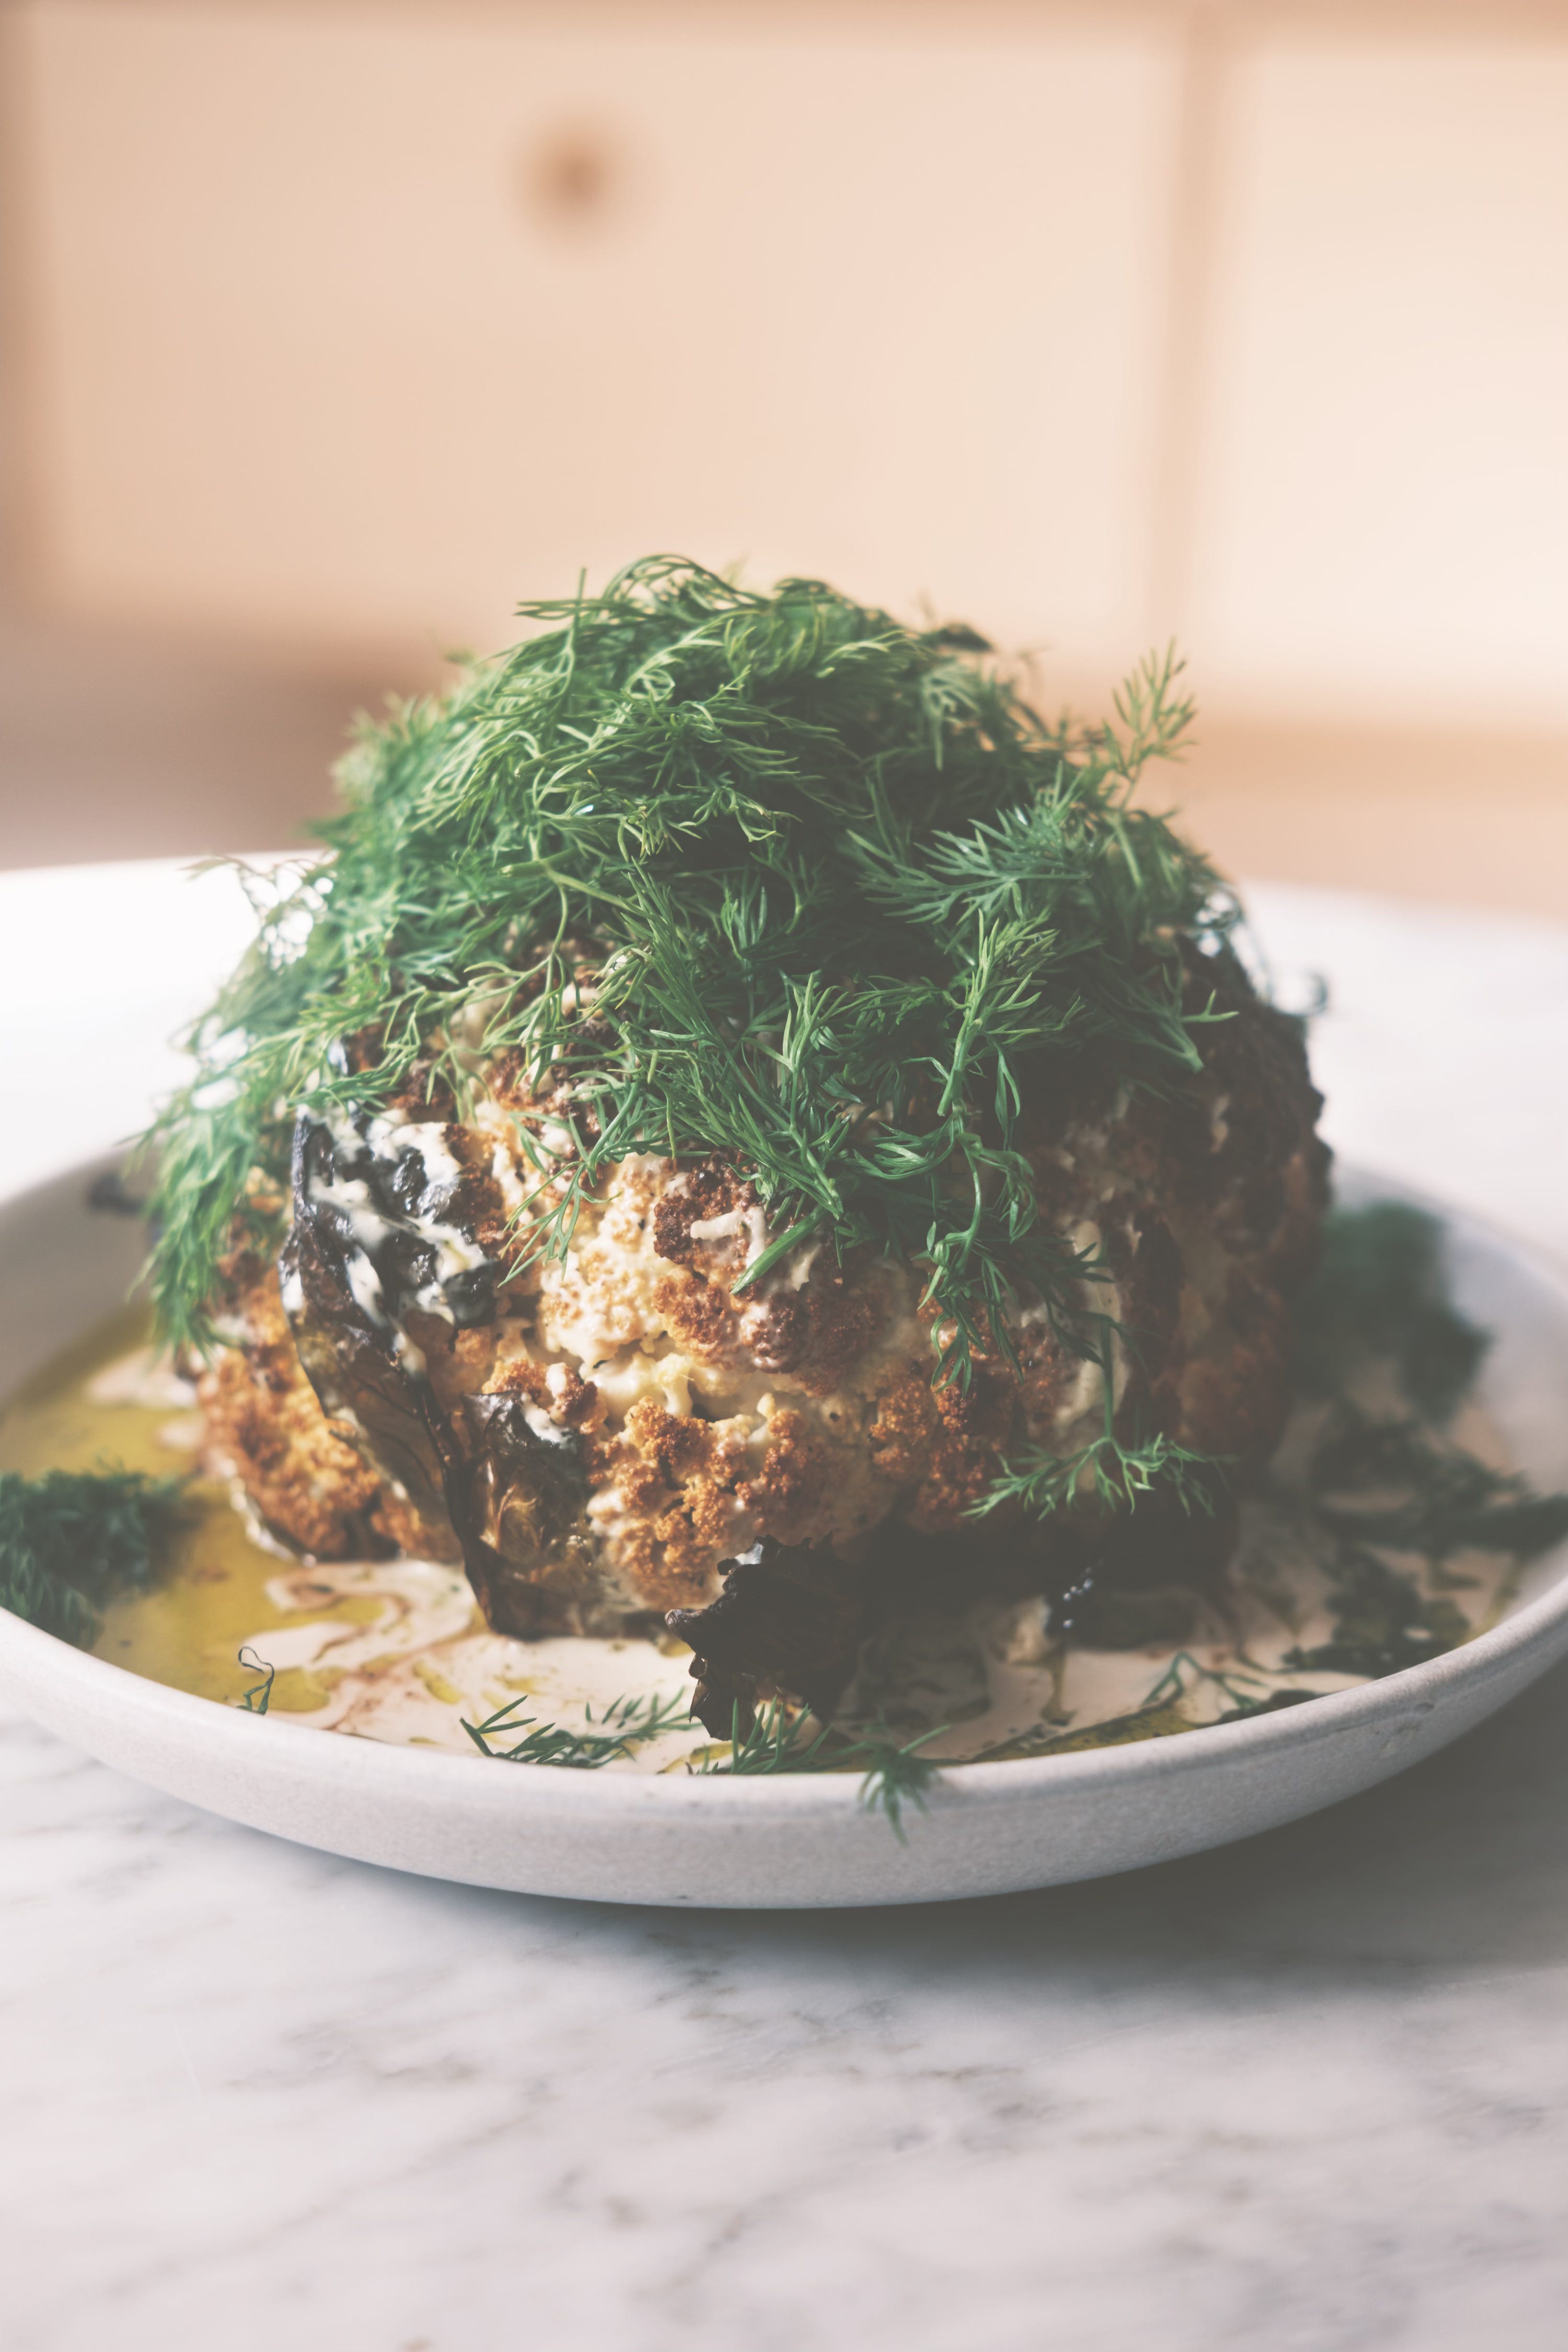
Hetty has always been a champion of vegetables, and in Linger she shows just how thrilling, comforting, and deeply satisfying they can be. The recipes travel across borders, from cauliflower buried under a mountain of dill (this week’s featured recipe), to salads brimming with seasonal fruit, to noodle bowls that feel like home in every bite. Each dish carries her unmistakable voice: thoughtful, soulful, and always centered on connection.
What makes this book truly shine is how it balances the celebratory with the everyday. These recipes are unfussy, and you can make them on a weeknight with what is in the fridge, and others that feel worthy of a dinner party centerpiece. And woven throughout are Hetty’s stories, tender reflections that remind us cooking is not just about technique, but about memory, identity, and care.
Reading Linger feels like being in the kitchen with a friend who knows exactly when to hand you a beverage, exactly how to season that salad, and exactly why it all matters. It is a cookbook that nourishes far beyond the plate.
If you are looking for a book that will expand the way you think about vegetables, inspire you to cook more often, and remind you why we gather at the table, Linger deserves a permanent spot in your kitchen.
The Tool I Never Knew I Needed
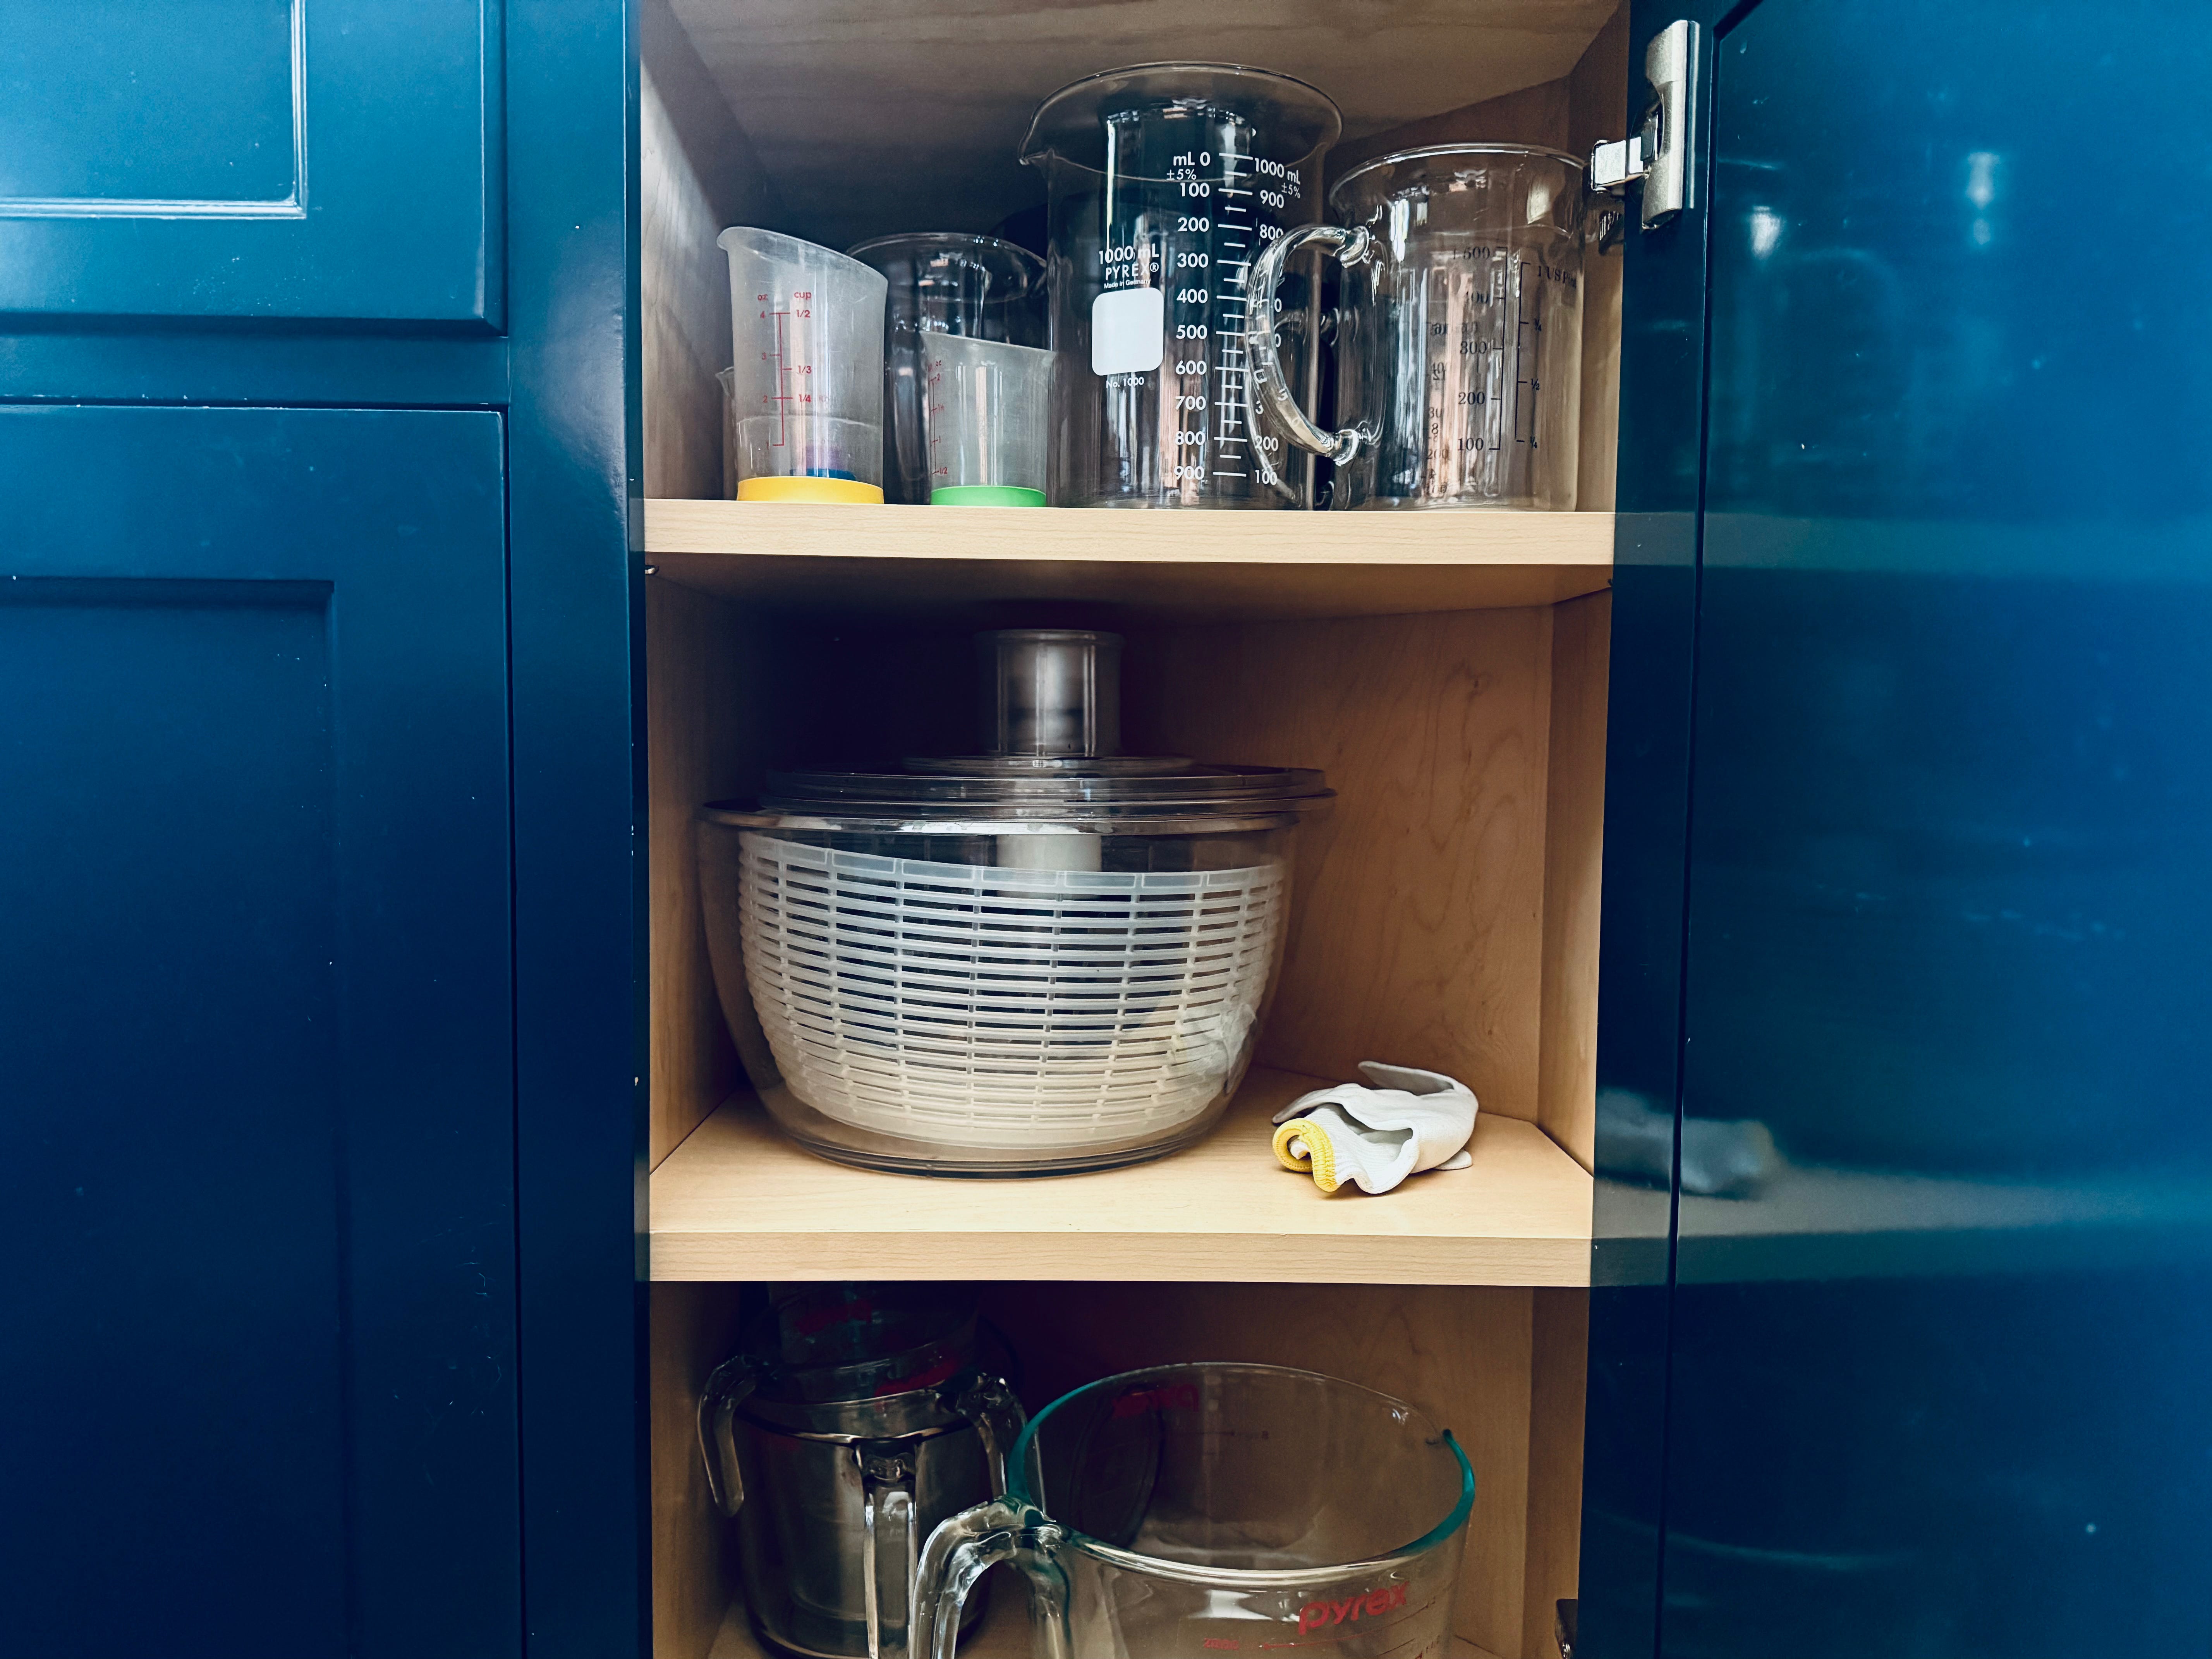
Since we’re talking about vegetables, I’d be remiss if I kept one of my favorite tools secret. Of all the tools in my kitchen, the one that surprises people when I rave about it is my salad spinner. I use the OXO Good Grips Salad Spinner, and I cannot imagine prepping greens without it. For years, I thought a spinner was unnecessary until I realized how much better salads taste when the leaves are dehydrated and look like they’re gasping for life. Dressing clings instead of slipping off, and the greens stay crisper in the fridge. The OXO Good Grips Salad Spinner version is sturdy, simple to use, and easy to clean. The push-button pump makes quick work of spinning, and the bowl doubles nicely as a serving dish. I use it not just for lettuce and herbs but also for rinsing and drying berries, leeks, and even beans after cooking. It is one of those tools that earns its keep on the shelf, and every time I pull it out, I am glad I invested in it.
RECIPE
Whole Roasted Cauliflower with a Mountain of Dill
‘s cauliflower with dill has been on repeat in my kitchen lately. It’s one of those deceptively simple dishes that’s elevated by a single herb — dill — which carries dozens of aroma molecules (like carvone and limonene) that give it that bright, anise-like lift. A dish like this is a magnificent entry point into the fall season.
I’ll be going live with Hetty McKinnon to dive into her brand-new book, Linger — a celebration of food meant to be savored slowly, surrounded by stories, friends, and conversation.
Instead of a formal interview, think of this as a relaxed Sunday gathering. We’ll chat about what inspired Linger, how Hetty thinks about salads and sweets as more than recipes, and the ways her cooking brings people together.
When: Sunday, Sept 21 at 1 pm ET Where: Listen on the Substack app (iOS/Android) or in your browser here Reminder: App users will get a push notification when we start — but I’ll also send an email before we go live.
Bring your questions, curiosity, and maybe even your lunch — this is meant to feel like you’re right at the table with us. Plus, there’ll be a book giveaway during the chat.
Click here a few minutes before 1 pm ET on Sunday to join in.
This week, I’m back at America’s Test Kitchen, where some exciting new projects are quietly coming together. There’s a small hint hidden in this newsletter—see if you catch it. September has a way of sneaking in those seasonal shifts, and landing in Boston straight from L.A., the change feels even sharper. The air is already cooler than I imagined… I really should have packed a sweater or two. LA on the other hand is still wrapped in a hot summer blanket.
On my weekend break in Boston, I stopped by Sofra Bakery to see my friend Chef Maura Kilpatrick. Chef Andy, who runs their pastry, shared the secrets to their beloved ma’amoul cookies (their cookbook is every bit as spectacular). I miss being in the bakery; moments like these always make me happy.
It’s time for the Best New Restaurant Lists - [Bon Appetit] [New York Times]. Have you been to any of these?
How to Get A Cookbook Deal - Hint - Having huge audiences on TikTok and Instagram are no longer helpful (they never were) - [Best Food Blog]
I already do this with mango peels and the pit, which is why I loved reading this Before You Throw Away Those Fruit Scraps [Punch]
EVENT ALERT: I’ll be interviewing author and fellow ATK Editor-in-Residence, Aran Goyoaga, at Now Serving LA on September 25 [Tickets Here]
This week, I’m here to equip you with all the science-backed tricks to turn those ordinary salads into flavor-forward masterpieces. Whether you still crave summer salad vibes or are itching to be inspired by fall, I have you covered. In this paid subscriber newsletter, you will…
Get my tips for storing salads to last and why the leaf cell wall structure matters.
The science behind maximizing flavor in different leafy greens-- including how heat transforms arugula and why spinach loves a calcium-rich partner
Get my recipe for Butter Lettuce Salad with Crispy Caper Breadcrumbs
How I Store Salads (and Keep Them from Going Sad and Soggy)
If you are tired of opening the fridge to find yesterday’s salad limp and watery, you are not alone. I have ruined more than a few good salads this way. Over time, I have picked up tricks that keep them fresher for longer, and there is a little history and science behind why they work.
The word “salad” originates from the Latin “sal,” meaning salt. The ancient Romans often ate raw vegetables dressed with salty brine, oil, or vinegar — one of the earliest forms of vinaigrette. In contrast, in India and many Asian countries, oil doesn’t even enter the equation of the dressing; it’s simpler.
In Renaissance Europe, raw greens were sometimes viewed with suspicion, and many people blanched them before eating. Fast forward a few centuries, and we now take for granted the joy of a crisp, raw salad. Iceberg lettuce, for example, was bred in the US in the late 19th century specifically for transport. It was shipped packed in ice, which is how it got its name.
The challenge with salads has always been freshness. Leaves are more than 90 percent water, and once picked, they lose moisture through evaporation and respiration. This is why they go limp so quickly. Storing them in a cool, humid environment slows the process, which is why refrigeration helps. But the real trick is how you store them.
Every September, I step up onto my soapbox to report for my self-appointed duty — one part desperate, one part cantankerous — to remind us that summer isn’t over yet. I beg us to put away the decorative gourds and pumpkin spice for just a tiny bit longer. It’s a slippery slope from “hooray, scarves!” and “look at that perfect rainbow of a tree!” to a very long winter where I forget what warmth feels like on my skin and I am beseeching us not to wish it away. Or, I struggle with change? Hm, it’s hard to tell!

 Login
Login