This time of year brings Seville oranges to the markets in Paris. For the past few years, I kept wondering why they were so hard to find since it’s perhaps my favorite of all jams and jellies to make, and eat. But lately, they’ve been everywhere. And I found myself busy making a lot of marmalade, which was easier since I came up with a brand-new, revolutionary technique which I couldn’t wait to share.
Since Seville oranges are rife with seeds, which makes slicing them difficult since you have to keep moving the seeds around with your slippery fingers, while trying to cut the oranges, then finding more, and fishing around deeper inside to extract more, plucking them out, etc… Each Seville orange has perhaps twenty to thirty inside.
So I thought, what if I was to squeeze the juice and seeds out first, strain them, then pour the juice back in? The seeds are precious commodities in jam-making, and get saved and used since they’re so high in pectin.
They’re wrapped in a sack and cooked with the marmalade giving the marmalade gets a suave, jellied texture. And this simple method, featured in my book Ready for Dessert, makes the whole process much easier.
You might be interested to know that Seville Orange Marmalade was created because of an error. Apparently, an Englishwoman in 1700, the wife of a grocer, was stuck with some sour oranges that were bought cheaply from a boat that was carrying them from Seville.
Since there was a storm, they wanted to get rid of their stock or oranges quickly, so the grocer bought them. But they were inedibly sour so his wife decided to try making jam from them, and viola!…Seville Orange Marmalade was invented.
Adapted from Ready for Dessert (Ten Speed) In my book, I advise letting the cooked oranges and the seeds rest overnight. That's an optional step. If you want to go ahead and finish the marmalade the same day you start it, you can.
Course Breakfast
Keyword confiture, jam, marmalade, orange
Ingredients
6Seville oranges(see Note)
1navel orange
10cups (2.5L)water
pinchof salt
8cups (1.6 kg)sugar
1tablespoonScotch(optional)
Instructions
Wash oranges and wipe them dry. Cut each Seville orange in half, crosswise around the equator. Set a non-reactive mesh strainer over a bowl and squeeze the orange halves to remove the seeds, assisting with your fingers to remove any stubborn ones tucked deep within.
Tie the seeds up in cheesecloth or muslin very securely.
Cut each rind into 3 pieces and use a sharp chef’s knife to cut the rinds into slices or cubes as thin as possible. Each piece shouldn’t be too large (no more than a centimeter, or 1/3-inch in length.) Cut the navel orange into similar-sized pieces.
In a large (10-12 quart/liter) stockpot, add the orange slices, seed pouch, water, and salt, as well as the juice from the Seville oranges from step #1. Bring to a boil, then reduce to a simmer, and cook until the peels are translucent, about 20 to 30 minutes. (At this point, sometimes I’ll remove it from the heat after cooking them and let the mixture stand overnight, to help the seeds release any additional pectin. But it's not imperative.)
Stir the sugar into the mixture and bring the mixture to a full boil again, then reduce heat to a gentle boil. Stir occasionally while cooking to make sure it does not burn on the bottom. Midway during cooking, remove the seed pouch and discard.
Continue cooking until it has reached the jelling point, about 218ºF degrees (103ºC), if using a candy thermometer. I cook this slightly less than other jams and marmalades because the high amount of pectin helps the marmalade set up more stiffly. To test the marmalade, turn off the heat and put a small amount on a plate that has been chilled in the freezer and briefly return it to the freezer. Check it in a few minutes; it should be slightly jelled and will wrinkle just a bit when you slide your finger through it. If not, continue to cook until it is.
Remove from heat, then stir in the Scotch (if using), and ladle the mixture into clean jars. Sometimes I bury a piece of vanilla bean in each jar. (Which is a great way to recycle previously-used or dried-out vanilla beans.)
Notes
I don’t process my jams, since I store them in the refrigerator. But if you wish to preserve them by canning, you can read more about the process here.
Note: Sour or Seville oranges are called in French oranges amères and are available mid-winter in many other countries around the world as well.
There’s a lot going on when you write a cookbook. You begin with an idea, then spend a year or two testing and developing recipes. Once the first draft is done, it goes through a developmental edit where the editor gives feedback on what you’ve done so far and offers up changes, ideas, or things to reconsider.
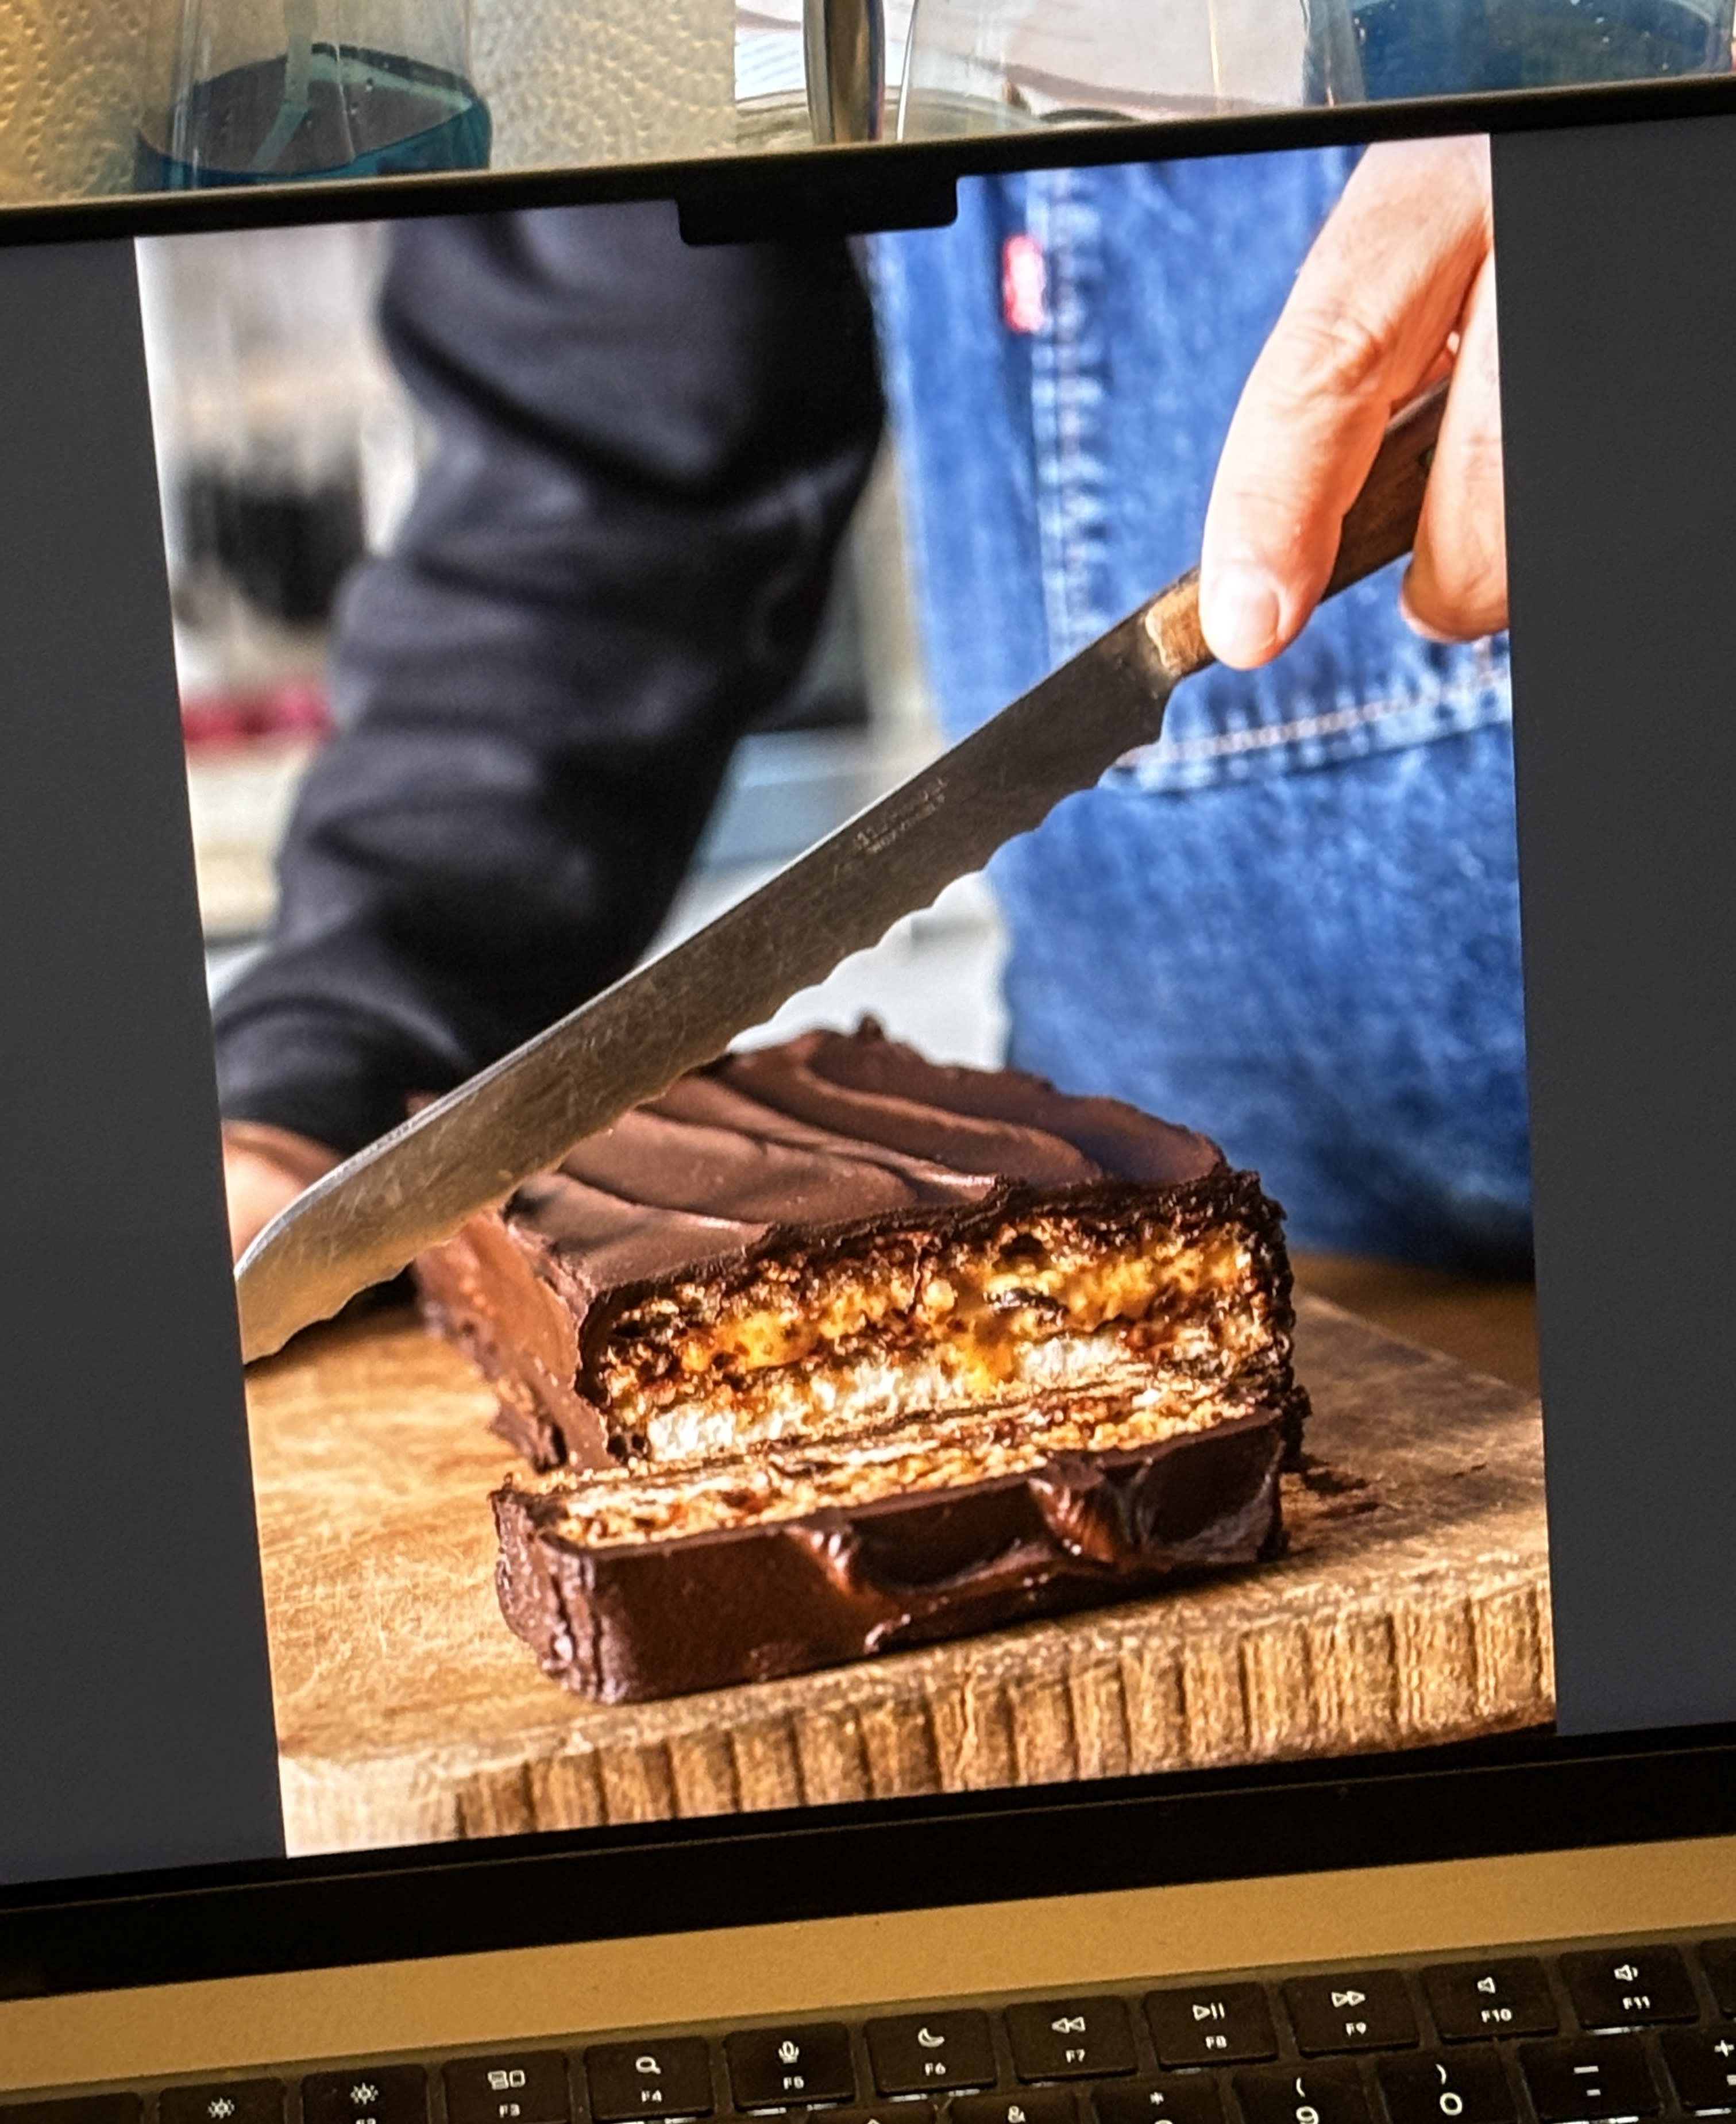
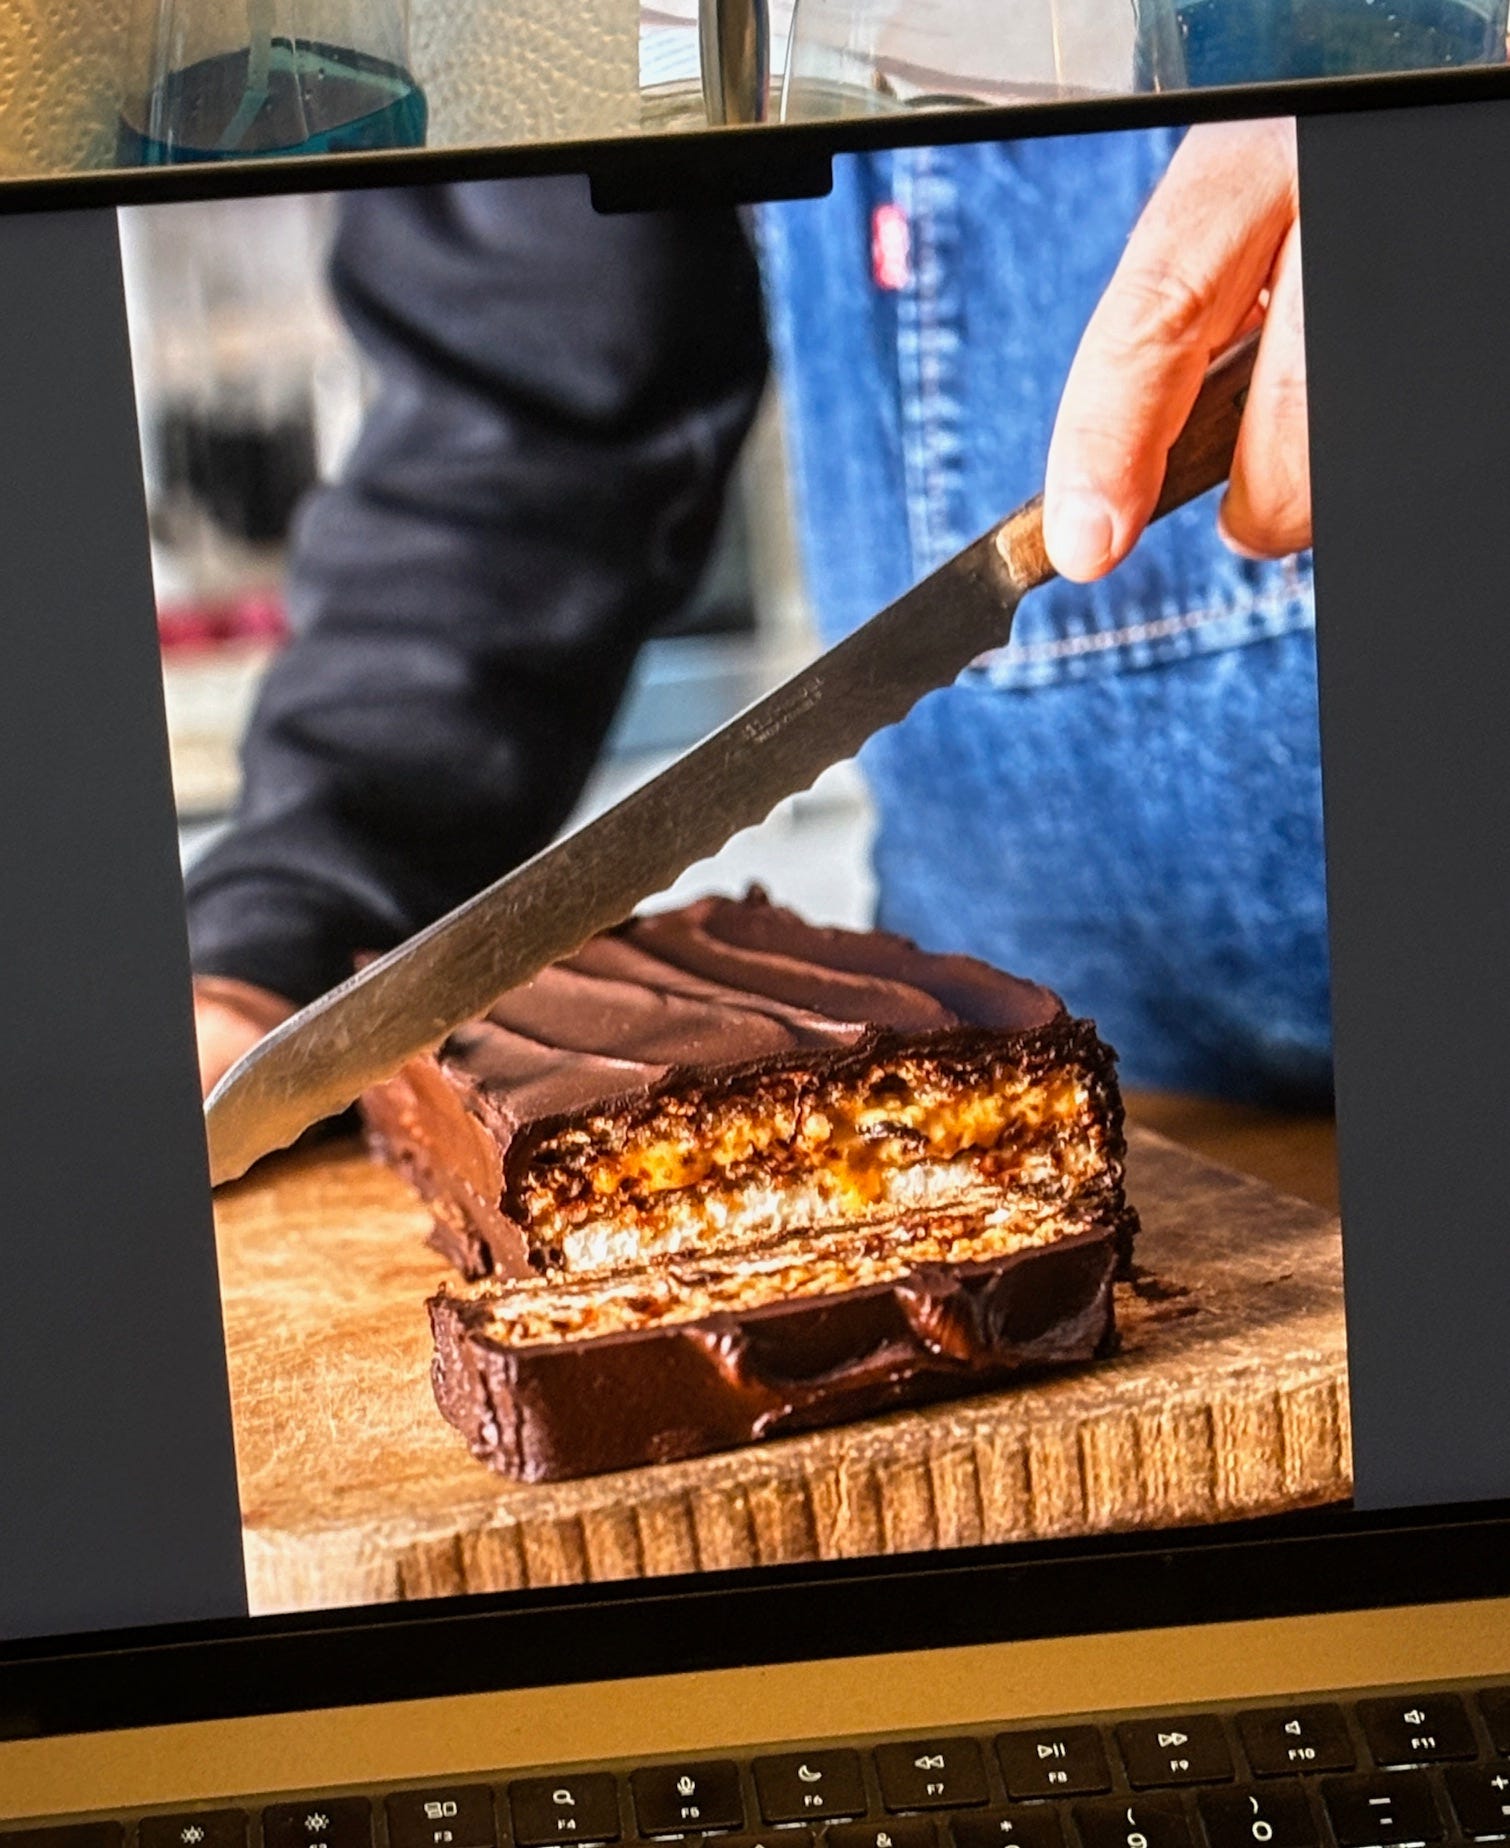
One of my favorite pictures from Ready for Dessert: Slicing the Marjolaine, which is also one of my favorite recipes in the book. (Photo by Ed Anderson)
After you’ve implemented those (or not), it then goes to a copy editor who checks grammar and spelling, as well as scans the recipes for omissions or gaffes, such as forgetting to say when to add an ingredient, and checks your metric conversions. I’ve seen more and more books lately that also credit an “Americanizer,” who presumably takes on that last task, since conversions are a big lift. I kid you not. I’m pretty sure I could write two cookbooks a year if we all used the same system of measurement.
The book then goes to a production editor, who makes sure everything is in the right place, then to a proofreader. (Not all publishers do all these steps. Mine does.) During the process, cookbook authors often send recipes to testers to give the recipes a go and get feedback. Some authors have people develop recipes but I give a tester the finished recipe and get feedback on that.
Shooting some of the desserts in our backyard.
If the book is going to be photographed, food stylists generally make the recipes for the photos, although in some cases, the author does. (Which I’ve done.) But it’s a very big job organizing and planning the shoot, then gathering all the ingredients and making everything, which is especially challenging if you plan to shoot five different photos a day. Then there’s the cleanup afterward.
I was fortunate to have George Dolese and Elisabet der Nederlanden working as a team on my book since there were a lot of photos to shoot in 2 1/2 weeks. That’s a very long shoot, but my publisher wanted a lot of photos so we, along with photographer Ed Anderson, delivered.
George arrived with a 7-inch (18cm) thick notebook, and I was startled to see how organized he was. We’d corresponded a lot before he came to Paris, and he asked me what he should bring from the U.S. I said parchment paper circles, natural cocoa powder, Lazzaroni amaretti cookies (why can’t we get those here? Romain has been devouring the leftovers…), almond paste, and chocolate chips — among other things.
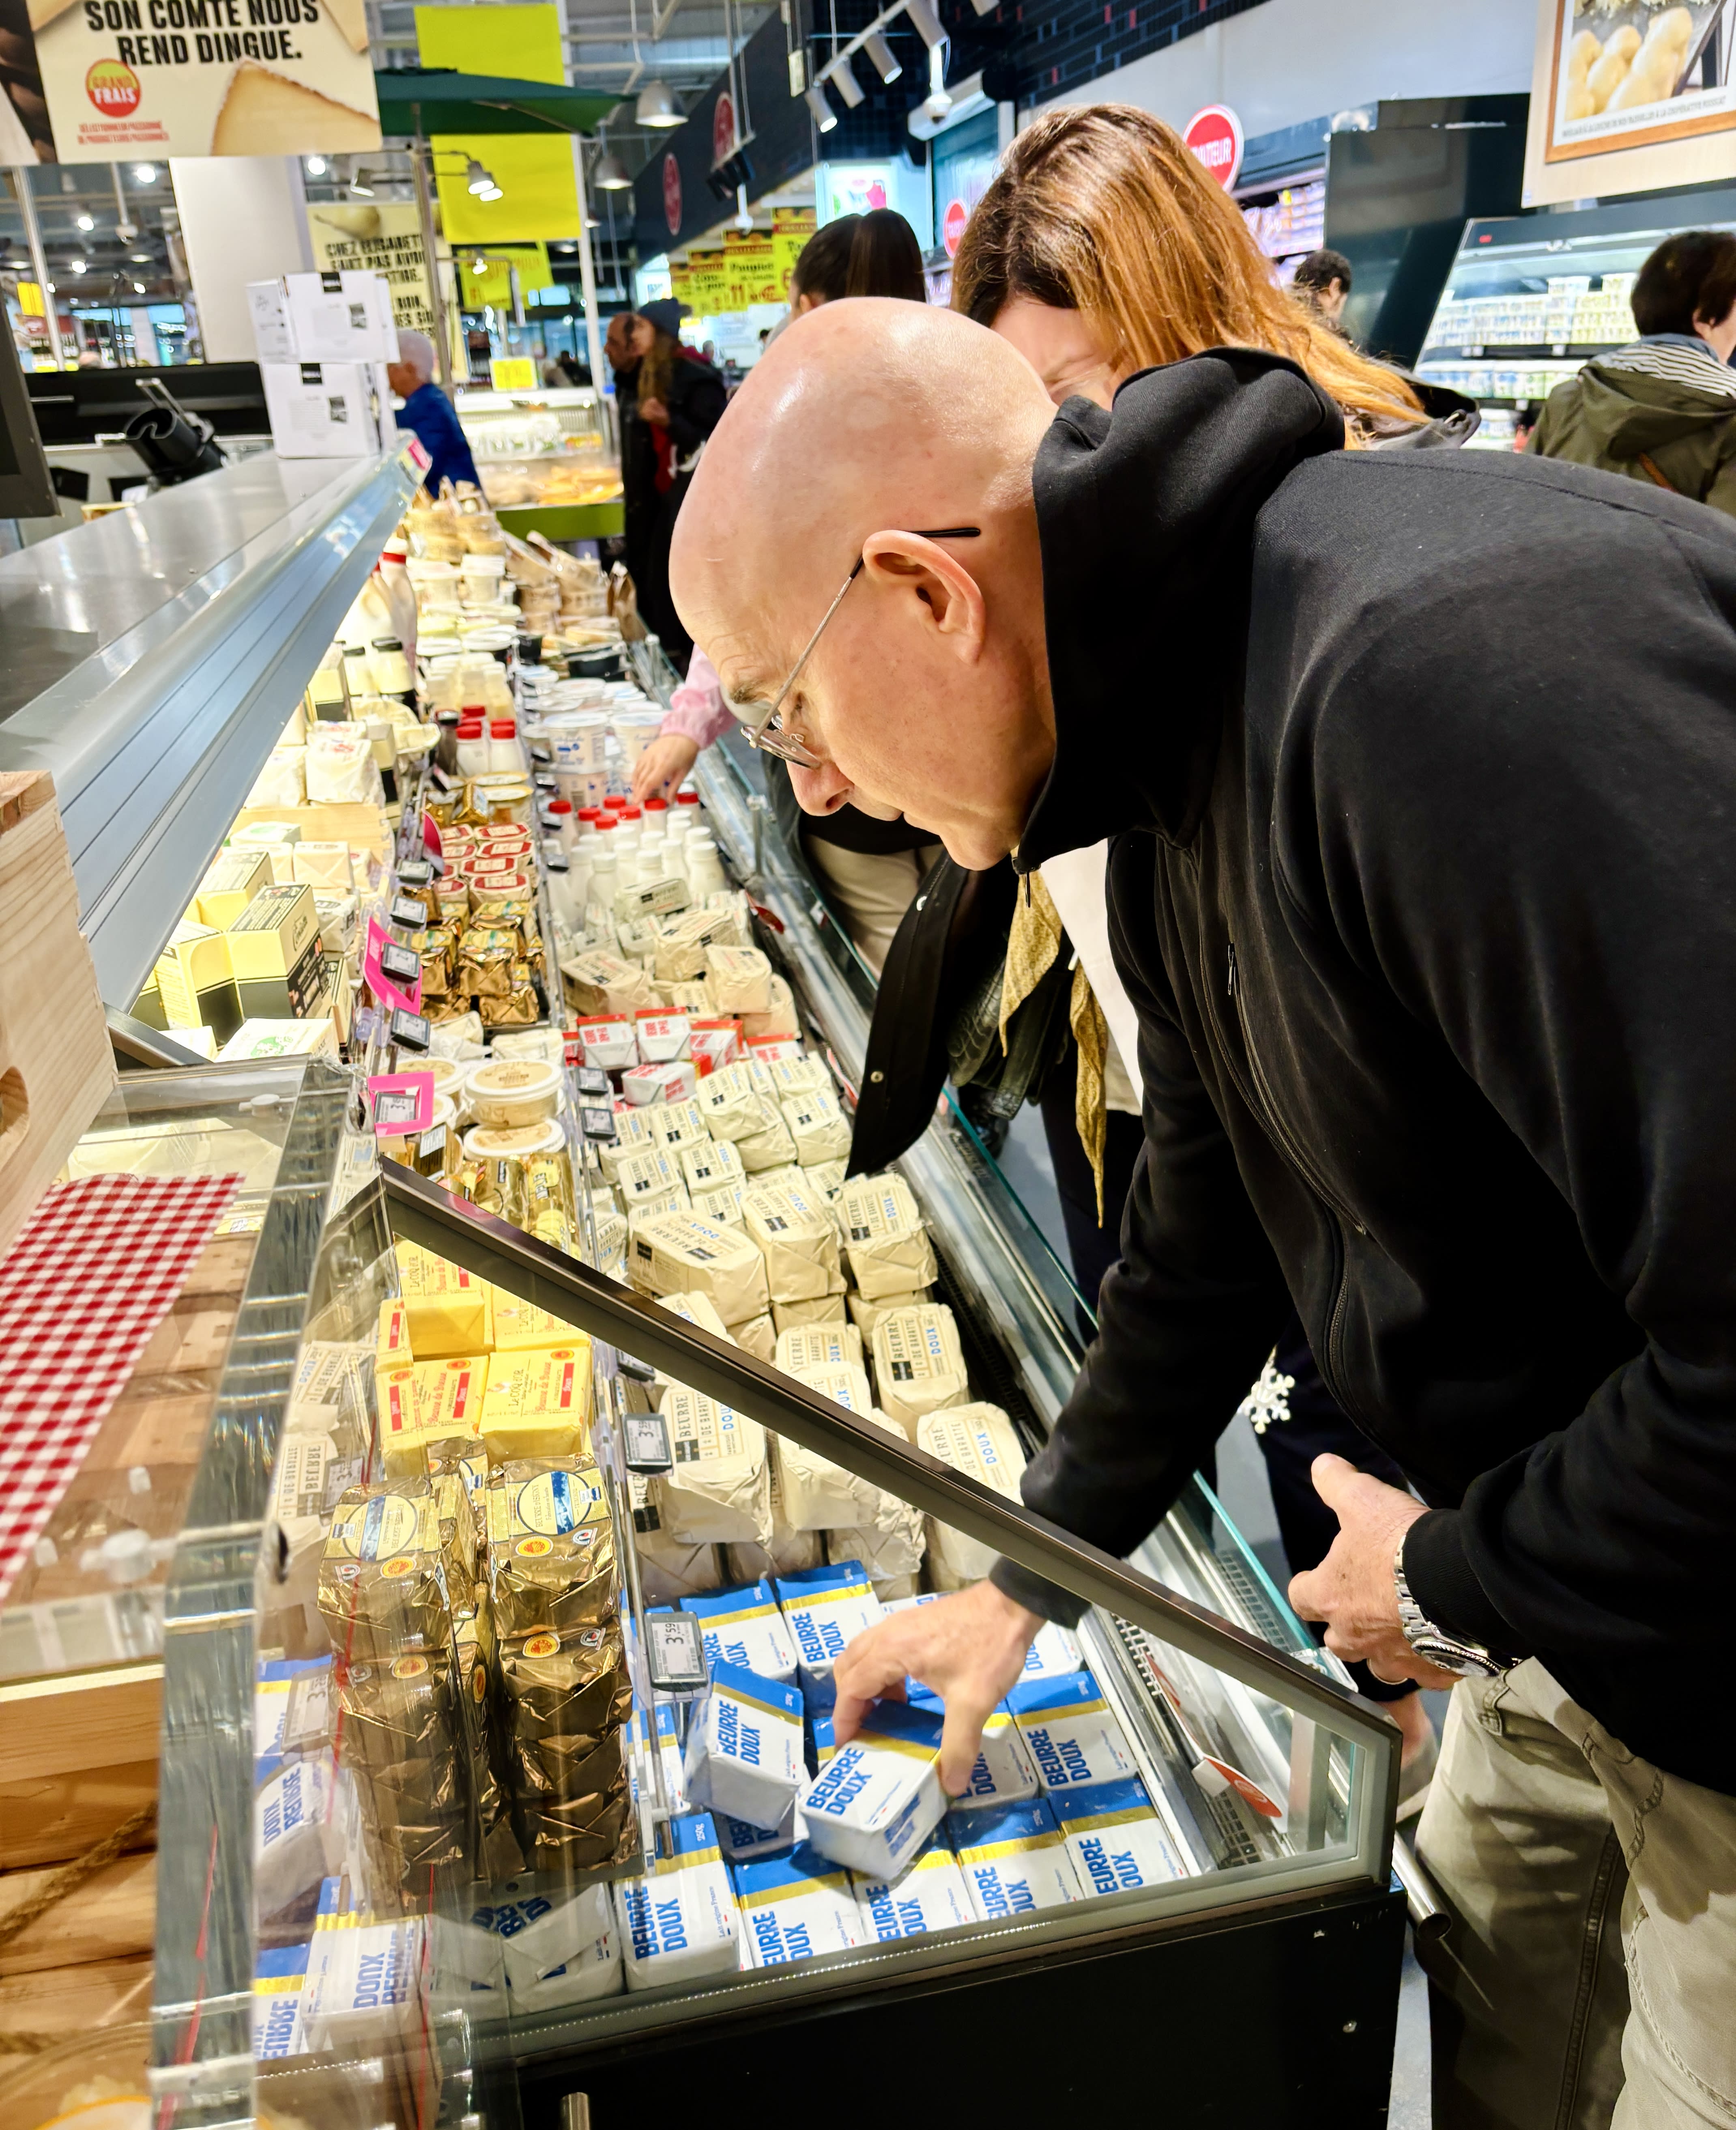
When George and Elisabet arrived, armed with massive shopping lists, I took them to a Grand Frais supermarket outside of Paris. For some reason there are no Grand Frais supermarkets in Paris, but they have a remarkable selection of everything, including aisles and aisles of every kind of fruit you can imagine, as well as a massive cheese aisle, a butcher, and shelves of nuts and baking ingredients.
Buying (lots of) butter at Grand Frais.
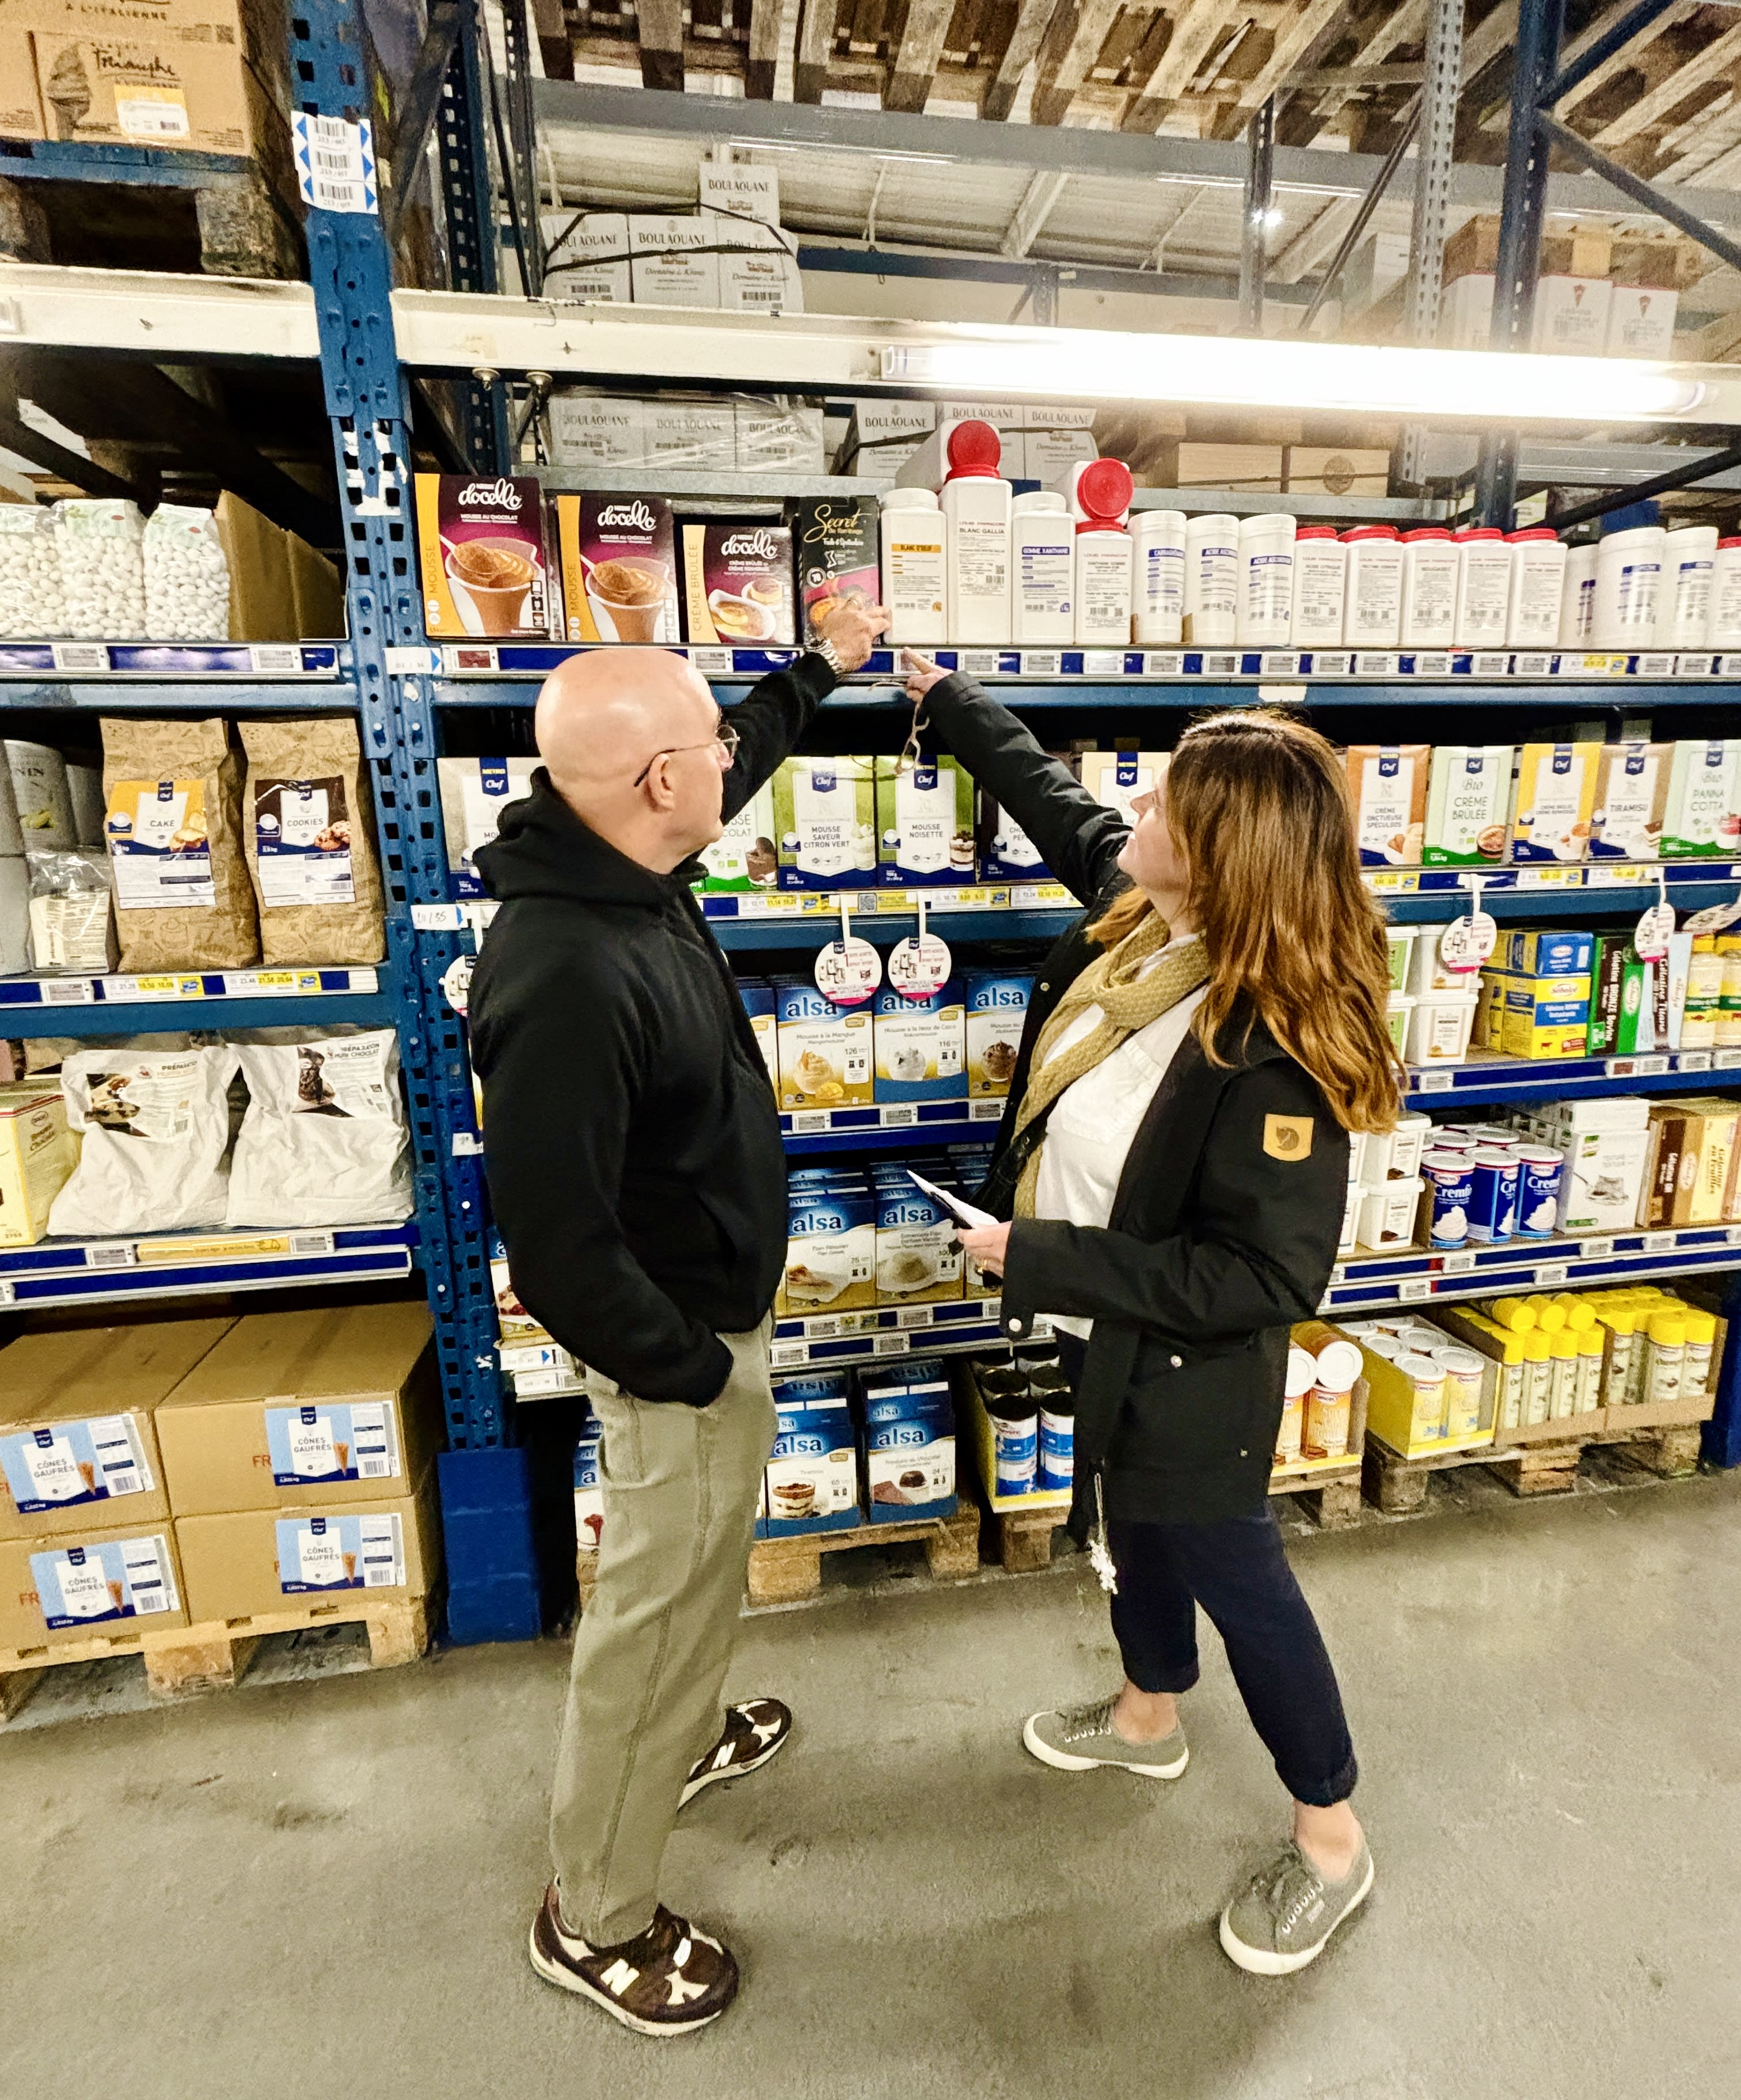
I also took them to Metro, a membership-only store that requires you to have a resale license. Elisabet is a particularly avid baker and went a little nuts in the baking aisles. She was especially wowed by all the various sugars available in France, from dark, moist cassonade (cane sugar) to crunchy pearl sugar.
Food stylists are invariably pros at cooking and often give valuable feedback if they run into any issues with the recipes. To be honest, food stylists do a better job than most of us can to make food look good for the camera. No one working on cookbooks uses fake food or anything like that, although when shooting pictures for the first edition of Room for Dessert (I was the food stylist on it), which became Ready for Dessert, I couldn’t find Concord grapes for the pie since it wasn’t grape season. A food stylist friend suggested that since it was only for a photo, I should use black olives. I used regular grapes instead and zhuzhed them up with some grape jelly for color.
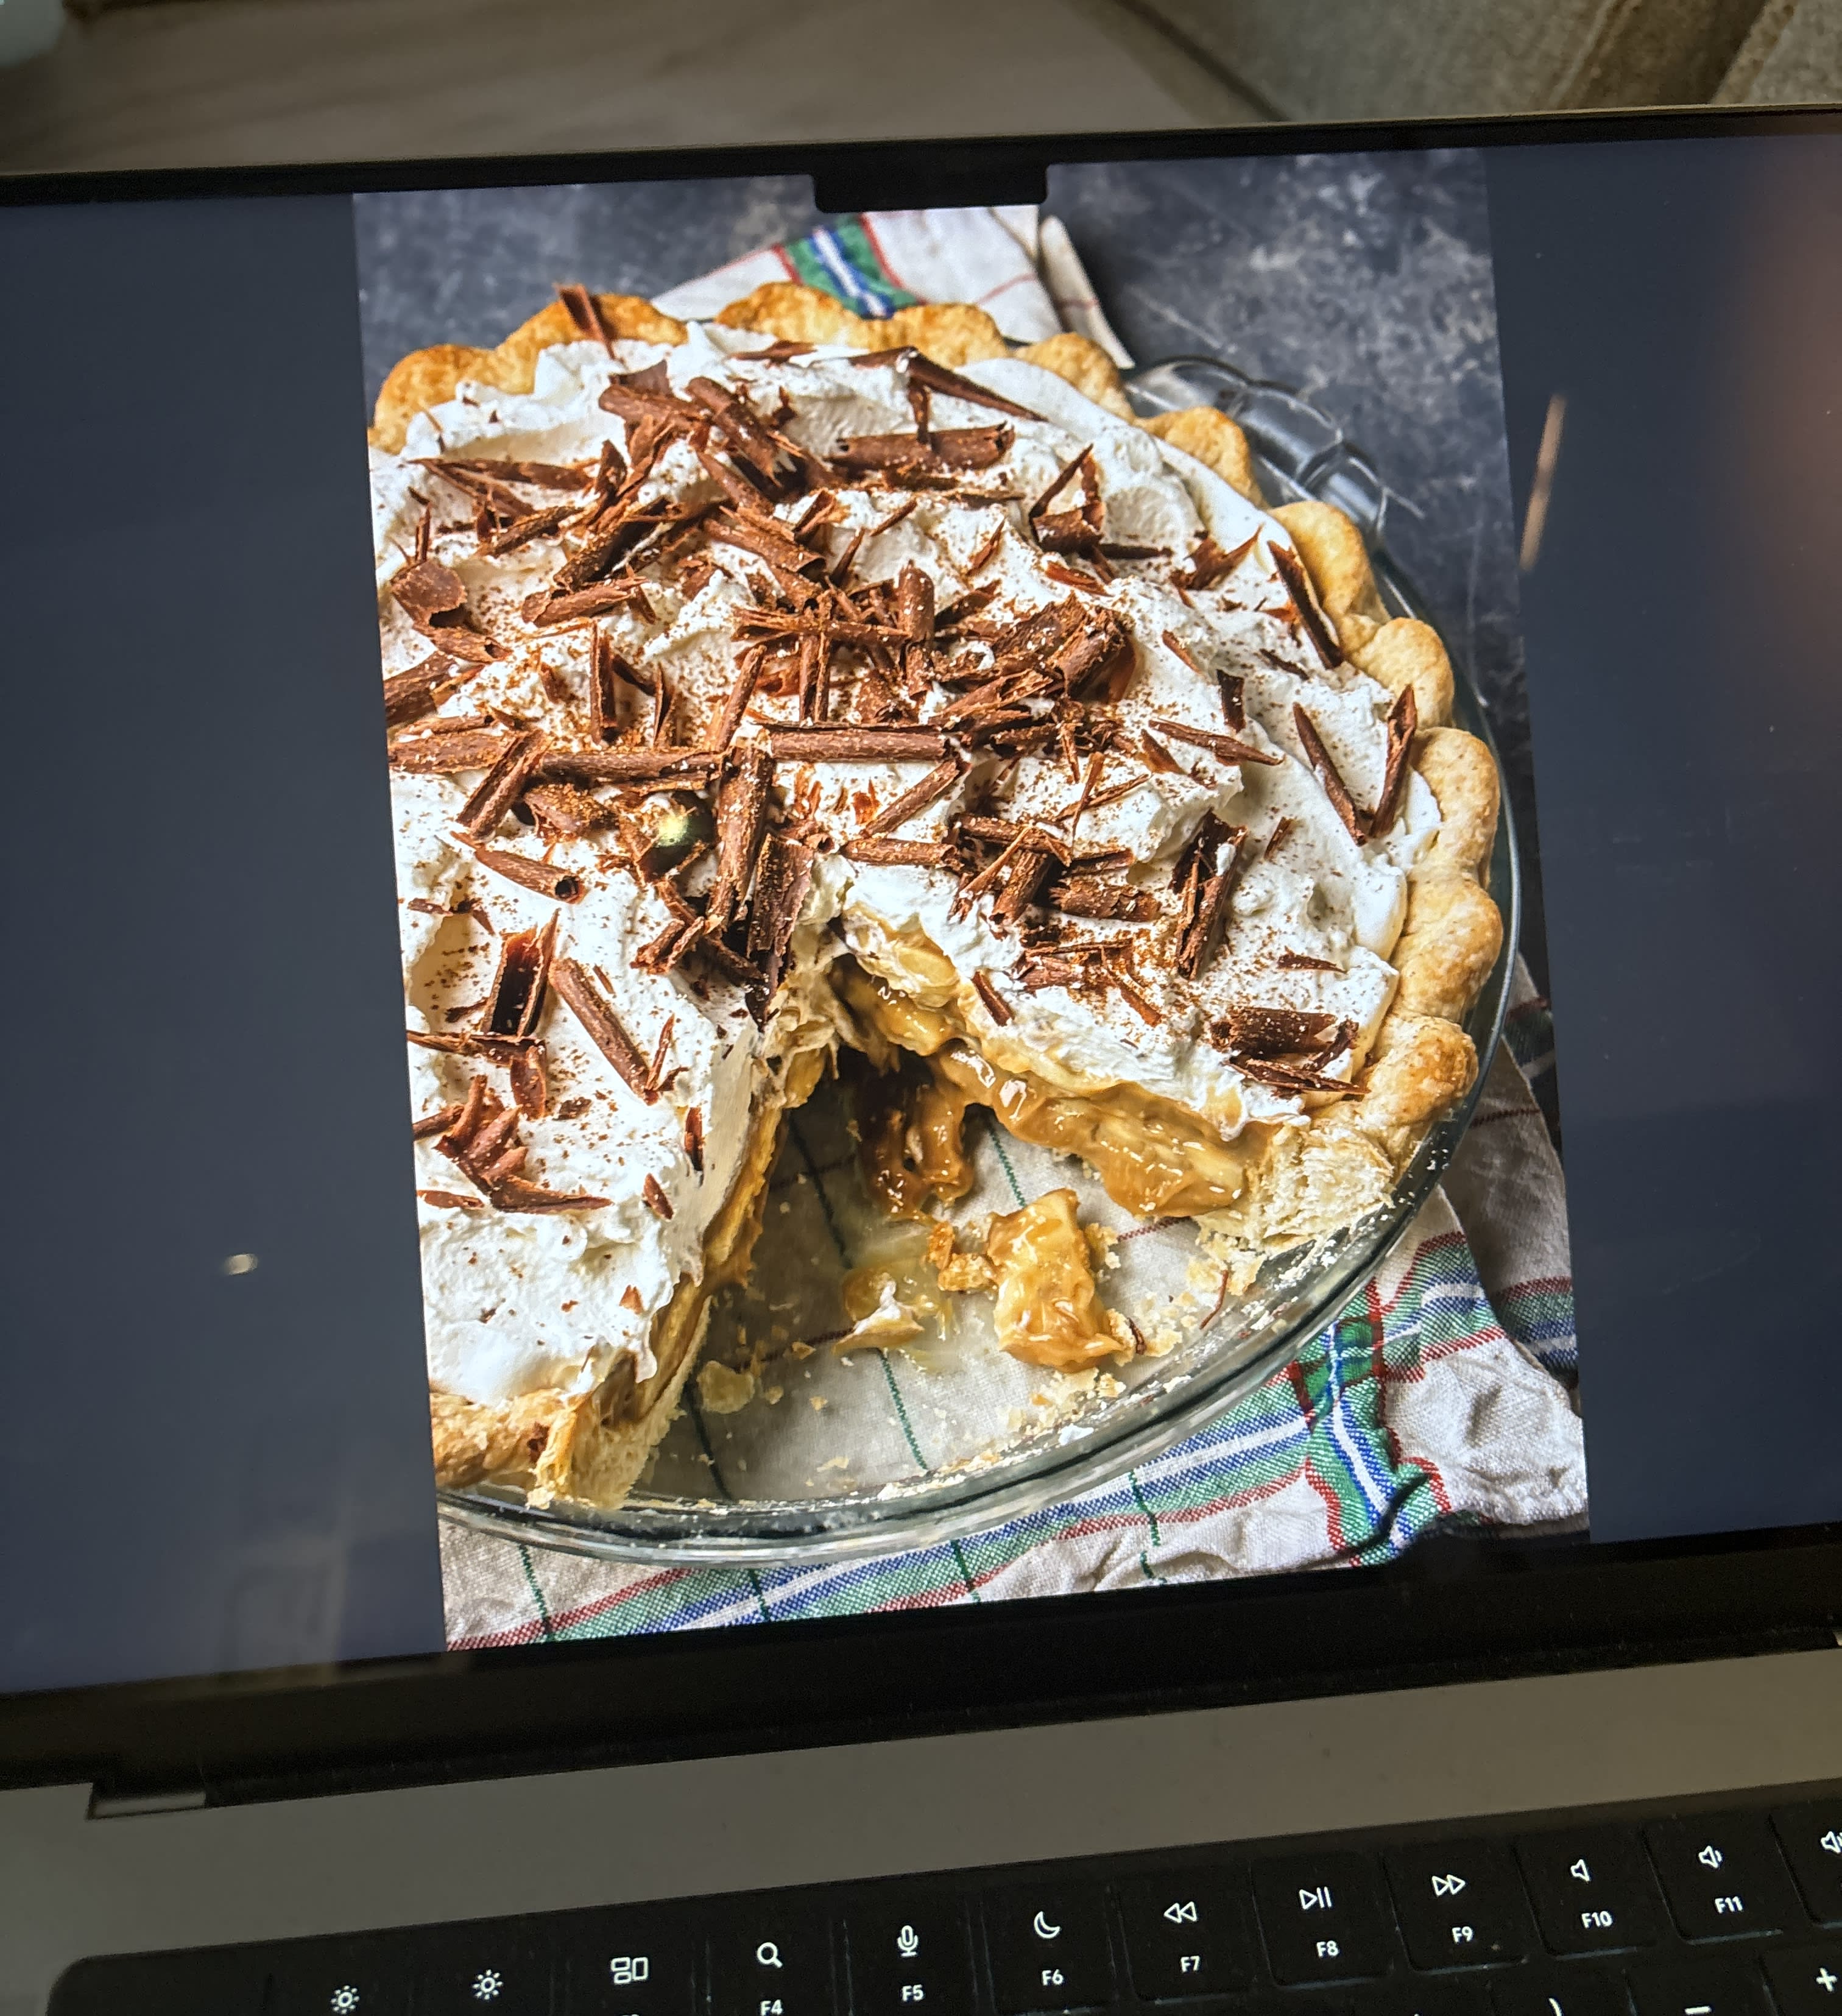
Banana butterscotch cream pie, page 100. (Photo by Ed Anderson)
Once the book is laid out and designed, with everything in place, the publisher sends a PDF of the book to the author to check and make sure everything’s A-OK. Then it’s off to the printer, and when you get the final book in your hands, you notice that tablespoon in one recipe is spelled “tablespooon.” (Which happened to me in another book.)
Photographer Ed Anderson and I took a coffee break when shooting out and about in Paris, here in the Place des Vosges. I had hot chocolate!
As the great Maida Heatter called them, “gremlins” get into cookbooks, no matter how hard you try to keep them out. Also, as someone who likes to tinker with recipes, I sometimes find different ways to make them. Books also have limited space, so it’s nice we have the internet to fill things in, as I’m doing here.
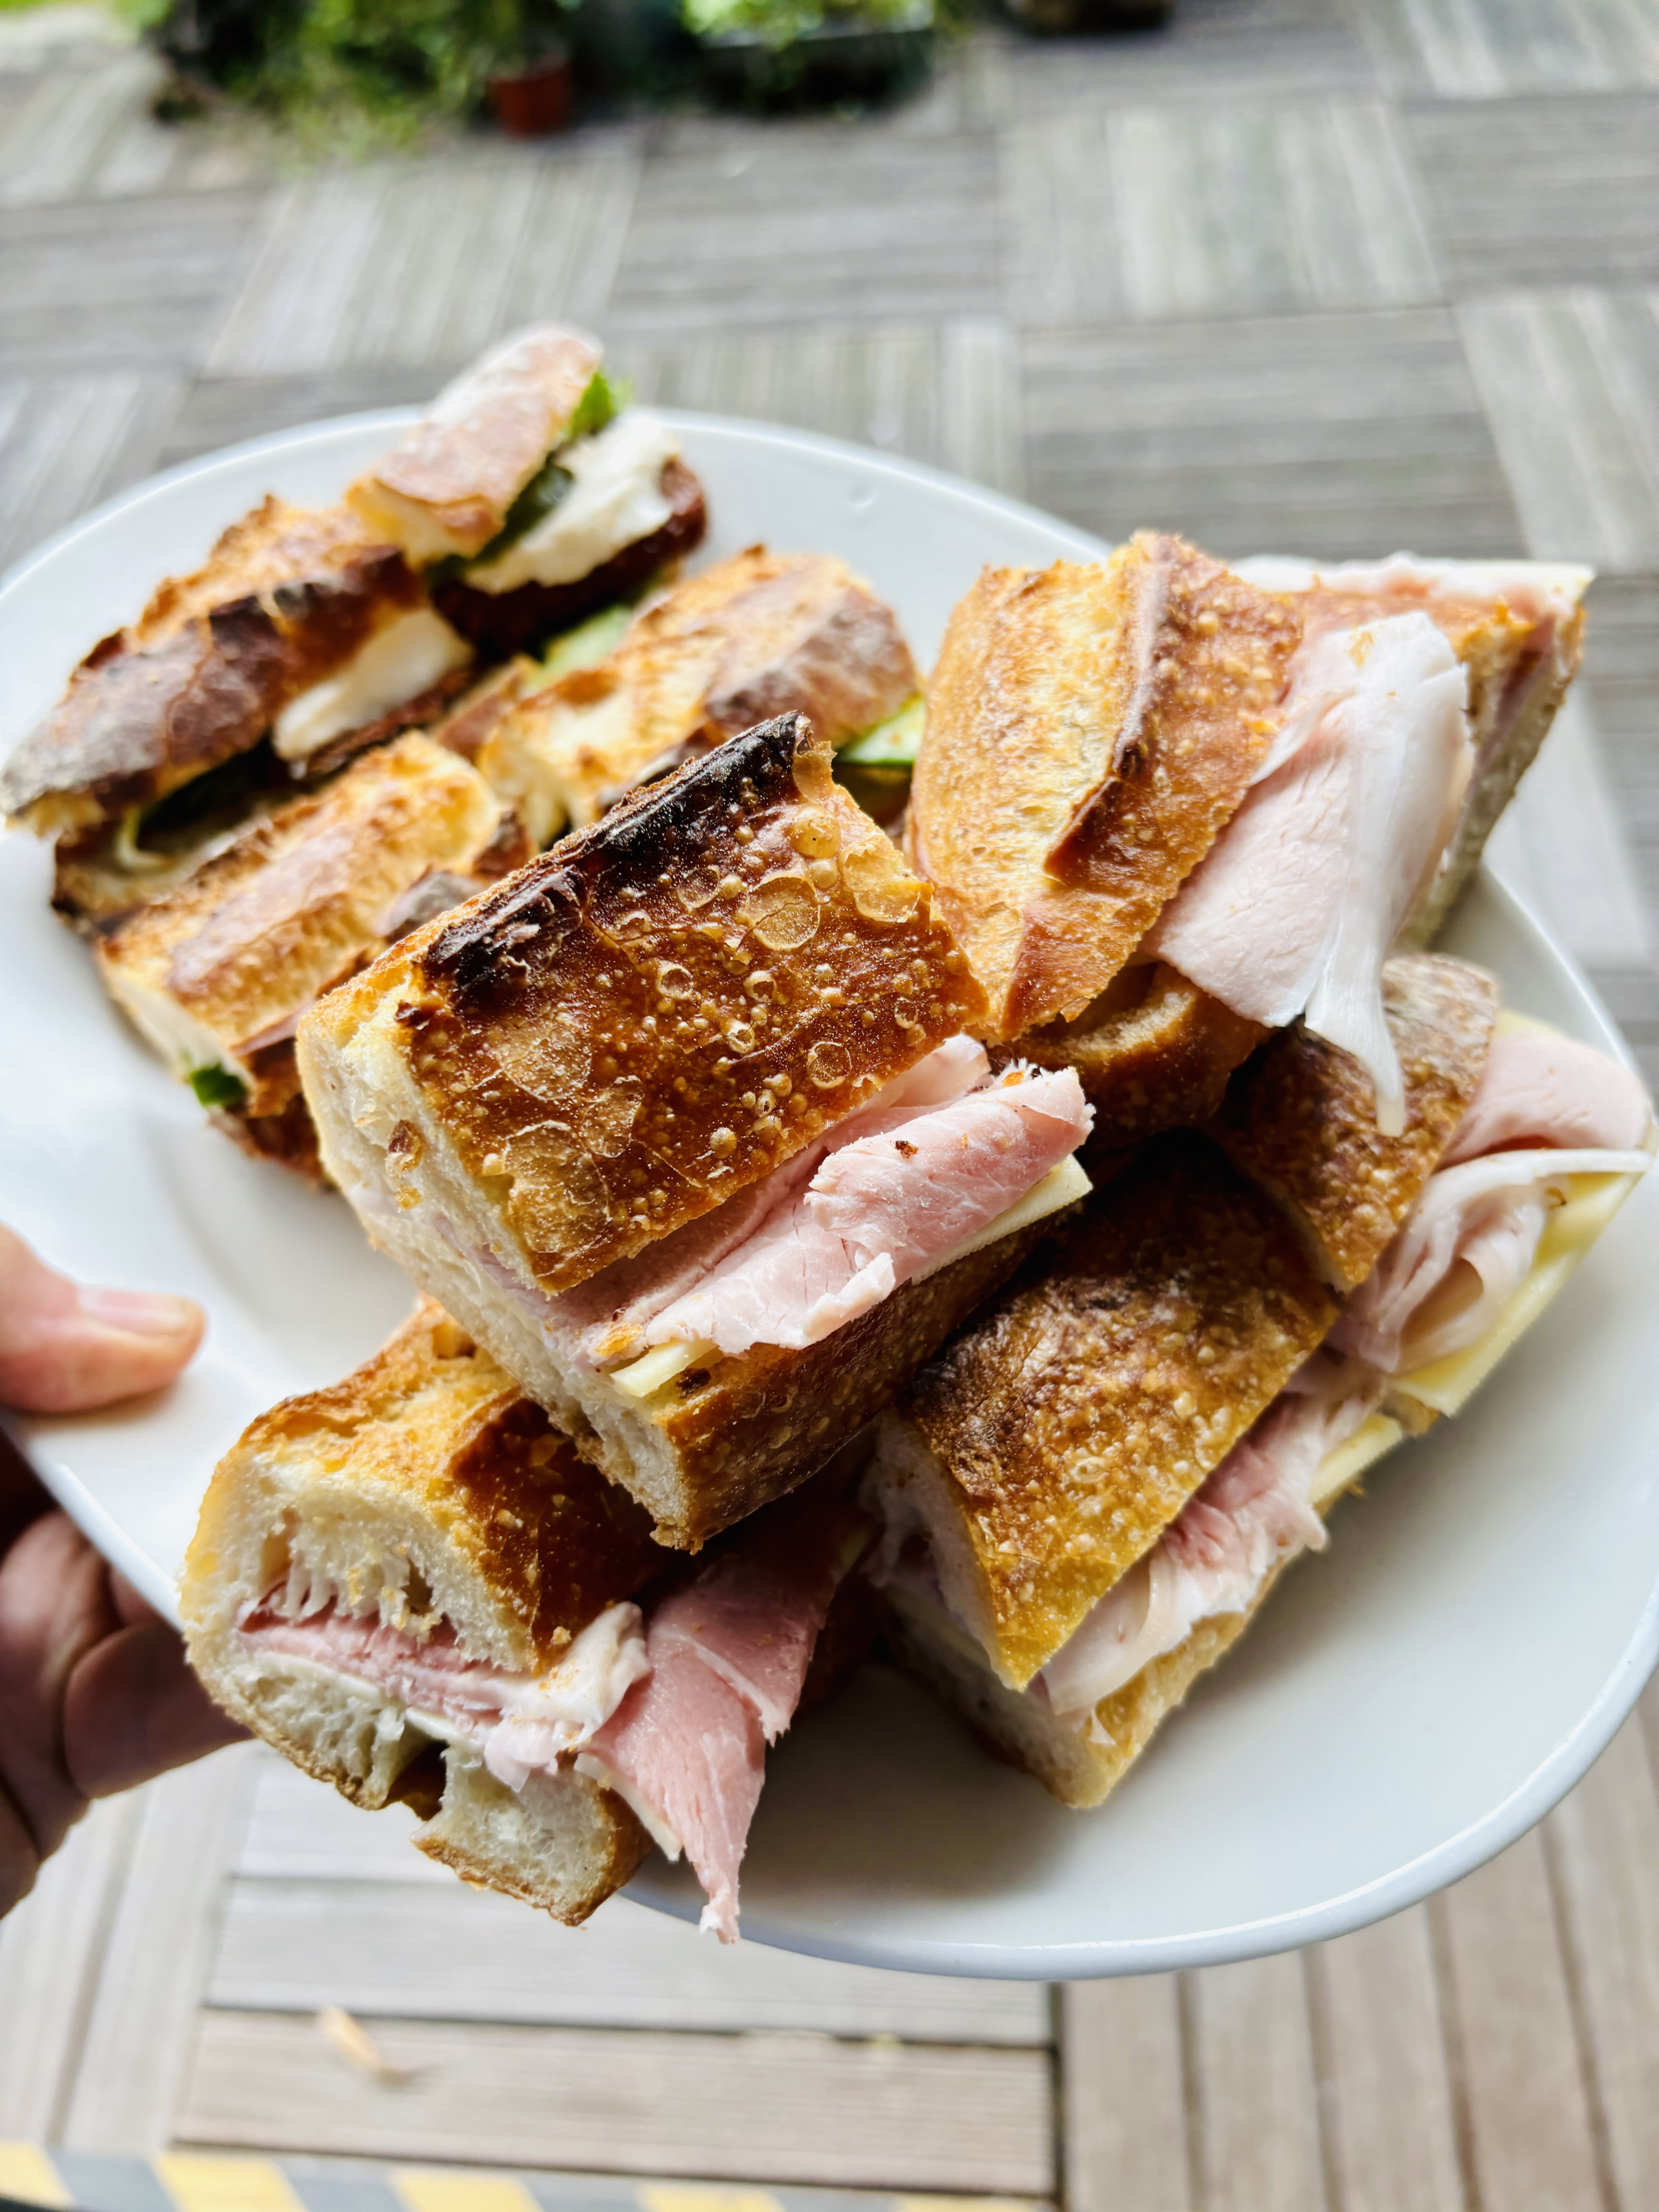
During the photo shoots, I was sometimes tasked with “staff meal.” I kept things pretty French for the crew, and jambon-beurre (ham and butter) sandwiches became the most requested meal…and I was happy to oblige.
Ready for Dessert Recipe Notes & Errata
Here are some additional notes about the recipes, including a few tips on baking times, a little errata the thickness of a cookie recipe, and an bonus recipe, that’s on the cover of the book.
– For the Easy jam tart (page 121), if the dough is a bit too sticky to press into the pan, put the pan with the pastry in it in the refrigerator or freezer for a few minutes to firm the pastry up.
– When making the Peanut butter and jelly linzertorte (page 103), if the ropes that you’re rolling by hand to place over the top break, it’s ok to place the pieces on top of the tart and simply pinch them together. They’ll bake up beautifully. While a lattice topping is traditional on linzertorte (which is really a tart), baker Jessie Sheehan suggested that the dough could be crumbled over the top of the tart, which I’m going to try the next time I make it.
– For the Panna cotta recipe (page 161) you can reduce the amount of sugar to 1/4 cup (50g), and you can omit the cinnamon and lemon zest if you want them with those flavorings in them.
– For the Croquants (page 251), yes, the batter is measured out in teaspoons, one per cookie, which is the measurement in the book. It makes cookies the size they are in France, the cookies in the photo on the left. (It doesn’t seem like a lot of batter when you are making the cookies, but the batter spreads as it bakes.) You are welcome to make them larger, like the cookies on the right. You may need to increase the baking time another minute or so, until they’re toasty brown across the top.
– For the Pâte à choux recipe (page 276), the yield will vary depending on the size you pipe the dough. You may get twenty puffs if you pipe them larger, which is fine!
I also like to play with the temperature of the oven, depending on how I feel that day. Life isn’t always cut-and-dry, and neither is pastry dough. And as I’ve said before, recipes aren’t set in stone. If they were, cookbooks would be very, very heavy.
While the baking temperature in the first printing of the book has you baking the puffs at 425ºF (220ºC), I’m wondering if that’s too high for people? I like my puffs very crispy so that’s fine with me. But if yours are getting too dark for your taste, you can take them out before the recommended baking time. Similarly, you don’t need to keep them in the turned-off oven for 5 minutes after baking.
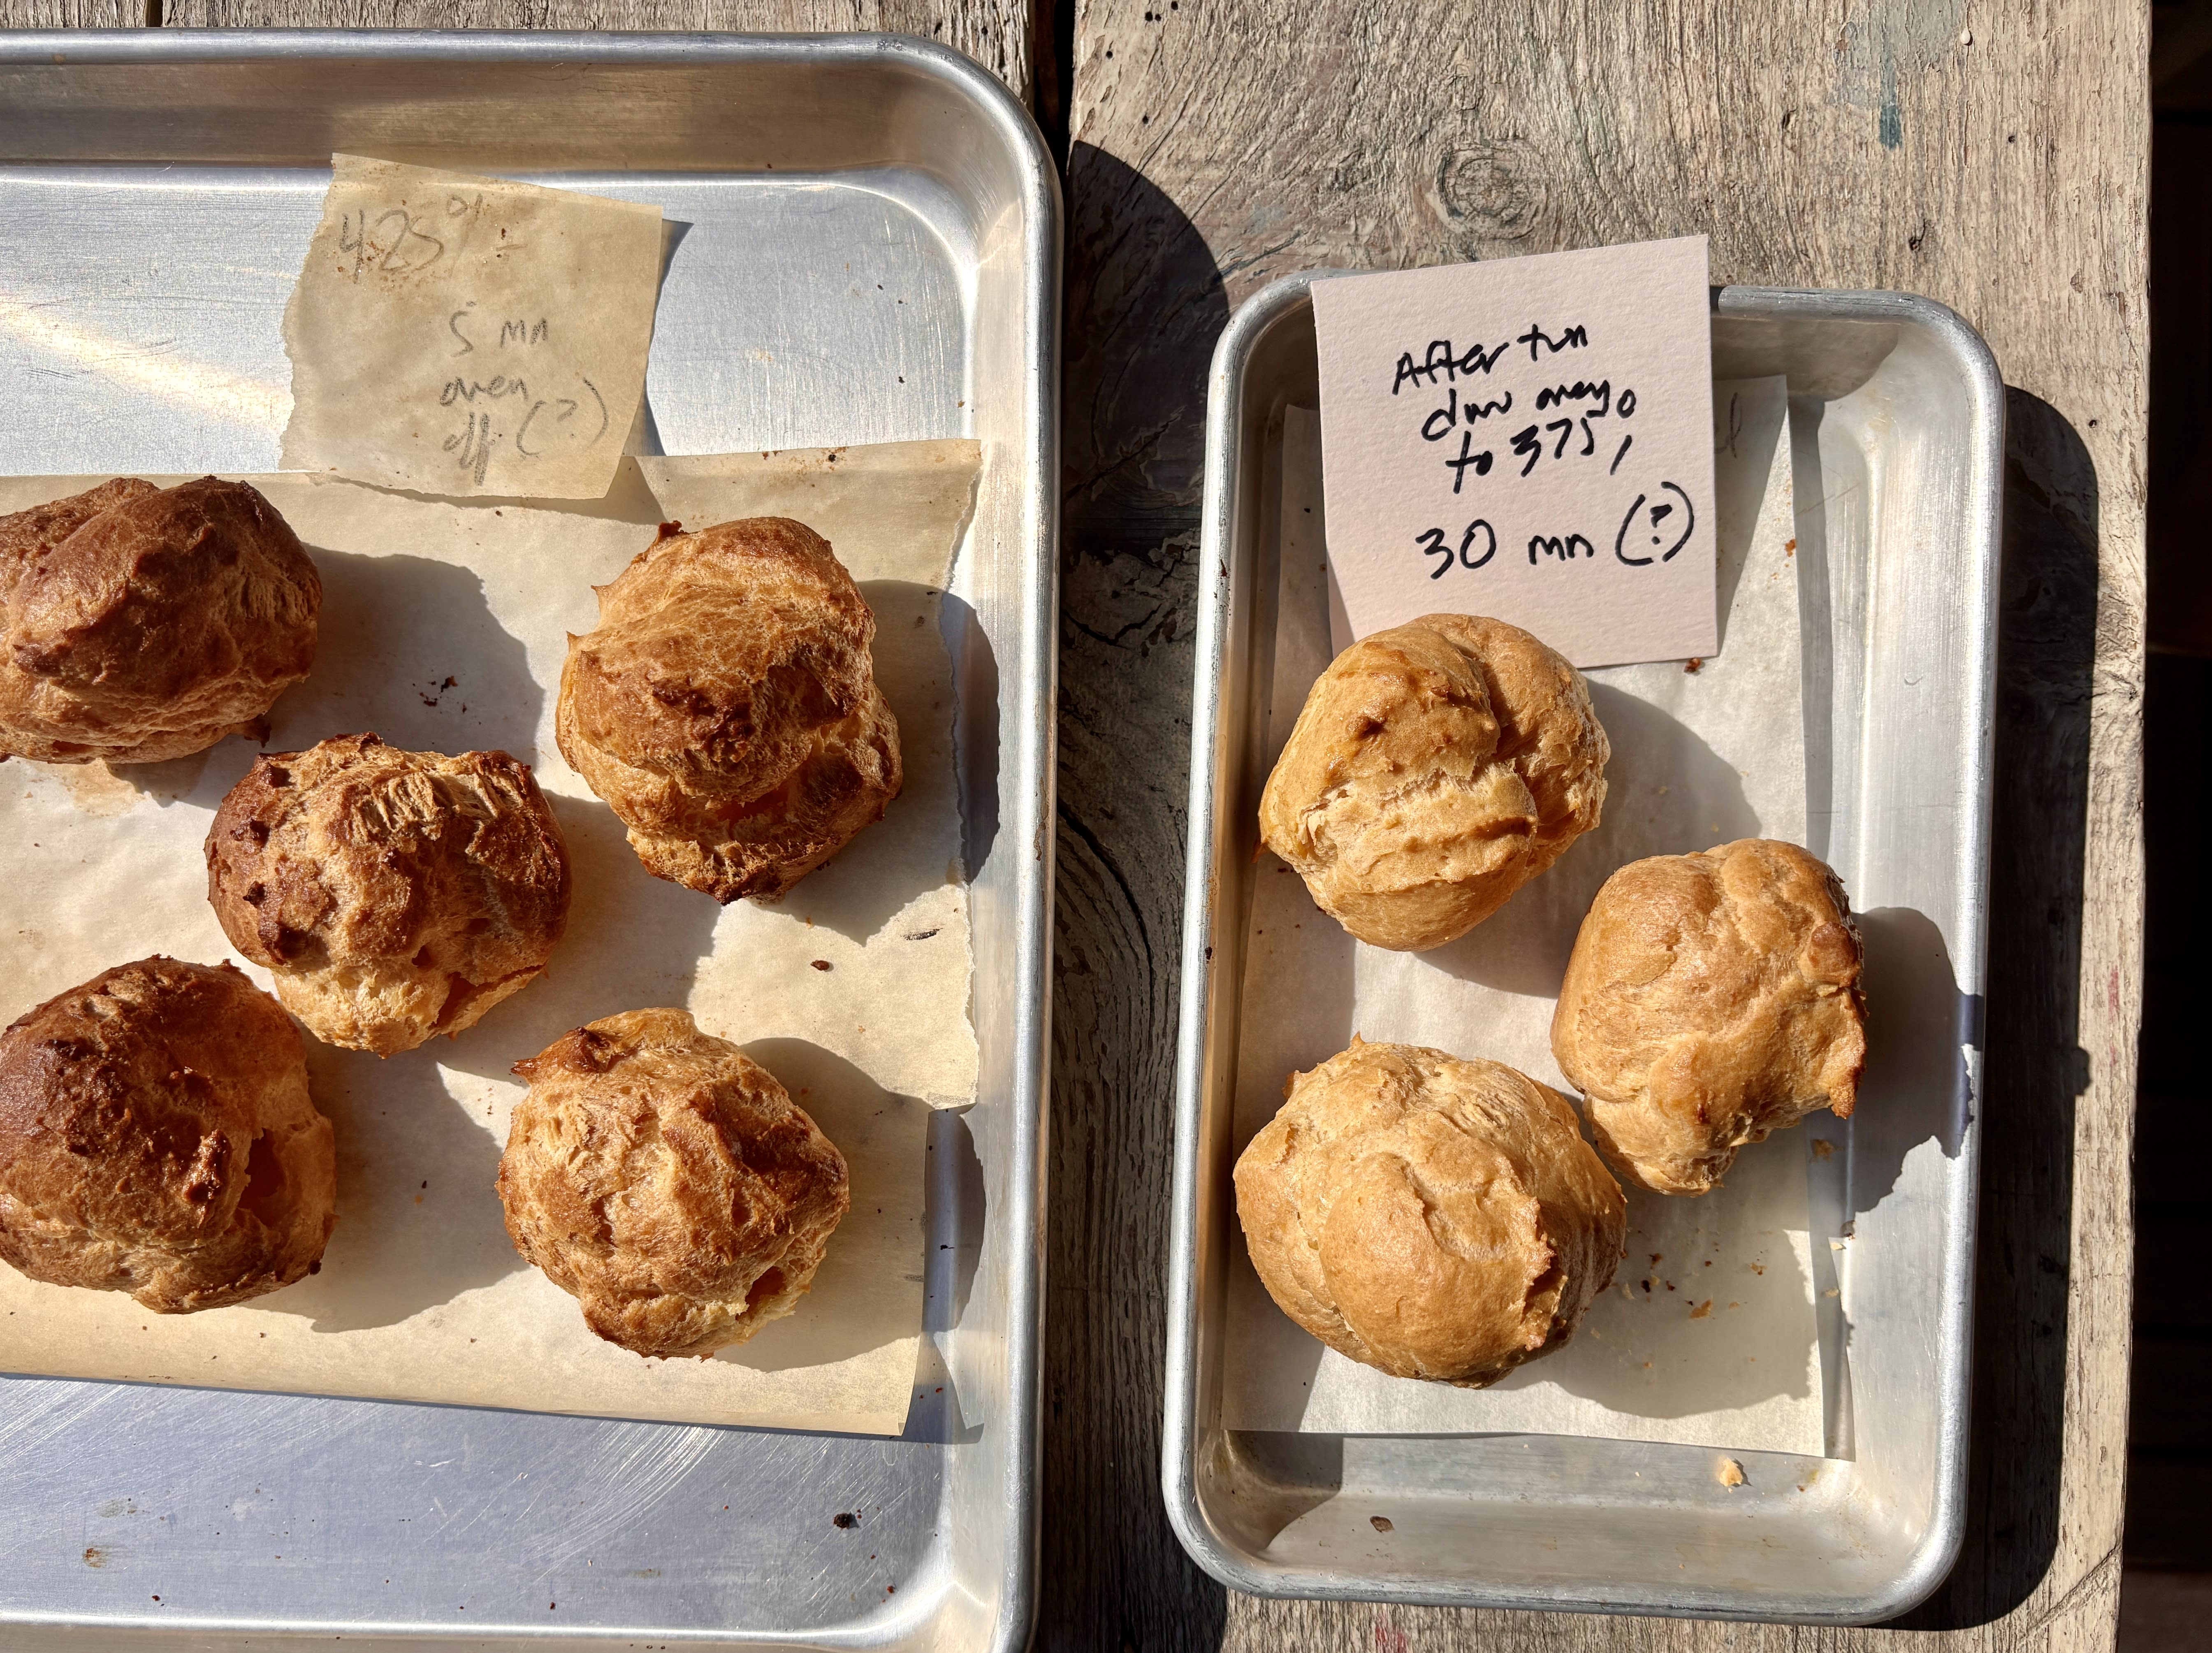
Another way I prepare pâte à choux puffs is to bake them in a 425ºF (220ºC) oven for 5 minutes, then turn the oven down to 375ºF (190ºC) and bake them until they’re golden brown. You can see the difference here:
On the left, baked at 425ºF/220ºC only (as the recipe appears in the book). On the right, puffs that were baked for 5 minutes in a 425ºF/220ºC oven, then turned down to 375ºF/190ºC.
When baking, always use visual clues to check for doneness, rather than strictly adhering to a baking time. When I baked professionally, we used a timer to remind us that something was in the oven. We never relied on it to tell us when something was done.
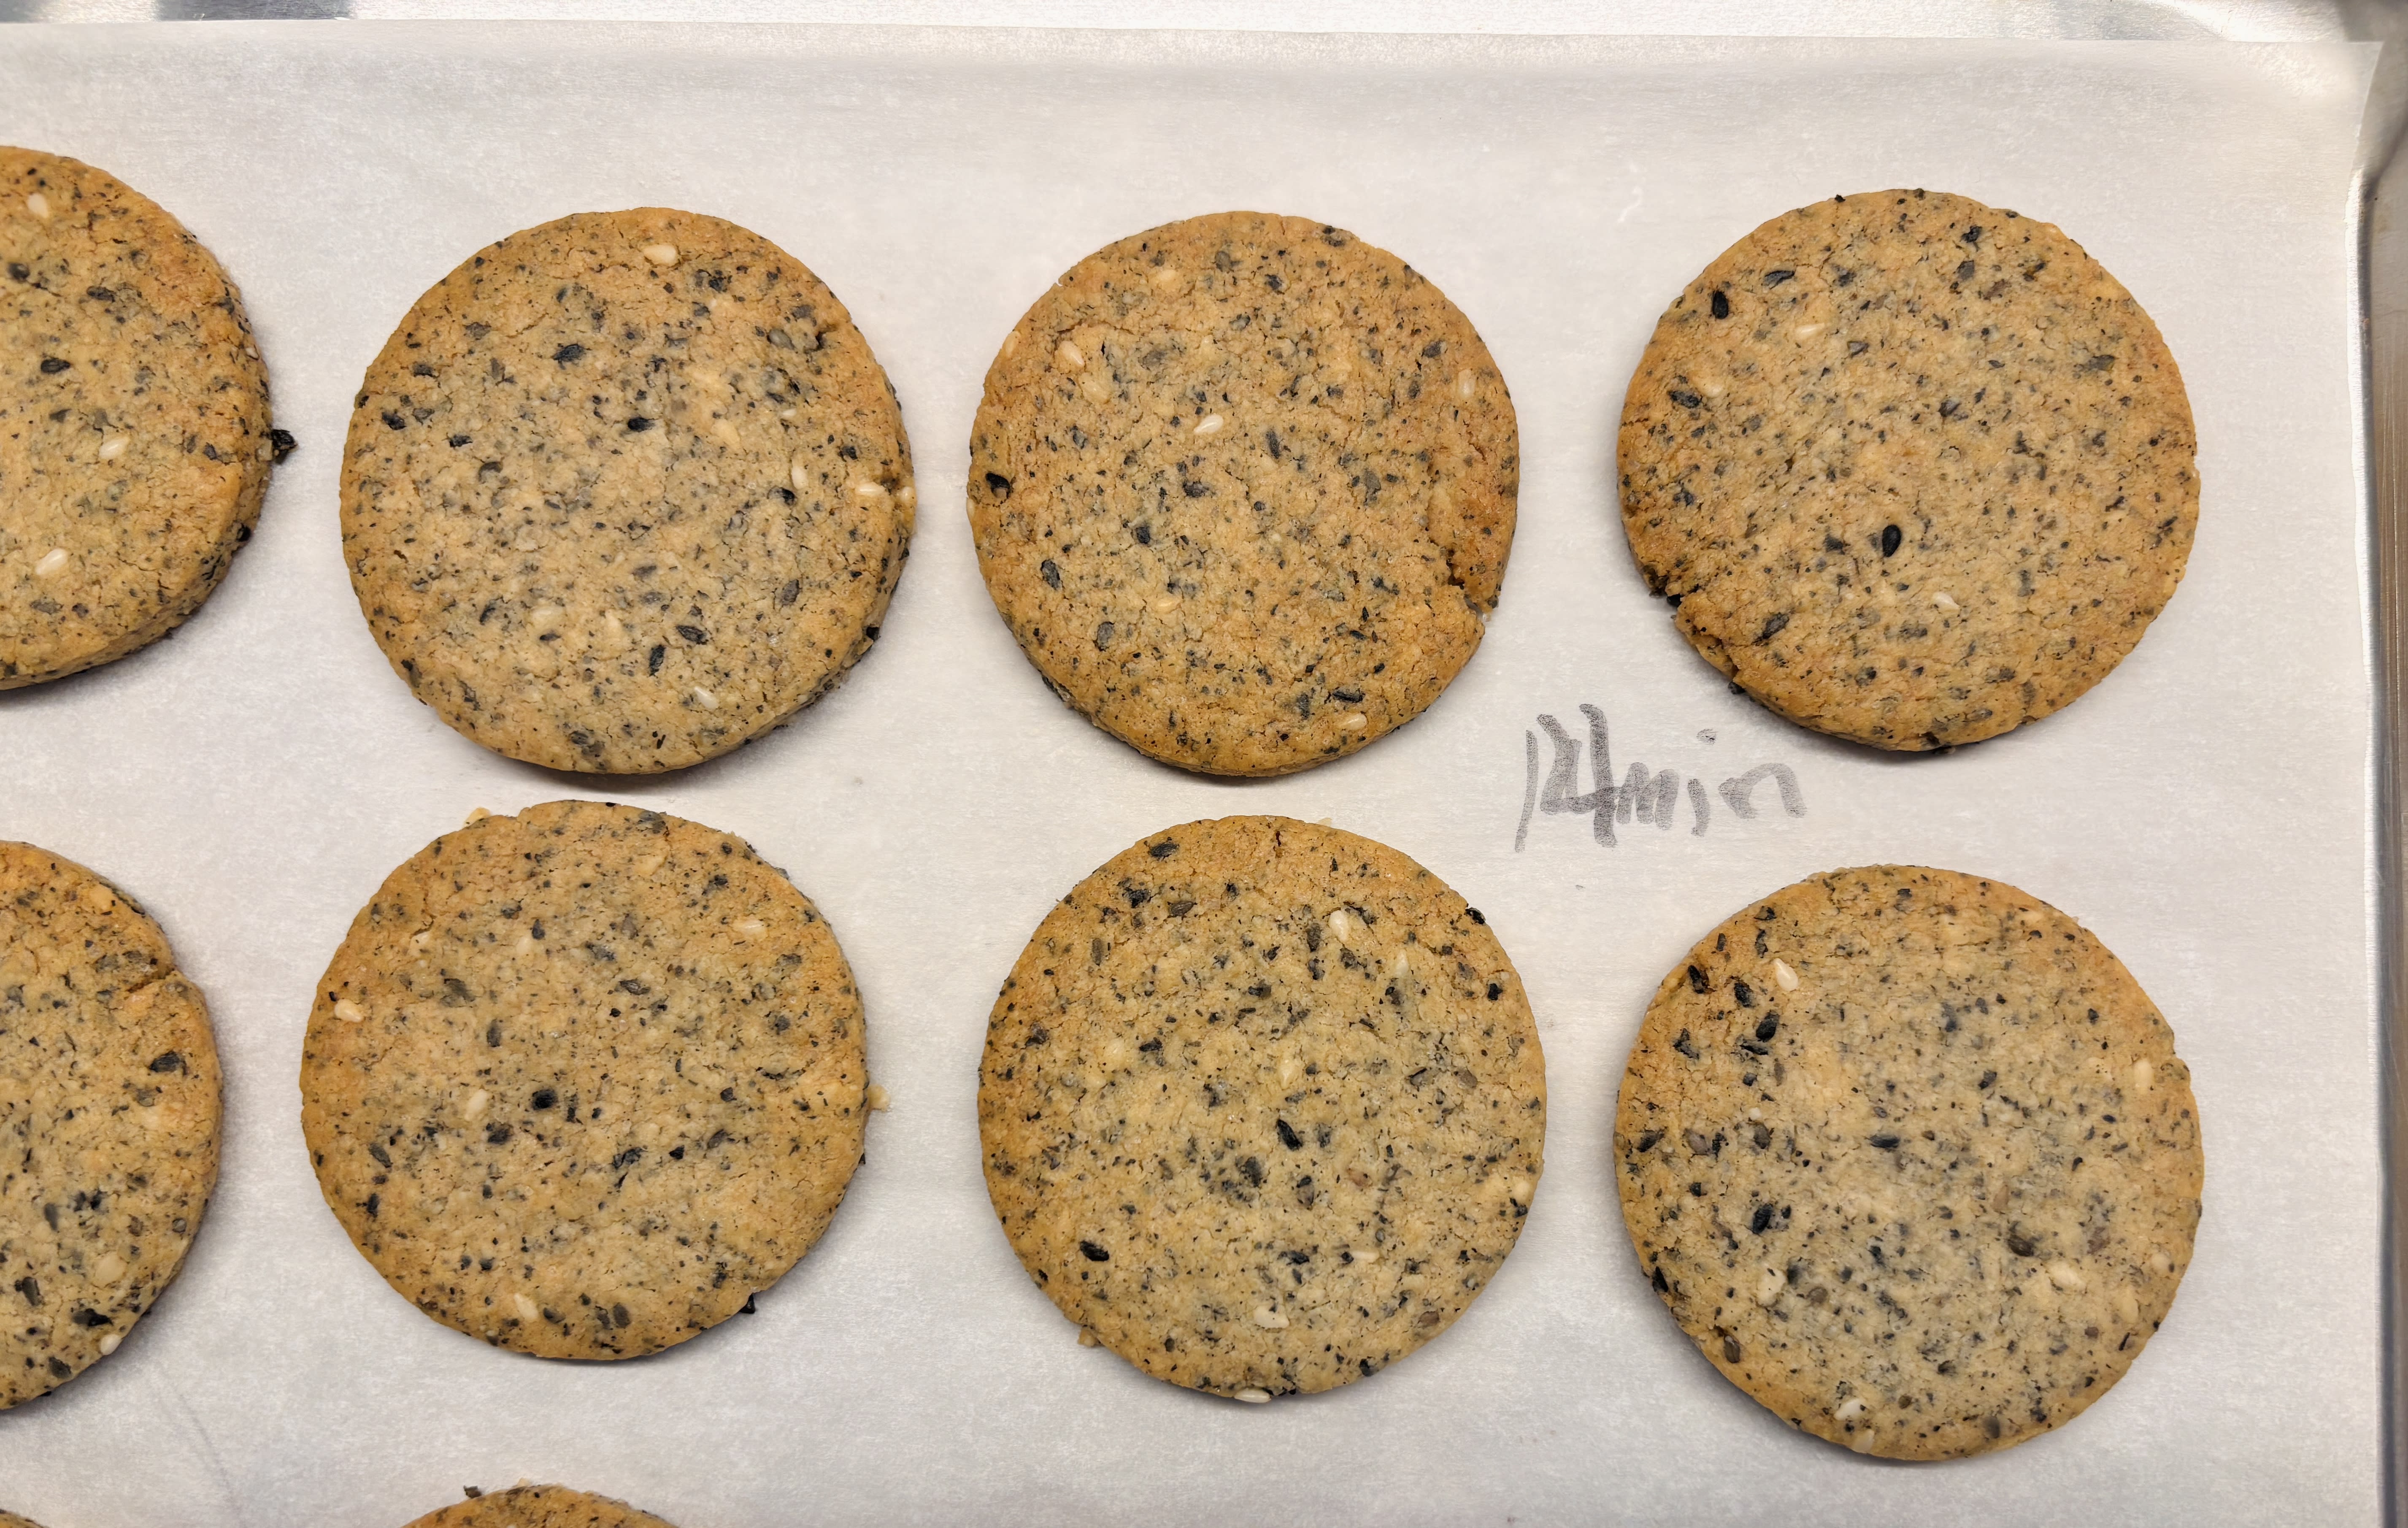
– When rolling out the dough for the Orange poppyseed sandwich cookies (page 246), the dough should be rolled 1/4 inch (6mm) thick, rather than the 1/2 inch in the book. I find the baking time of 12 minutes is just right for me, but if you like the cookies a little darker, I did a test at 14 minutes, shown below:
These were baked for 14 minutes; at 12 minutes, they’ll be lighter. The darker ones are crispier but the lighter ones meld more smoothly with the filling.
In the book, I gave a chocolate and chocolate-hazelnut options for filling the cookies, if you’d prefer to do that instead of using jam. But you can also fill them with Salted butter caramel sauce (page 283) that’s cooled until it’s thick and spreadable. And in place of poppyseeds, you can use very coarsely ground black or white sesame seeds instead. Or leave them whole! You’ve got options.
Poppyseed cookies filled with salted butter caramel.
-For the Palets Bretons (page 243), a magazine published the recipe with a baking time of “25-35 minutes.” After I developed the recipe, they were tested (again) here in my kitchen when the food stylists made them for the photo in the book. After the magazine published the recipe, one of the food stylists retested them in his kitchen in California and found the baking time in the book to be correct (see above.) But if your oven is different, just bake them until they’re golden brown across the top.
-The yield on the Seville Marmalade recipe (page 299) says it makes 8 cups but depending on various factors, you may get less. Also you don’t necessarily need to let the oranges rest overnight in the liquid. It does help the pectin work its magic, but it’s not obligatory.
– I’ve been playing with the Butternut squash pie (page 96), which is a great holiday treat. Some have said that it makes a bit too much filling for the dough. I recast the recipe so there’s no leftover filling, and you can get that here.
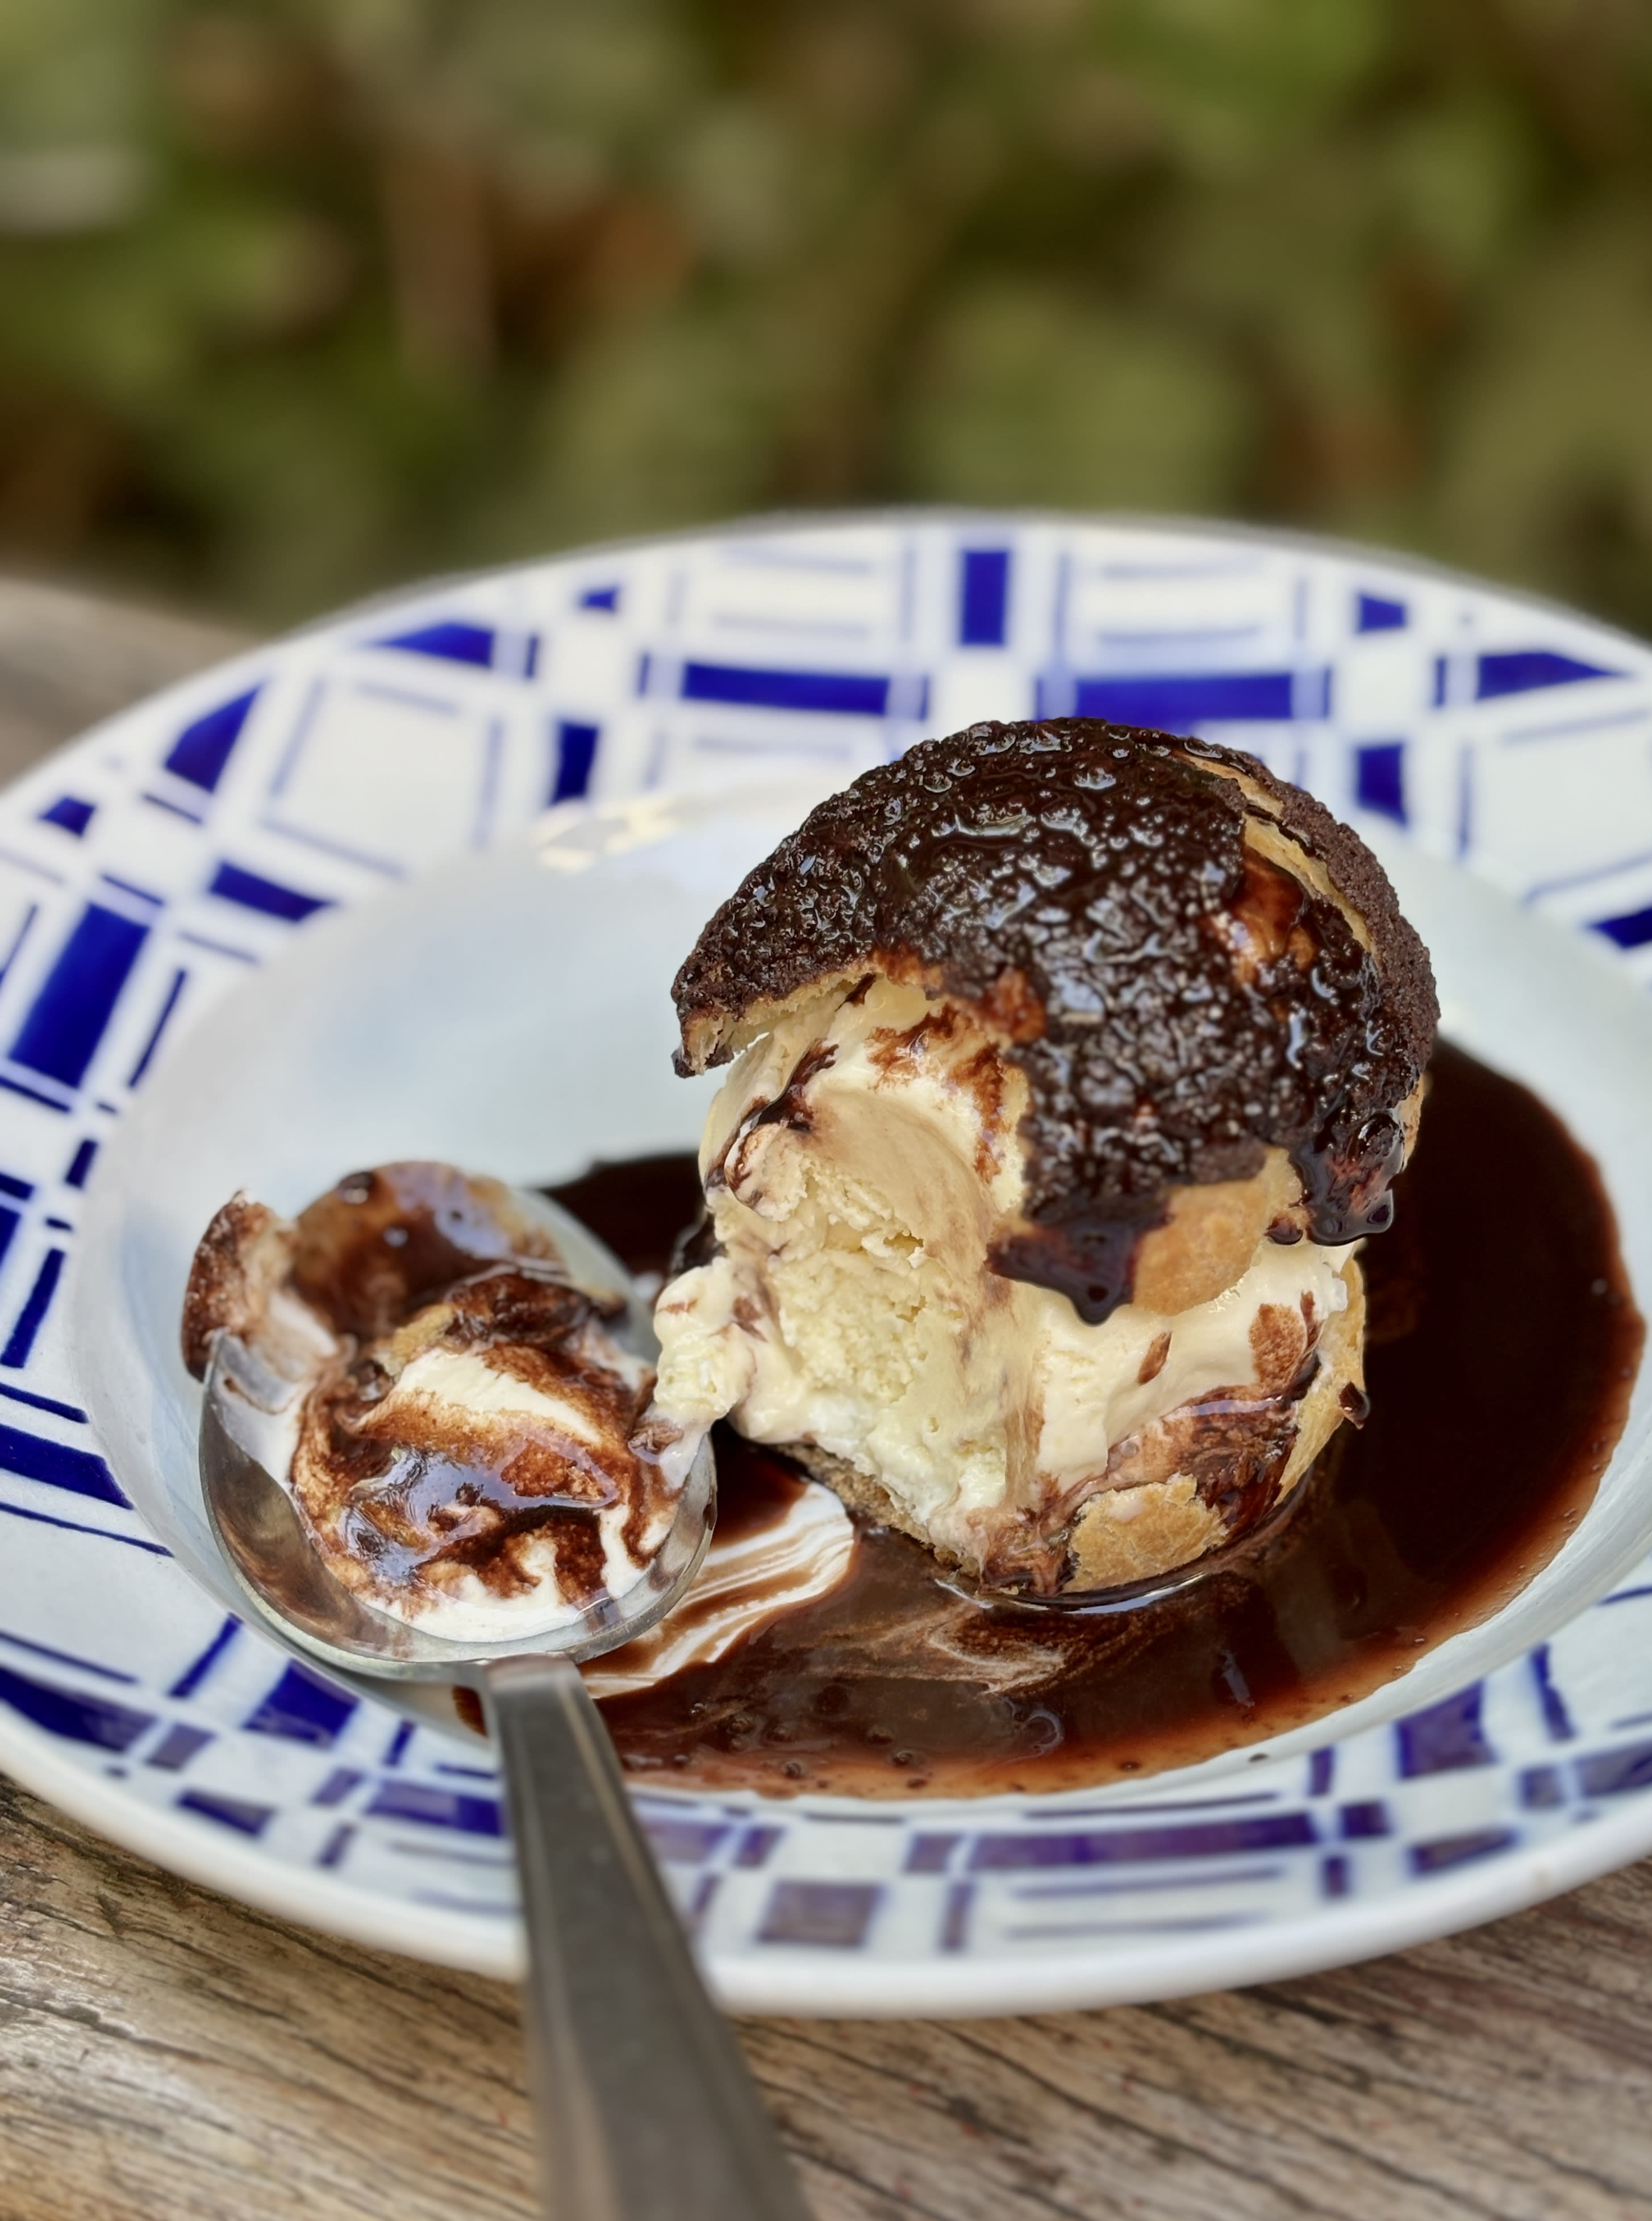
Sharp-eyed readers might notice the profiteroles on the cover of the book, from Grand Brasserie in Paris, have a layer of craquelin over the top. So I thought I’d share a recipe for chocolate craquelin.
When my publisher told me they wanted a new edition of the book, I decided to revise the book completely, from top to bottom. Ready for Dessert is a compilation of my favorite recipes, so I knew that I wanted to keep my signature Chocolate chip cookies, the Chocolate-cherry biscotti accented with black pepper, and classic Black & white cookies, along with everyone’s favorite, the Fresh ginger cake, as well as a tangy Lemon semifreddo, and the recipe for the Coconut layer cake I made for Alice Waters’ father on his birthday every year.
To sweeten the pot, I added brand-new recipes to Ready for Dessert, favorites culled from my kitchen in Paris, including Île flottante (inspired by the version I always order at a favorite local bistro), a very special Riz au lait (rice pudding) topped with crunchy, candied nuts and salted butter caramel sauce, buttery Palets Breton cookies, and my version of the iconic, and irresistible (truly!), Maple tart from Tapisserie in Paris, the pastry shop of the highly-regarded restaurant Septime, so you can make it at home.
One of my favorite pictures (and recipes) from the new edition of Ready for Dessert is the Marjolaine cake. We made several of these cakes for the photo shoot and gave leftovers to the local butcher shop – and now I’m their favorite customer.
Award-winning photographer Ed Anderson, who photographed my books, My Paris Kitchen, Drinking French, and The Perfect Scoop, returned to Paris to shoot the pictures for the book, in my kitchen and backyard, as well as out-and-about in the city. Another bonus was that I got to work with two of my favorite food stylists, Elisabet der Nederlanden and George Dolese. We had a blast shopping in Paris for ingredients, and making the recipes in my kitchen, then eating them as well.
When the food stylists end up devouring your recipes during a photo shoot, that’s the highest compliment a cookbook author can have. They bake and cook food all day long, so are picky about what they eat. (And boy, did they eat!) I also invited friends to come by and join us, so you’ll find guests shots in the book as well.
The all-new edition of Ready for Dessert is now available at your local independent bookseller and online.
Below are some bookstores and online retailers where you can order the book:
Many people tell me this is one of their favorite recipes from my cookbook, Ready For Dessert. In addition to these fantastic Coconut-Dipped Chocolate Macaroons in it, you’ll find the much-loved recipe for Fresh Ginger Cake, which makes a fantastic dessert served with sliced, juicy peaches or flavorful strawberries and raspberries in the summer, or tangy lemon cream in the winter, as well as my other most frequently requested recipes.
I’m often asked about the different between Parisian macarons and American-style macaroons, like these. Both are egg white-based, however the European version (which was invented in Italy) uses almonds whereas the American ones use coconut. There’s some dispute about how the American ones came to be made of coconut; one theory is that European immigrants who came to the United States couldn’t get almonds, or they were too expensive, so they used coconut.
Another theory is that European companies wanted to ship their macarons over longer distances, so swapped out coconut for the spoilage-prone nuts. Others credit Franklin Baker, an American flour miller, who found the then-exotic shredded coconut more interesting (and less-expensive) to use than nuts. Either way, I like all kinds of macaroons…or macarons.
The French do make coconut cookies, which are called Congolais or Rochers à la noix de coco, usually shortened to Rochers coco, or coconut “rocks.” I’ve not seen them dipped in chocolate in any French bakery – but why not?
I’ve tweaked this recipe over the years and tested them with flour alternatives, which I’ve noted in the headnote in the recipe, and they come out great. You can even skip swiping the bottoms in bittersweet chocolate if you wish. No matter how you make them, I hope they become one of your favorite cookies, too.
From Ready for DessertI invariably make these cookies when I have extra egg whites on hand. The dough freezes beautifully if I don't plan to make the macaroons right away. These coconut macaroons can be made without the flour by substituting 2 1/2 tablespoons of cornstarch or potato starch for the flour. Readers have told me the recipe works well with 1/4 cup matzoh meal substituted in place of the flour.
3ounces (90g)bittersweet or semisweet chocolatechopped
Instructions
In a large skillet or wide saucepan, mix together the egg whites, sugar, salt, and honey.
Over low heat on the stovetop, stir the egg whites and sugar together until the mixture is tepid, but not warm or hot. You don't want to cook them; just warmed slightly so they are looser.
Add the coconut, flour, and vanilla. Continue to stir the mixture over medium heat for a few minutes until it thickens to a cohesive mass. (It'll be like very thick oatmeal and the bottom will very slightly start to scorch.) Remove from heat. Transfer to a bowl to cool to room temperature.
When ready to bake, line a baking sheet with parchment paper or silicone baking mat and preheat the oven to 350º F (180ºC).
Form the dough into 1 1/2-inch (4cm) rounds in your hands, squeezing the dough to coax them into rough rounds (remember, the French call them "rocks," so they can be a uneven - for smoother rounds, dampen your hands), then place them evenly spaced on the baking sheet. Bake the macaroons until deep golden brown, about 18 to 20 minutes. Cool completely.
To dip the macaroons in chocolate, melt the chocolate in a clean, dry bowl set over a pan of simmering water (or in a microwave.) Line a baking sheet with plastic wrap or parchment paper. Dip the bottoms of each cookie in the chocolate and set the cookies on the baking sheet. Refrigerate 5-10 minutes, until the chocolate is set.
Notes
Unsweetened shredded coconut is available in most natural food shops or you can purchase it online. Flaked coconut is larger and I haven't tried these macaroons with the flakes but if that's all you have, I would pulse the flakes in a food processor a few times until they're finely shredded.Storage: The baked macaroons will keep for up to three or four days if stored in an airtight container. If dipped in chocolate, store the cookies in a cool place. The dough can be refrigerated for up to one week or frozen for at least two months.

 Login
Login